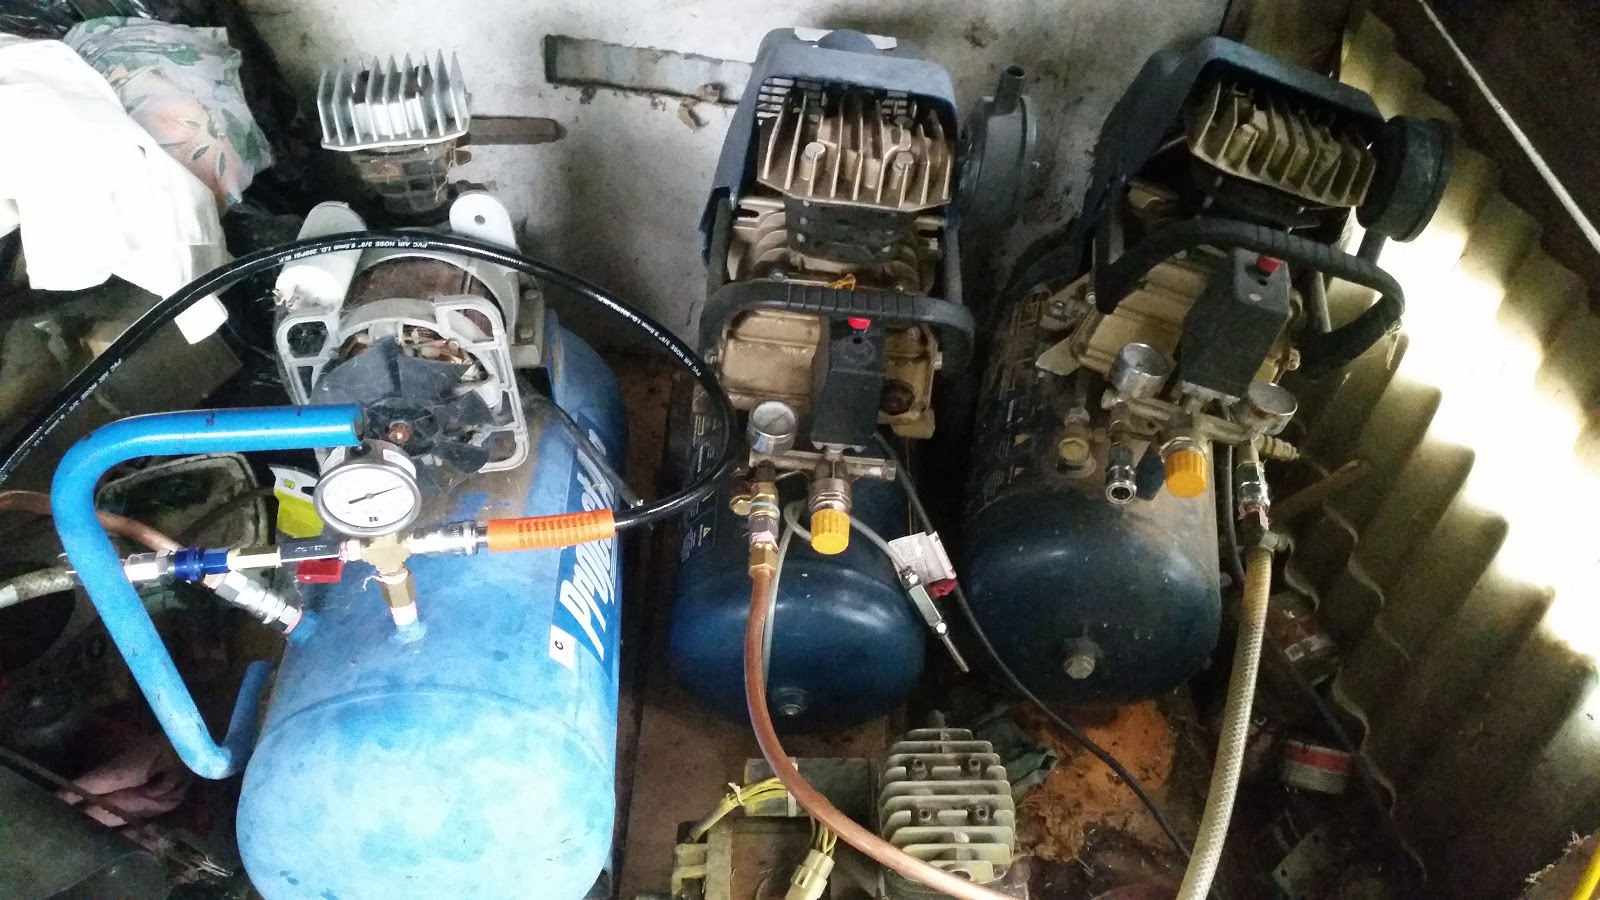
A short while ago I got a new air compressor to go with my existing system. It's not really what I am looking for because it is still a fairly basic direct drive compressor. But the price was right and it will still improve my current setup.
This is what I have set up now. I do need to do some tidying up and cut down some of the flexible hoses to only the minimal length needed. The 2 compressors on the right of the photo are the ones I have hooked up. The one on the left does not work and needs some wiring done to fix that. So it is only acting as an extra reciever. Now with the addition of the second working compressor I have 80L of storage.
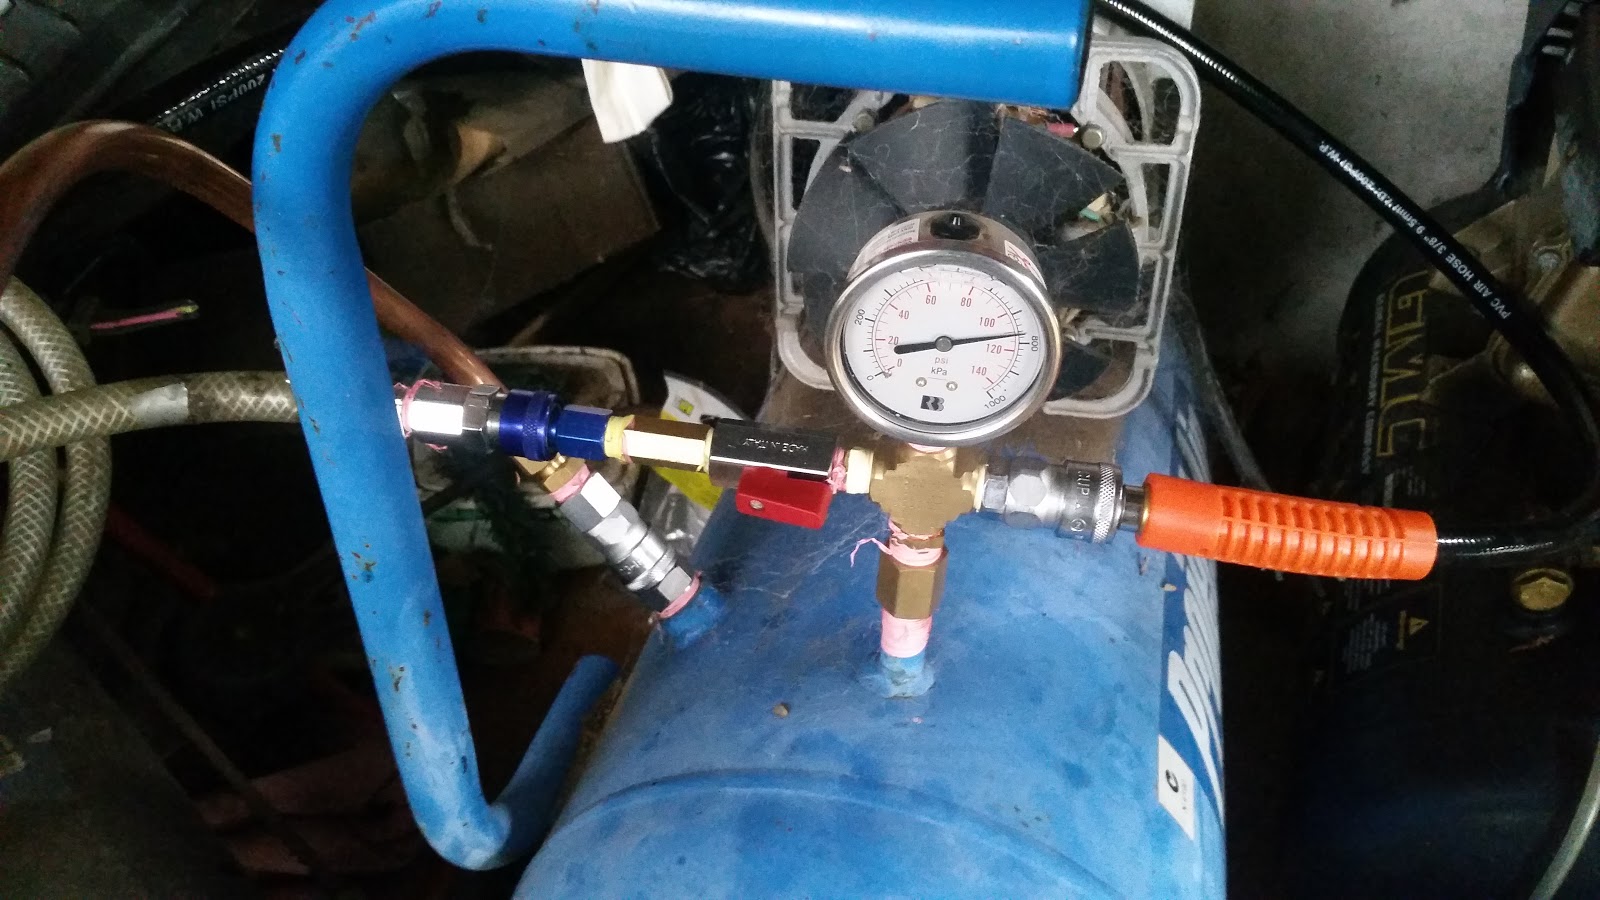
Not quite ideal yet. The outlet from the original compressor is connected with the rigid copper line in the background. The new one is connected through the ball valve to the manifold at the top of the tank. Coming out the other side is the outlet from the reciever. I may change this arrangement so that there is less leverage on the top of the reciever. I will probably put the manifold on the wall or something so it isn't rigidly connected to the receiver.
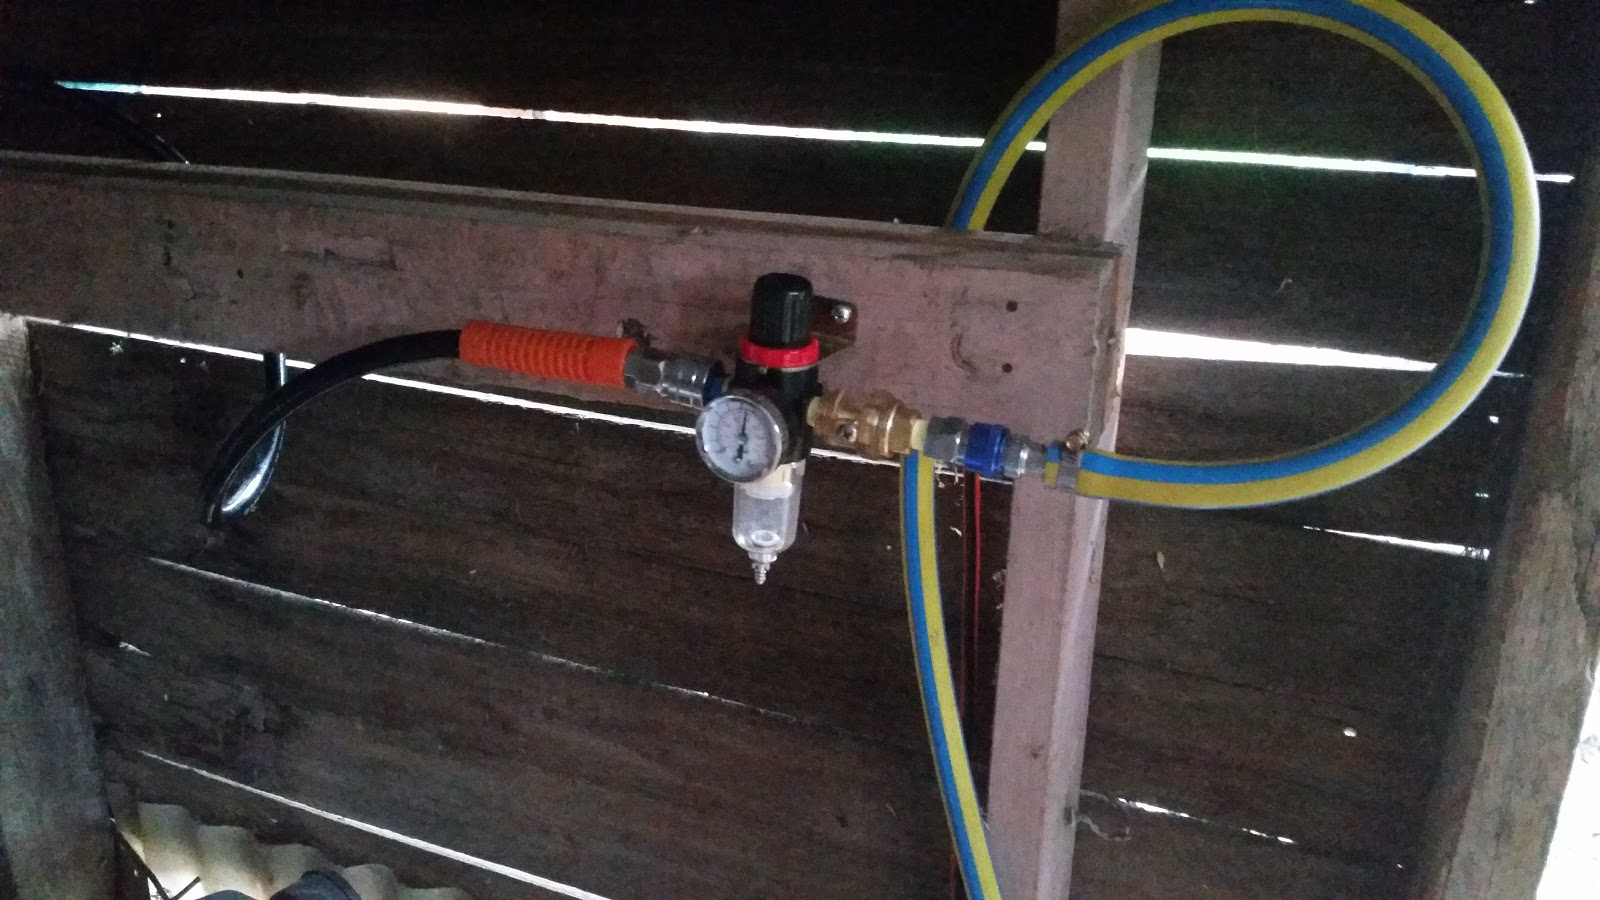
This is a big improvement here. The regulator is undersized unfortunately but not too badly that it is unusable. The black hose on the left comes from the manifold on the top of the receiver. The coloured hose on the right goes up along the ground to the verandah where I do most of my work. It isn't buried though so I can quite easily move it to where I am working. You can just see the oiler to the right of the regulator. I am trying this mounted here because I've not really been happy with it hanging out the bottom of the tool I am using.
I am using Nitto quick disconnect fittings to connect everything together. Unfortunately they do introduce some restriction to flow. But with the amount of air I am using is not really that much. Once I get this space cleaned up a bit and I'm happy with it I will probably plumb it together with plain tapered fittings so as to minimize restrictions.
I've got some more work I've been doing on the CNC that I need to finish before I can put up here.
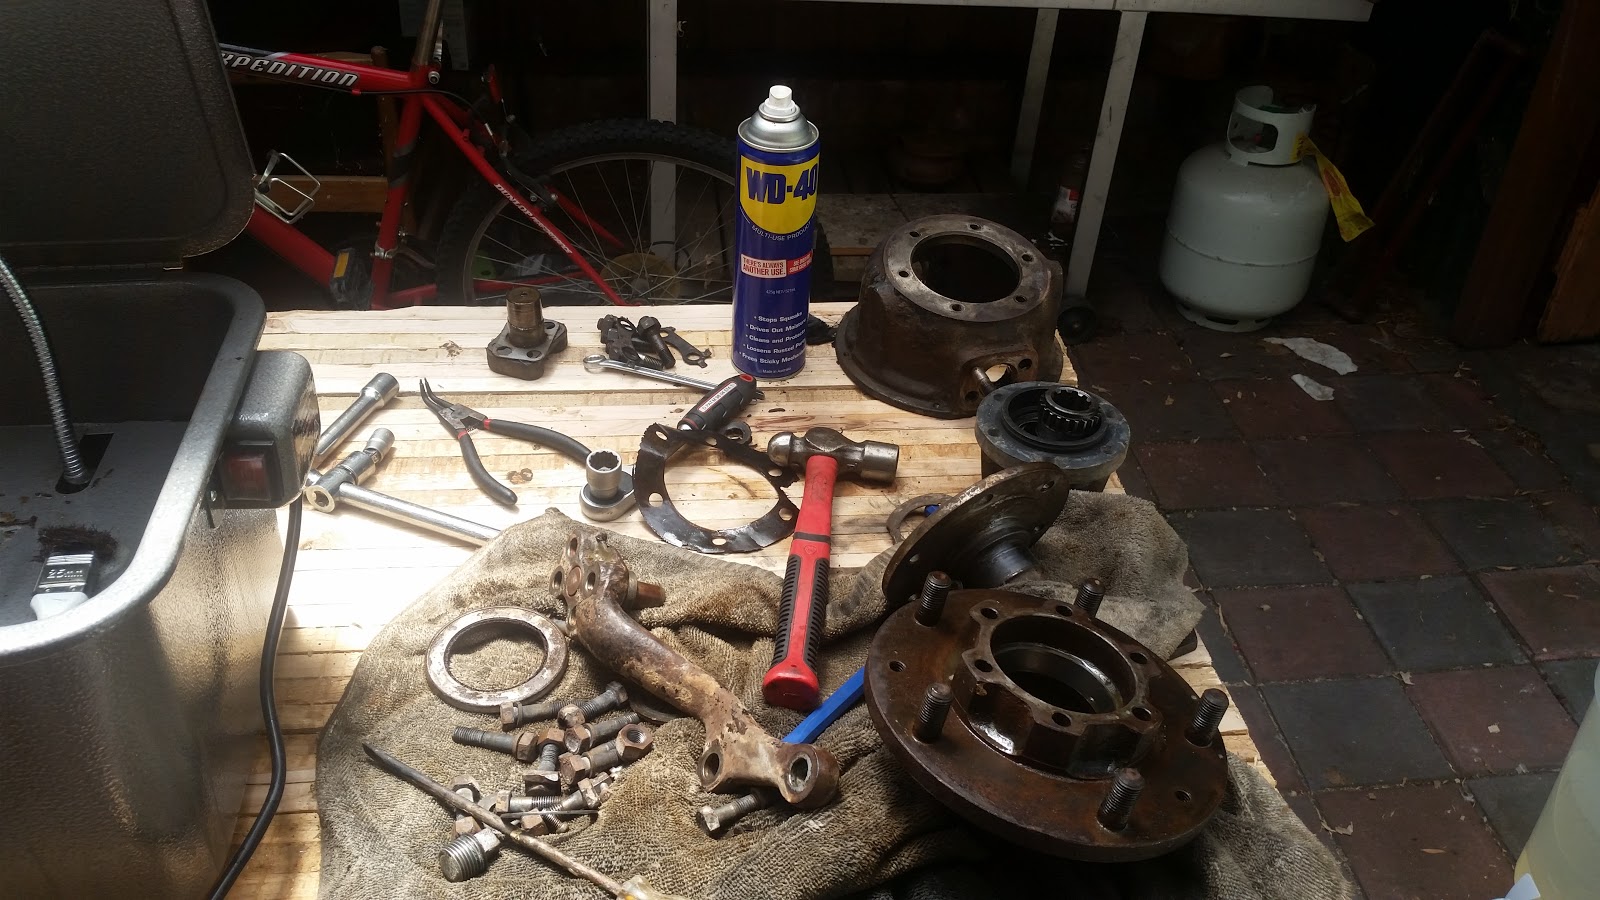
I've been making some progress on disassembling the hubs for the Land Rover. I even now have one of them completely apart and even the oil and muck cleaned off it.
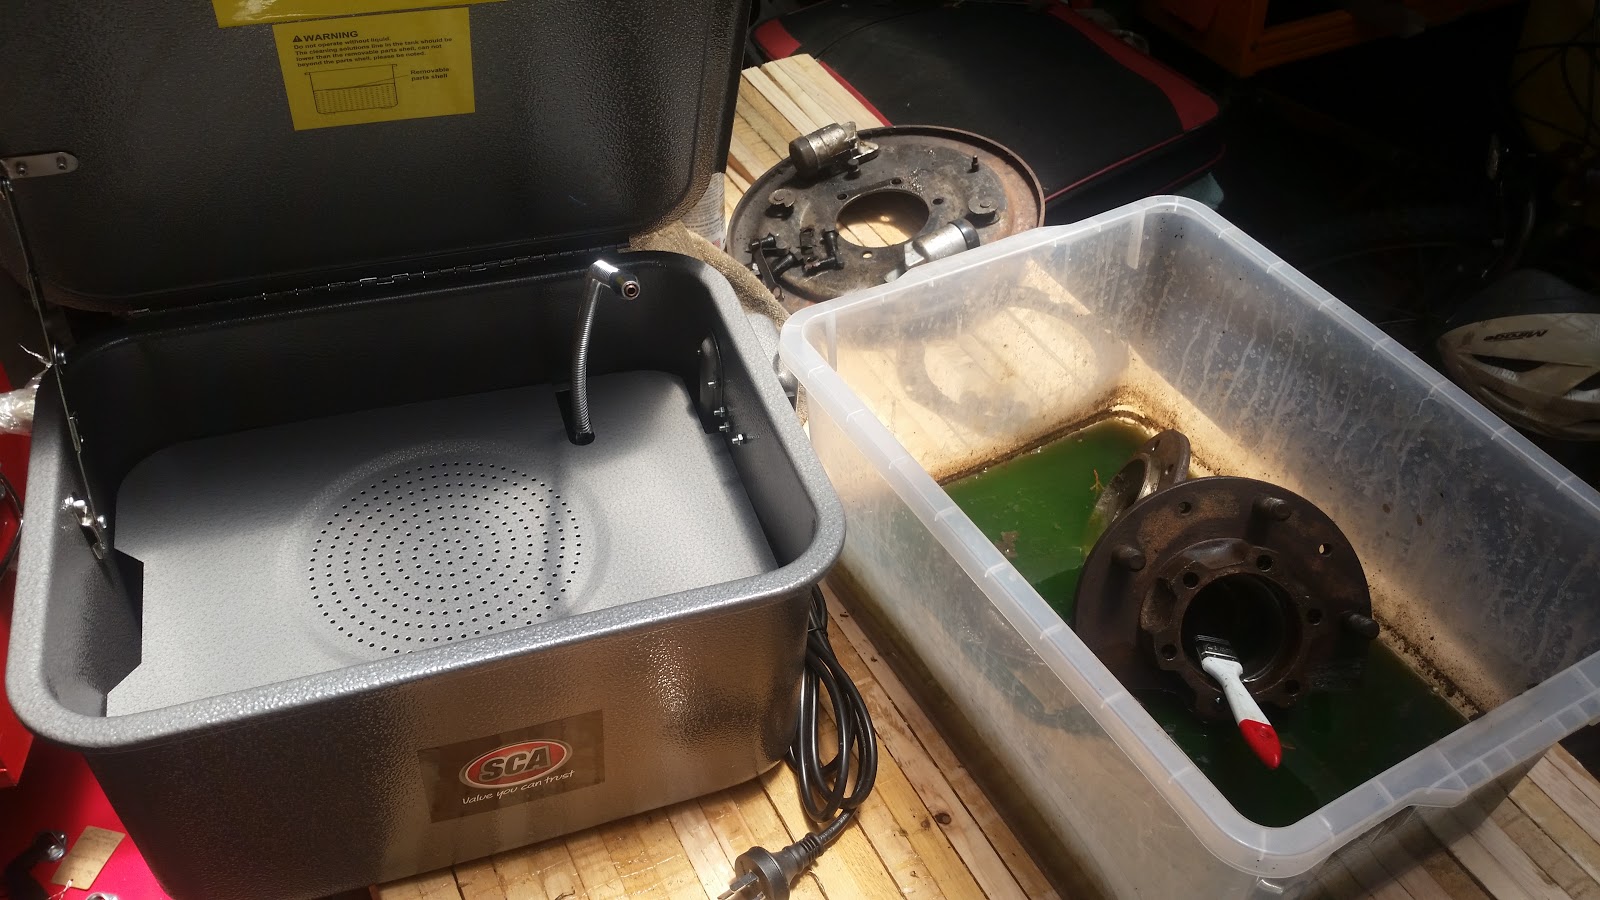
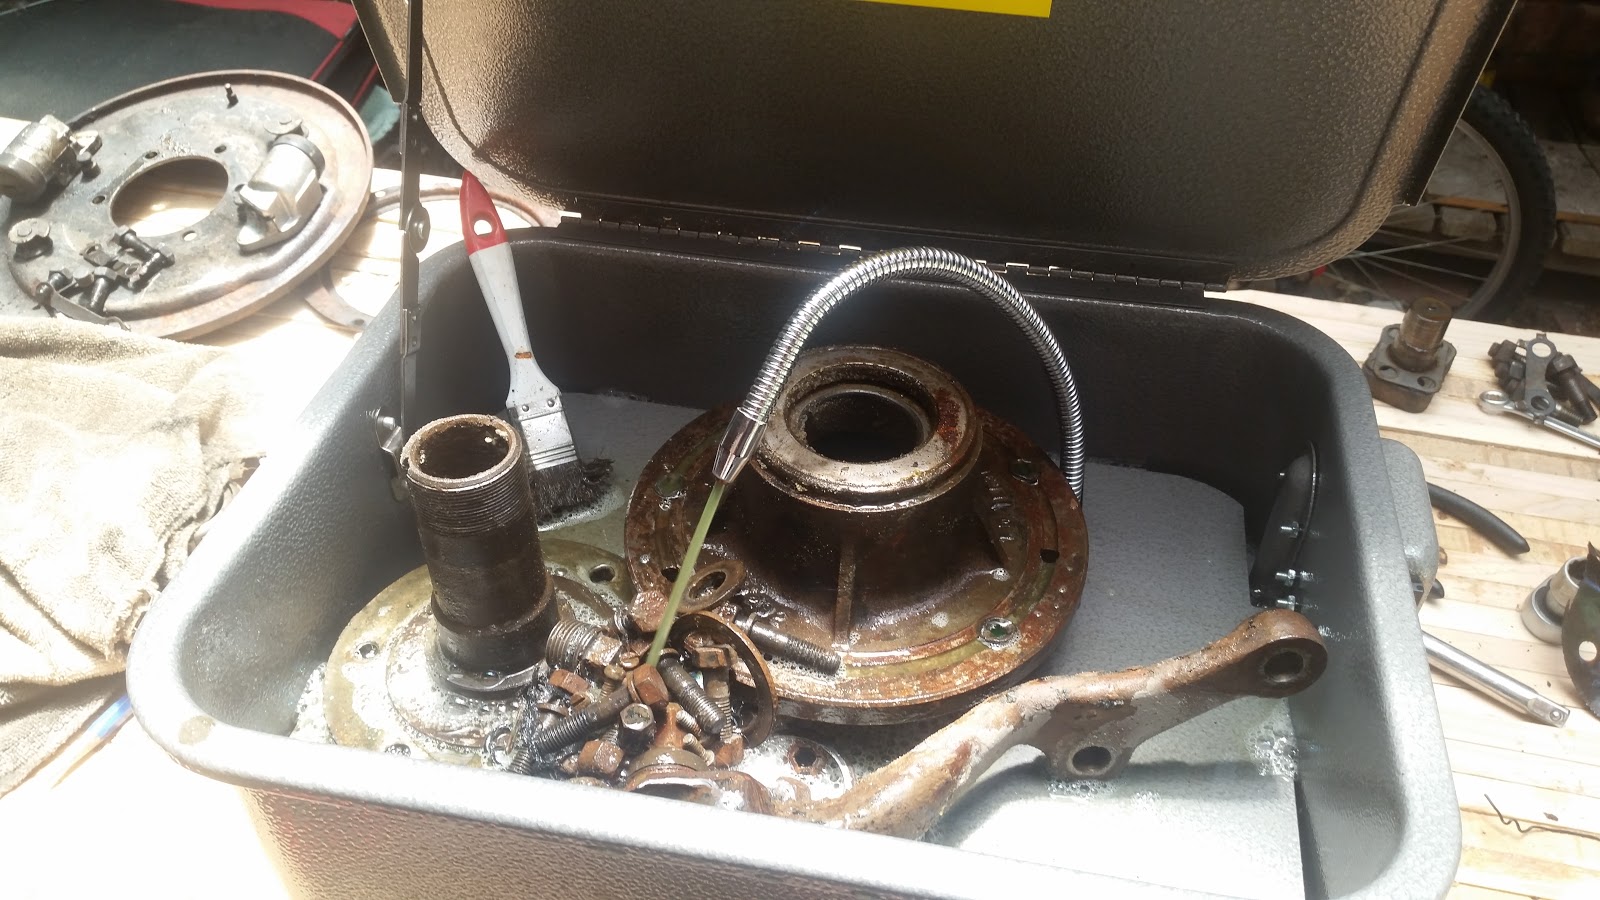
There are nearly all of the parts. The Free Wheeling Hub is underneath the rag in the foreground and the bearings are sitting on the other side of the parts washer. I want to soak them in petrol or some other fairly strong solvent that will not have much water in it.
To make life easier for myself I decided to get a new toy. On the right is what I have been using and on the right is a new parts washer from Supercheap Auto. I was looking at the prices for a replacement circulation pump when I saw Supercheap have a sale on these parts washers which meant that they were only a few dollars more than the pumps I was looking at. So for the extra few dollars what I got was essentially the bucket (the one I have been using is still serviceable), the spout and the electrics. All of this is stuff I could have gotten, but not for that price and not that quickly. Also the bucket has a shelf in it so I don't have to have all of my parts floating in the degreaser. Also it is made from metal rather than plastic which means it will handle more knocks than the plastic one will.
I discovered a heap of bolts that I'd left in the plastic bucket. I would've found them, but probably not before they got all mixed up.
Now I need to get a clean plastic crate and put all of these parts in it with a splash of kerosene or something to form an oily film so that the parts can't rust. Then I can start pulling down the other one.
In the meantime however, it's getting warmer and I've remembered that I have A/C so I'm going to do some inside projects instead now.
Now that I have a workbench that is usable I wanted to start getting the hub(s) torn down for the Land Rover to see if there are any more surprises waiting for me.
Even though I had cleaned it with the pressure washer before there was still enough oily grime to make my hands too dirty to use my phone.
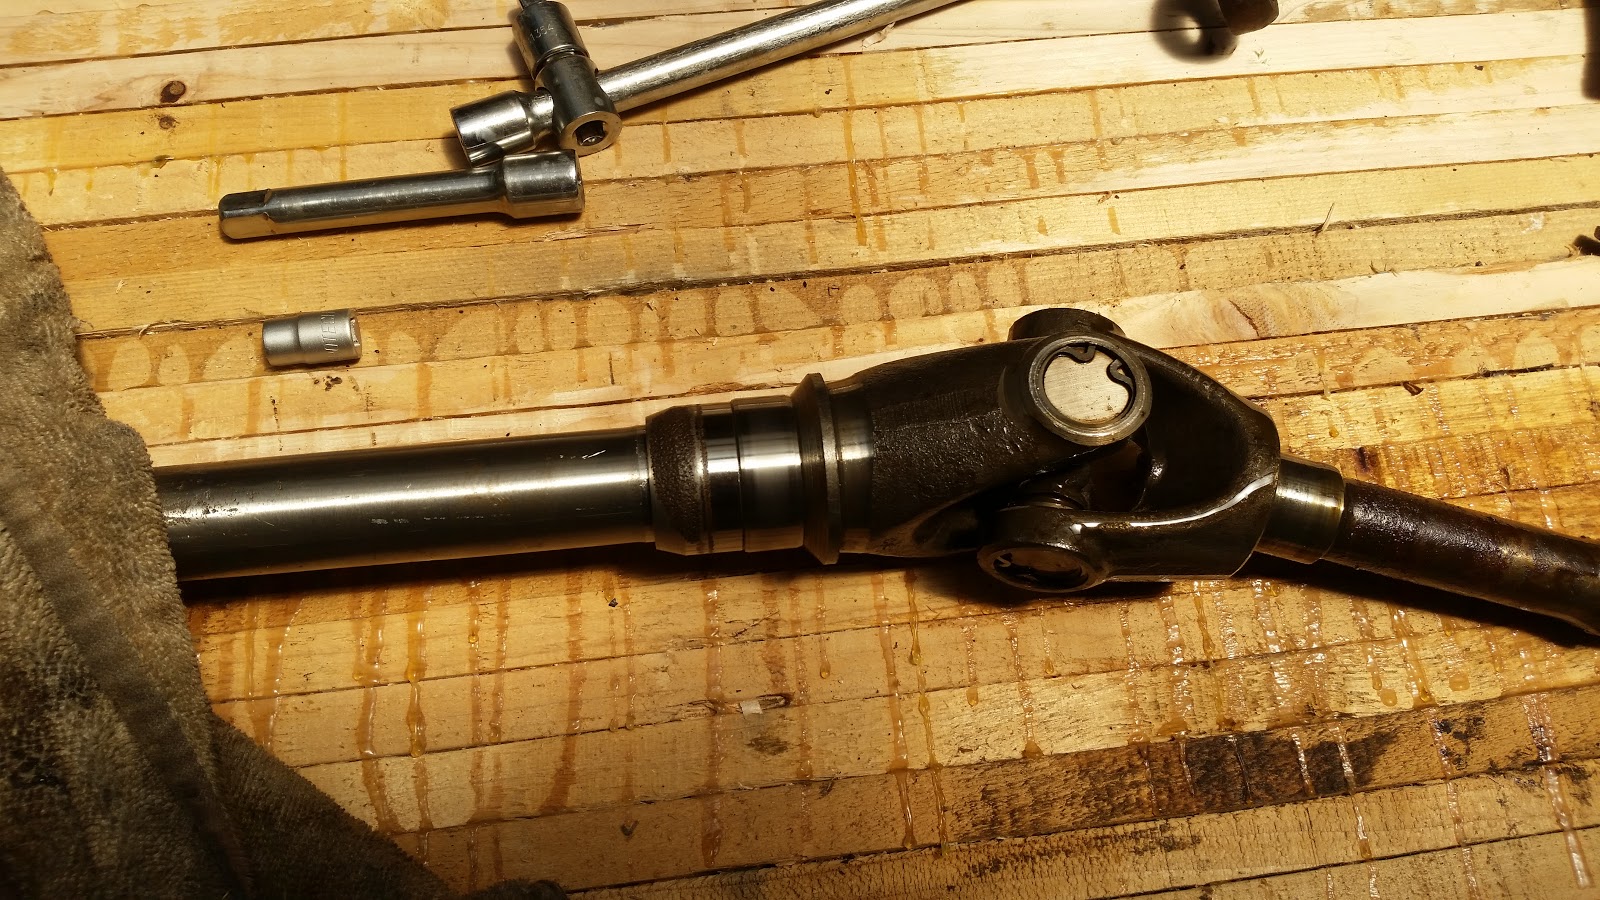
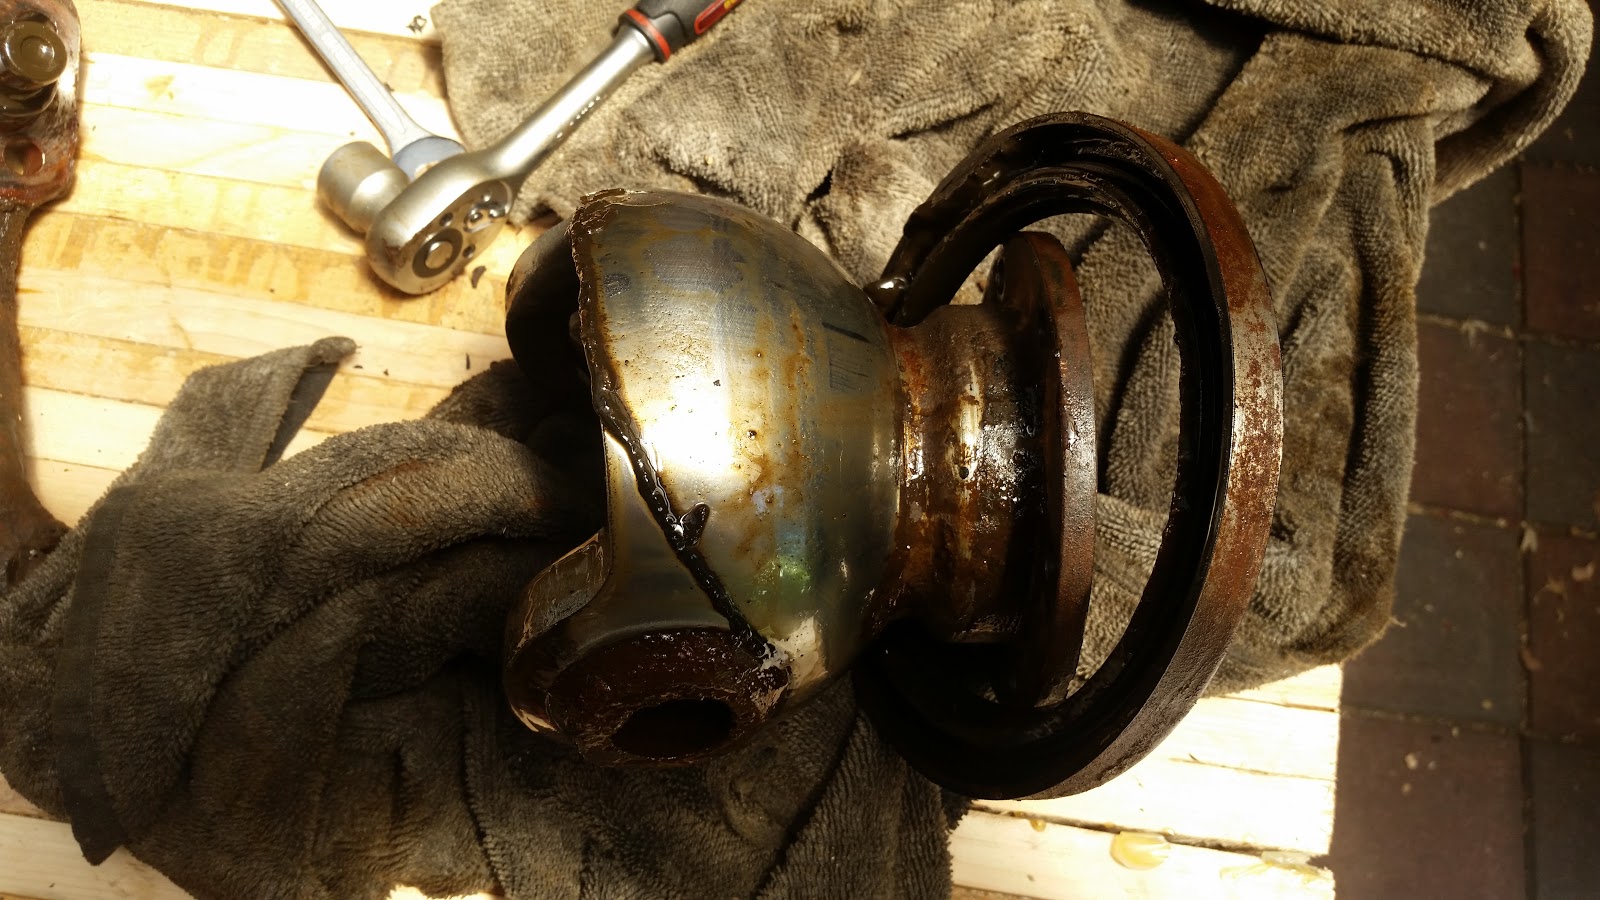
I must admit, this did surprise me a little. This is the joint that allows the drive to flex as the wheels turn. In newer cars and ever slightly newer Land Rovers these are CV joints not a simple universal joint like this. However these do have the advantage of being simple, easy to replace and not much to wear out. This one is in quite good condition and has no play in it at all. So that's one part I don't need to replace.
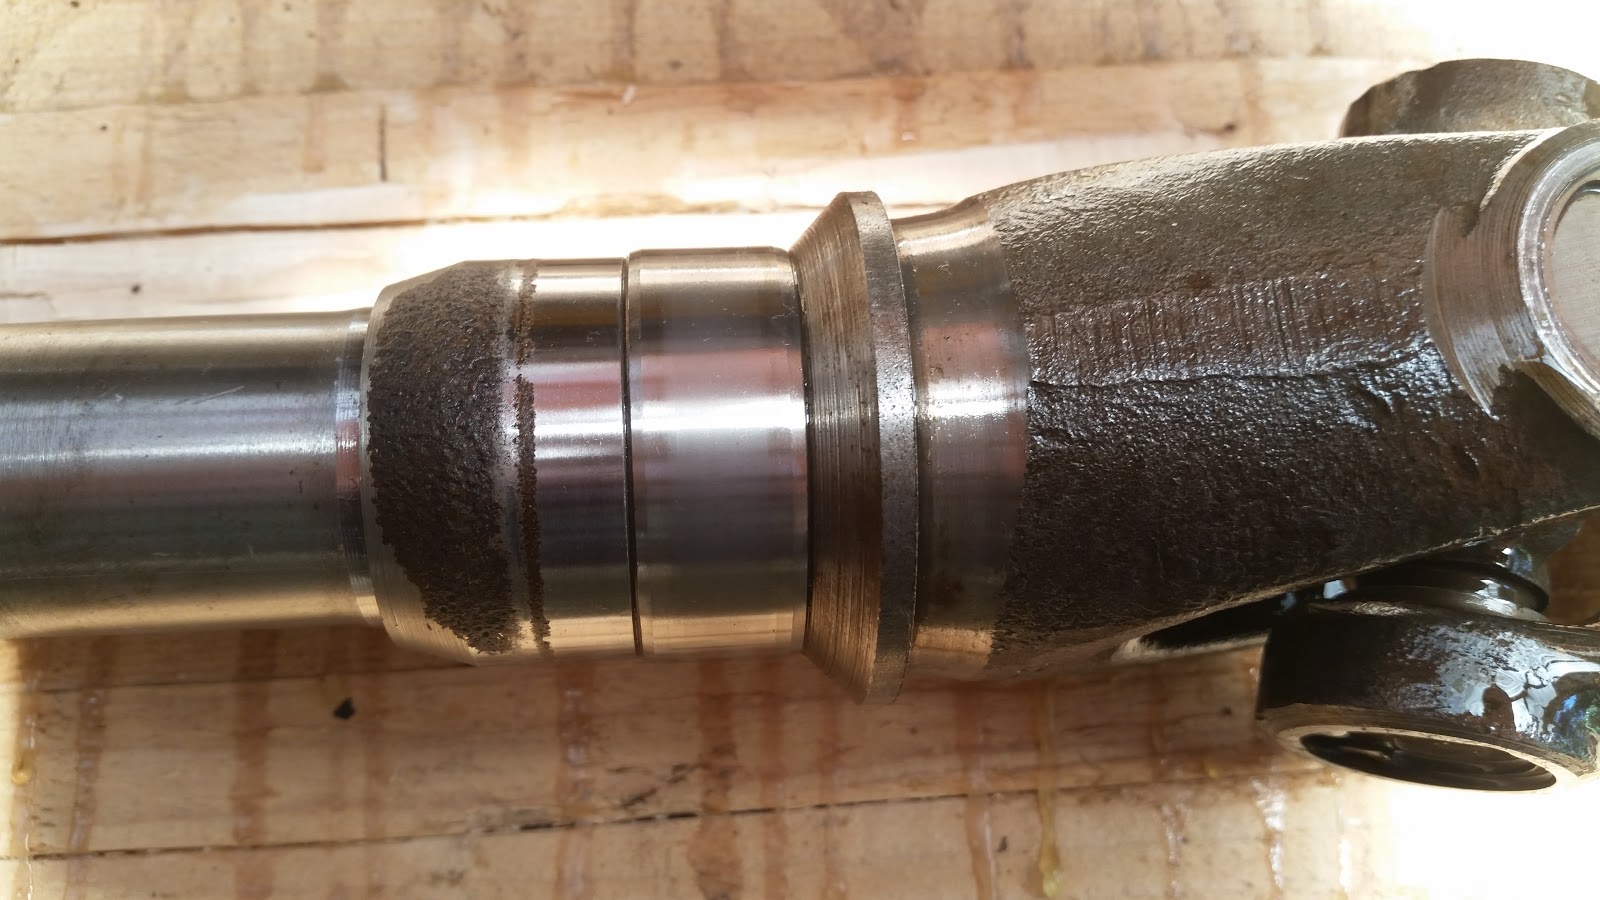
However this may be a problem. There appears to be a crusted up bit on the tapered section to the left of the land that the bearing runs on. I'll have to double check the other hub as I disassemble it to see if this needs to be a smooth surface. If it doesn't that that finish will be fine as there is nothing loose or flaky on it. But if there is a bearing or seal on it, then the tapered part will need replacing.
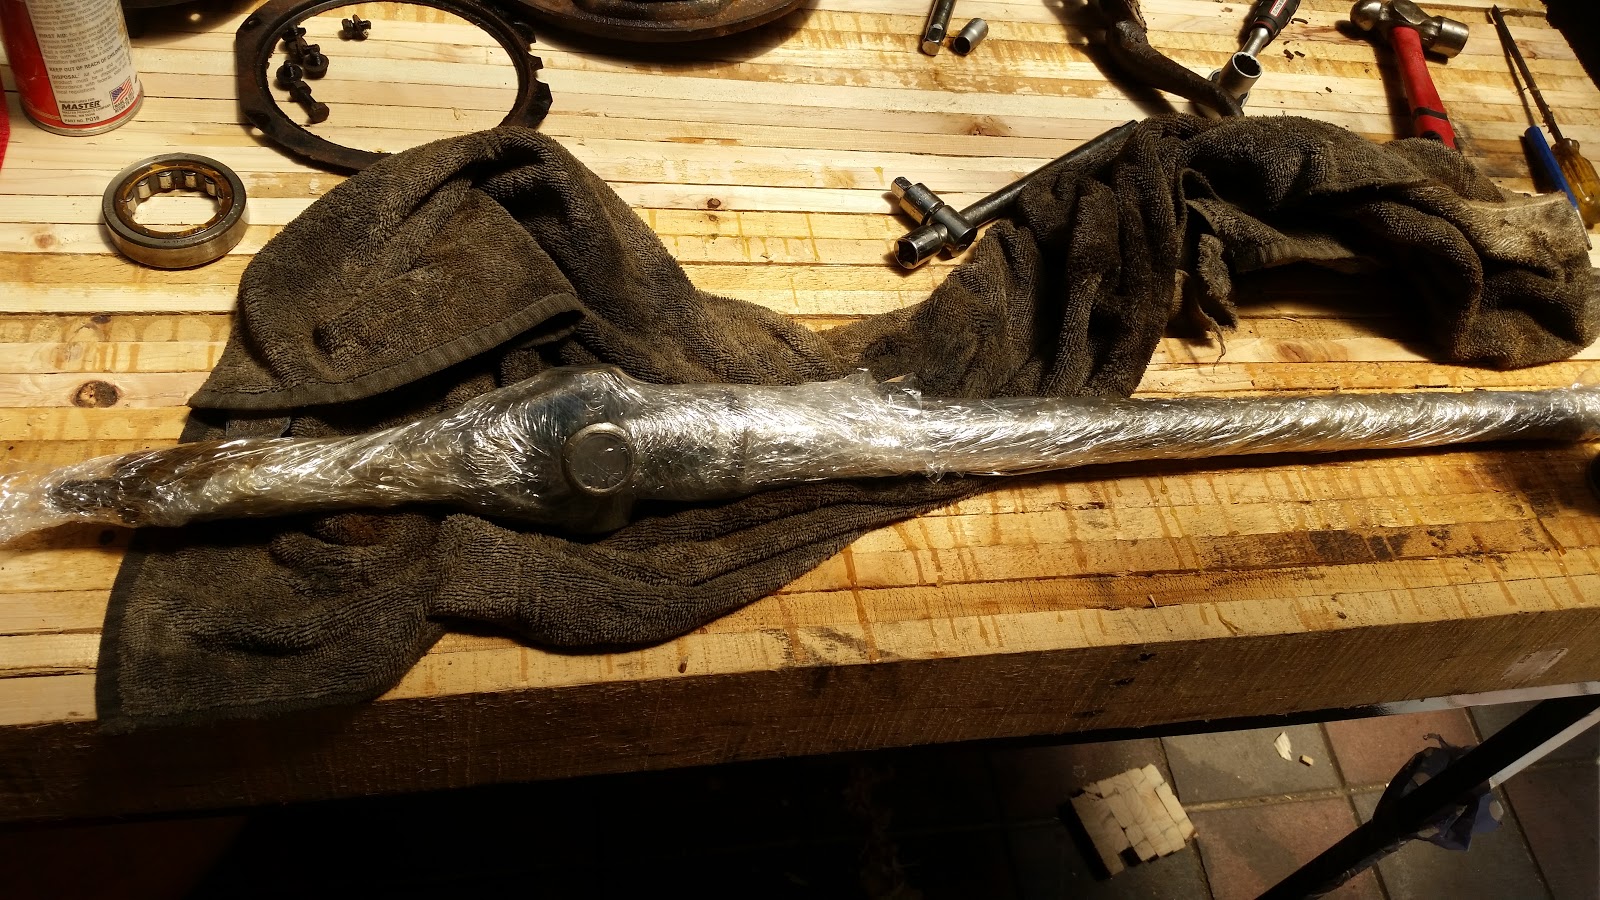
Just like christmas again. I sprayed down the driveshaft with a fair bit of WD-40, then wrapped it in pallet wrap. These parts will be stored in an un-heated spot and it could be a little while for everything to arrive that I will need to get this put back together. So I'd rather do this and have to cut it off once I'm ready for them then have to clean up rusty parts that were fine.
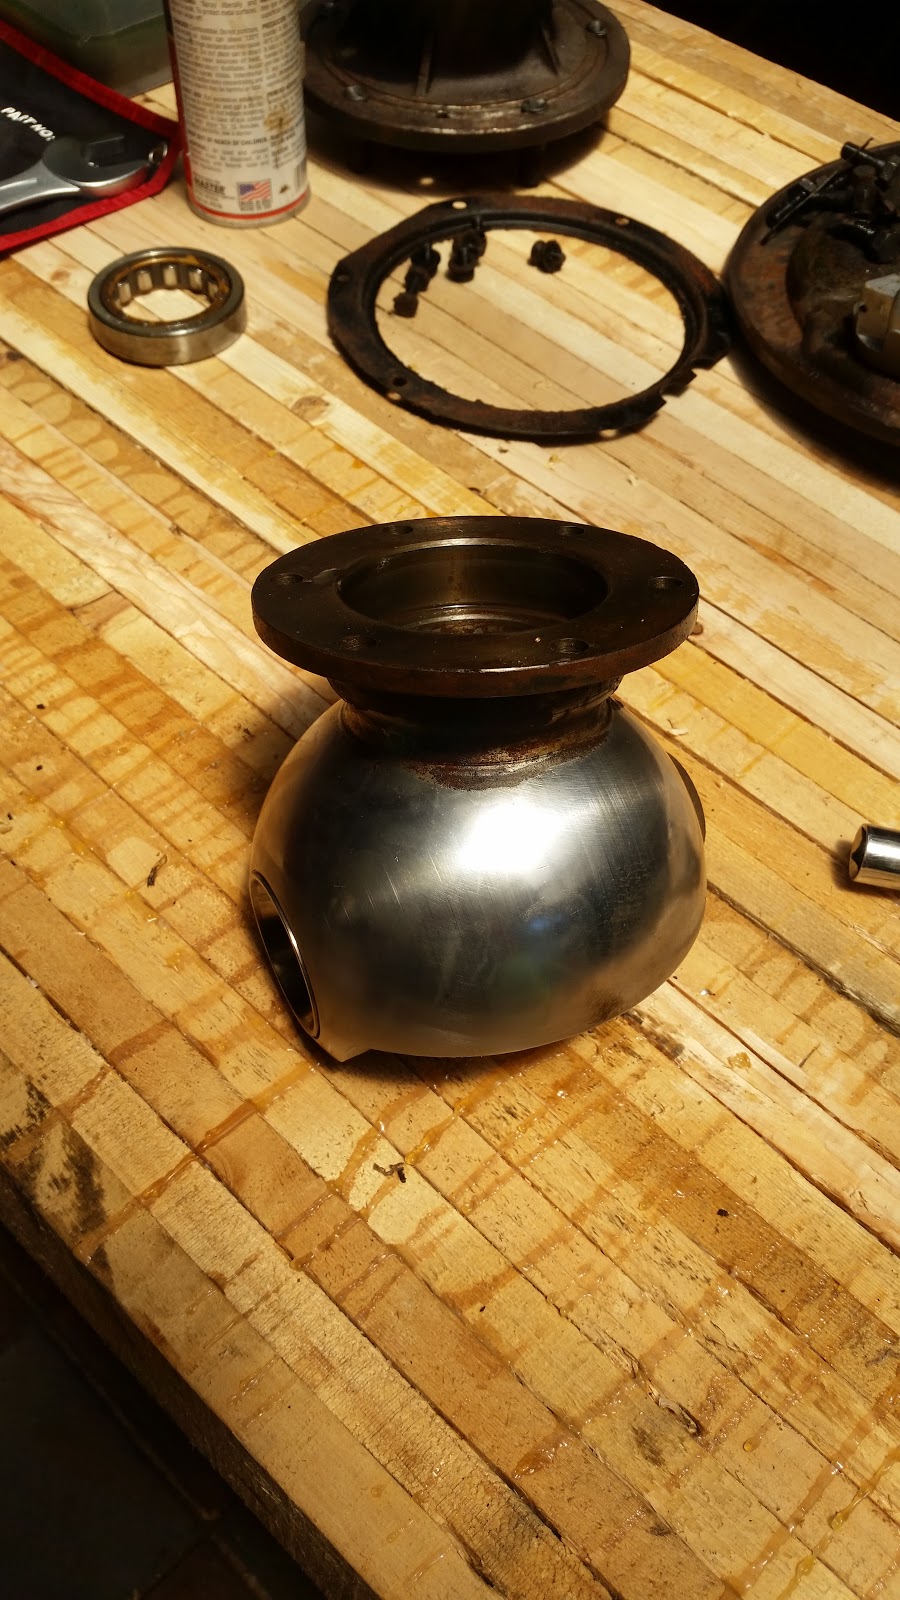
It took me a few seconds to work out how the seal come off from here. Turns out it is just a close fit around the flange.
Oooh, Shiny. This is in quite good condition, with no pitting. The flange is a little dirty but there are no problems here.
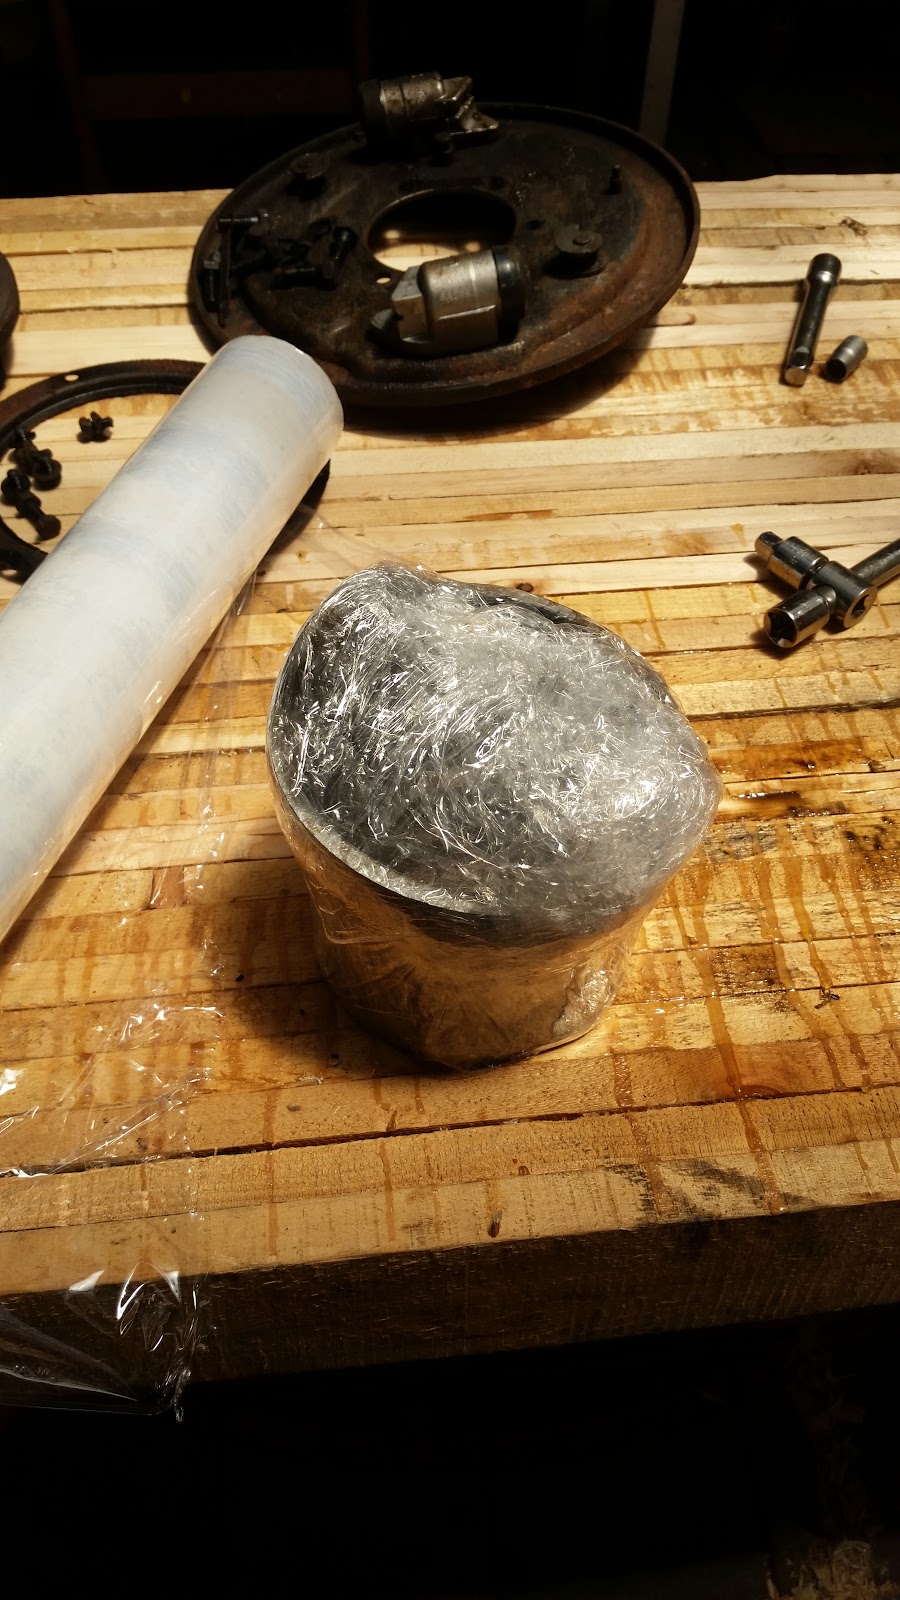
So this gets the same spray and wrap treatment.
That's all I've got so far. I will be pulling apart and cleaning the parts of the freewheeling hubs next. As I'm disassembling everything I am making sure it is clean enough for it to be put back into service without any extra work. So it is taking a little while to get it done. But you can be sure it will get done.
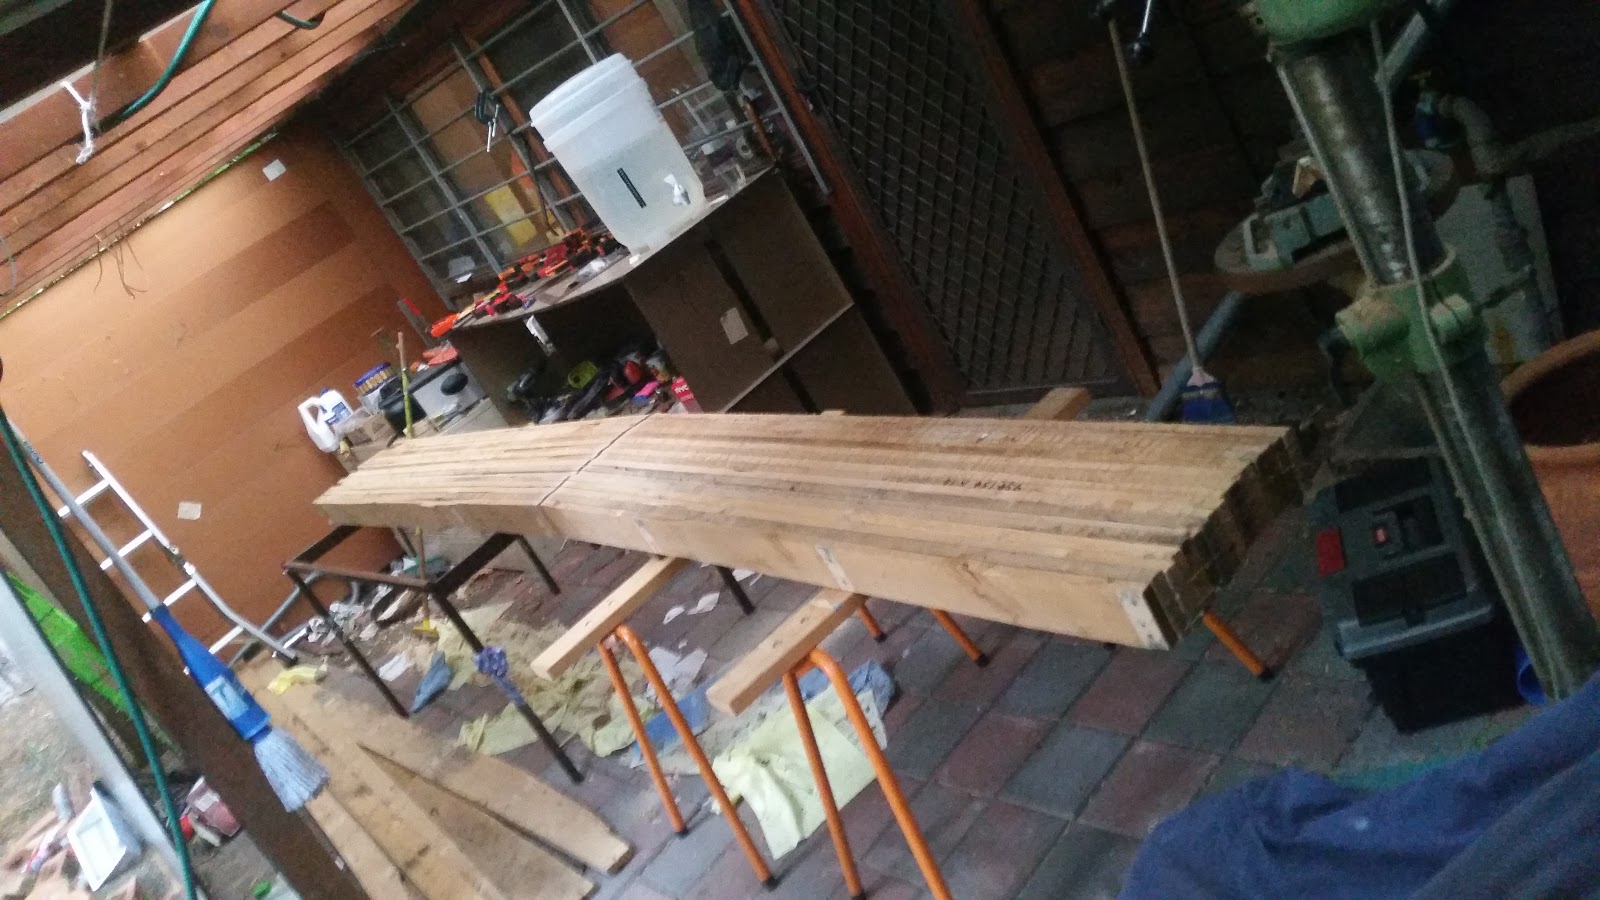
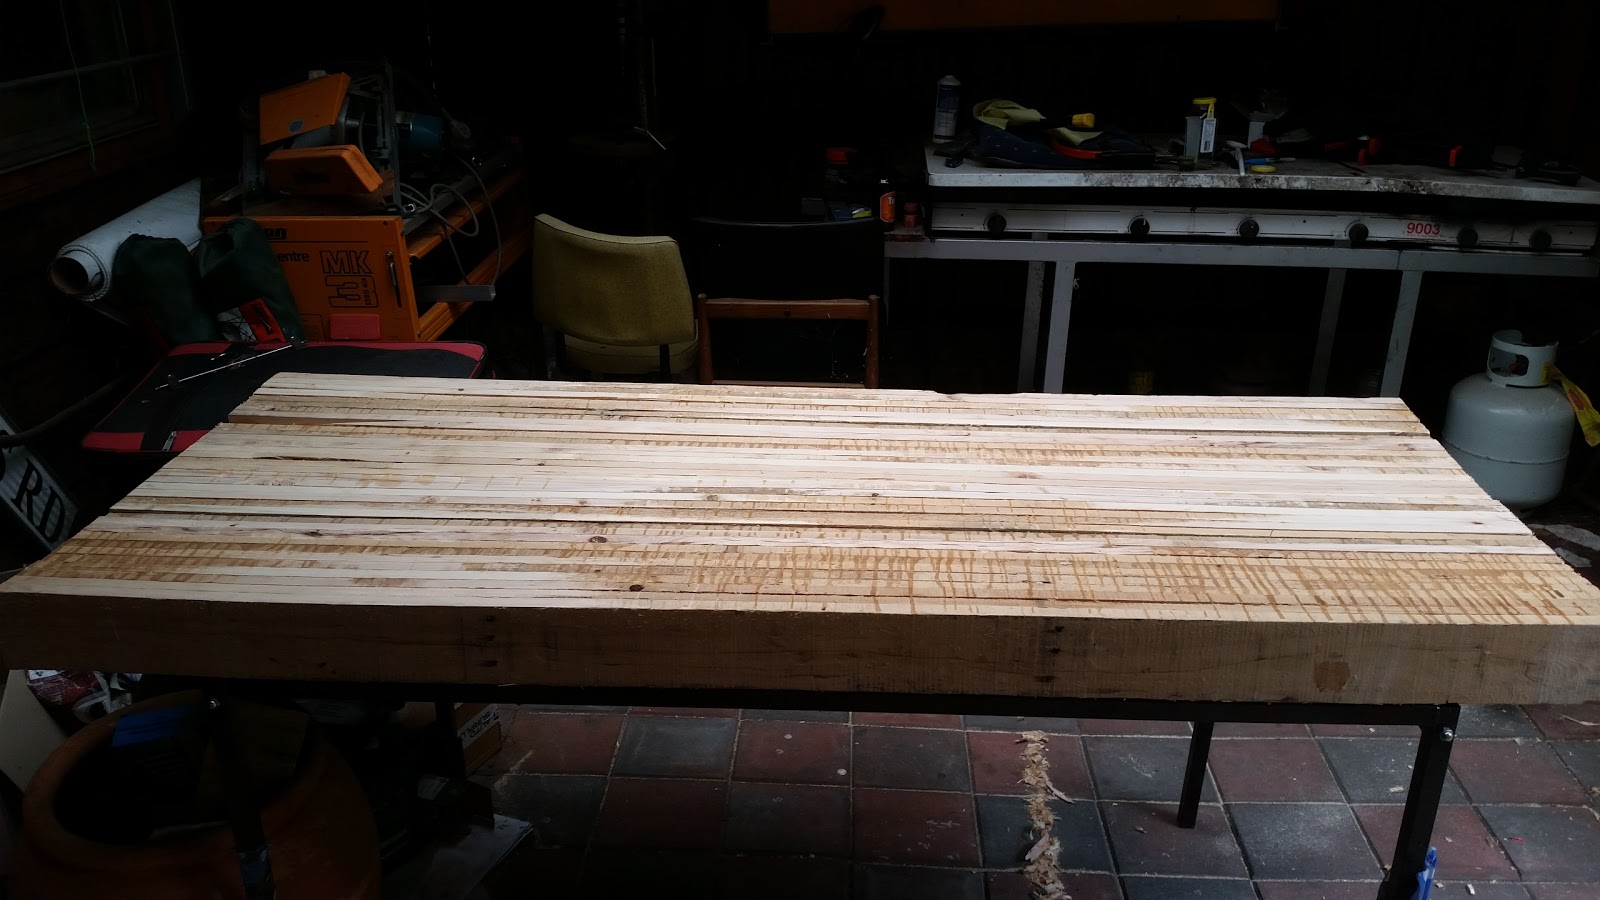
Some of you may have seen on facebook that I have been building a workbench from mostly stuff that would otherwise get thrown away.
It started out as 3.6m long pallets that work needed to get rid of. So I took a couple to disassemble into more useful parts. I've used the planking from the top and bottom and made sure that I took out all of the nails. I then glued the faces of each of these together until I had a big enough block of timber. I then cut this in half so the bench would be a sensible size for my workspace.
The ends are not quite even because there were some chunks out of the ends of some planks. I put all of these at one end so I could cut off the worst of it all at once.
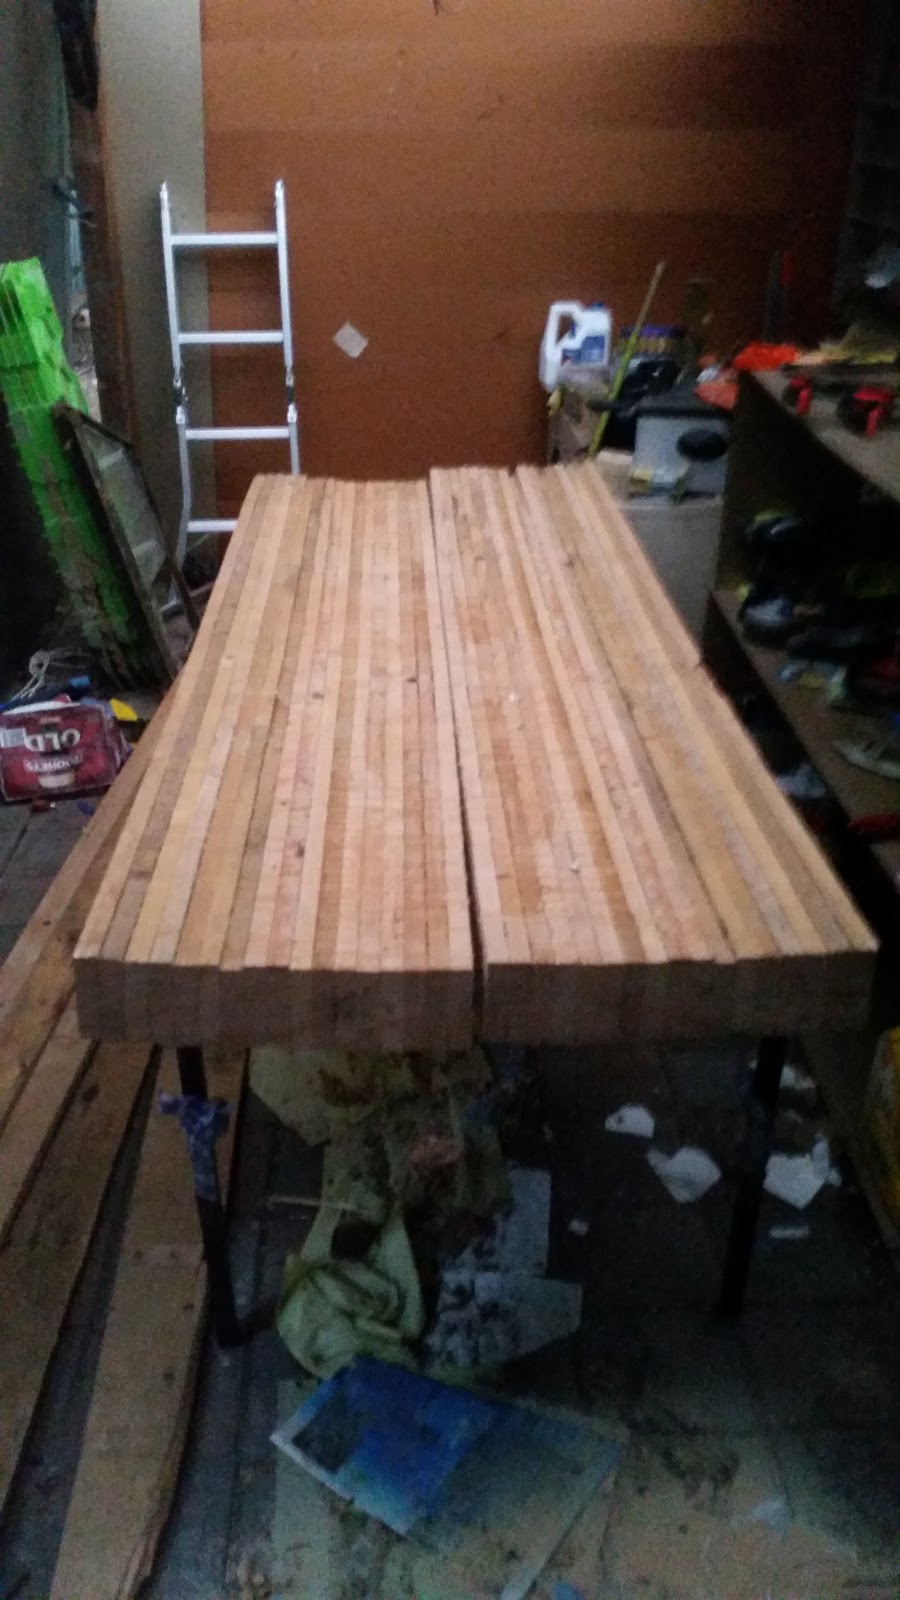
It looks a lot worse in this picture than in person. But I planed down the biggest misalignments and glue runs on what would become the top.
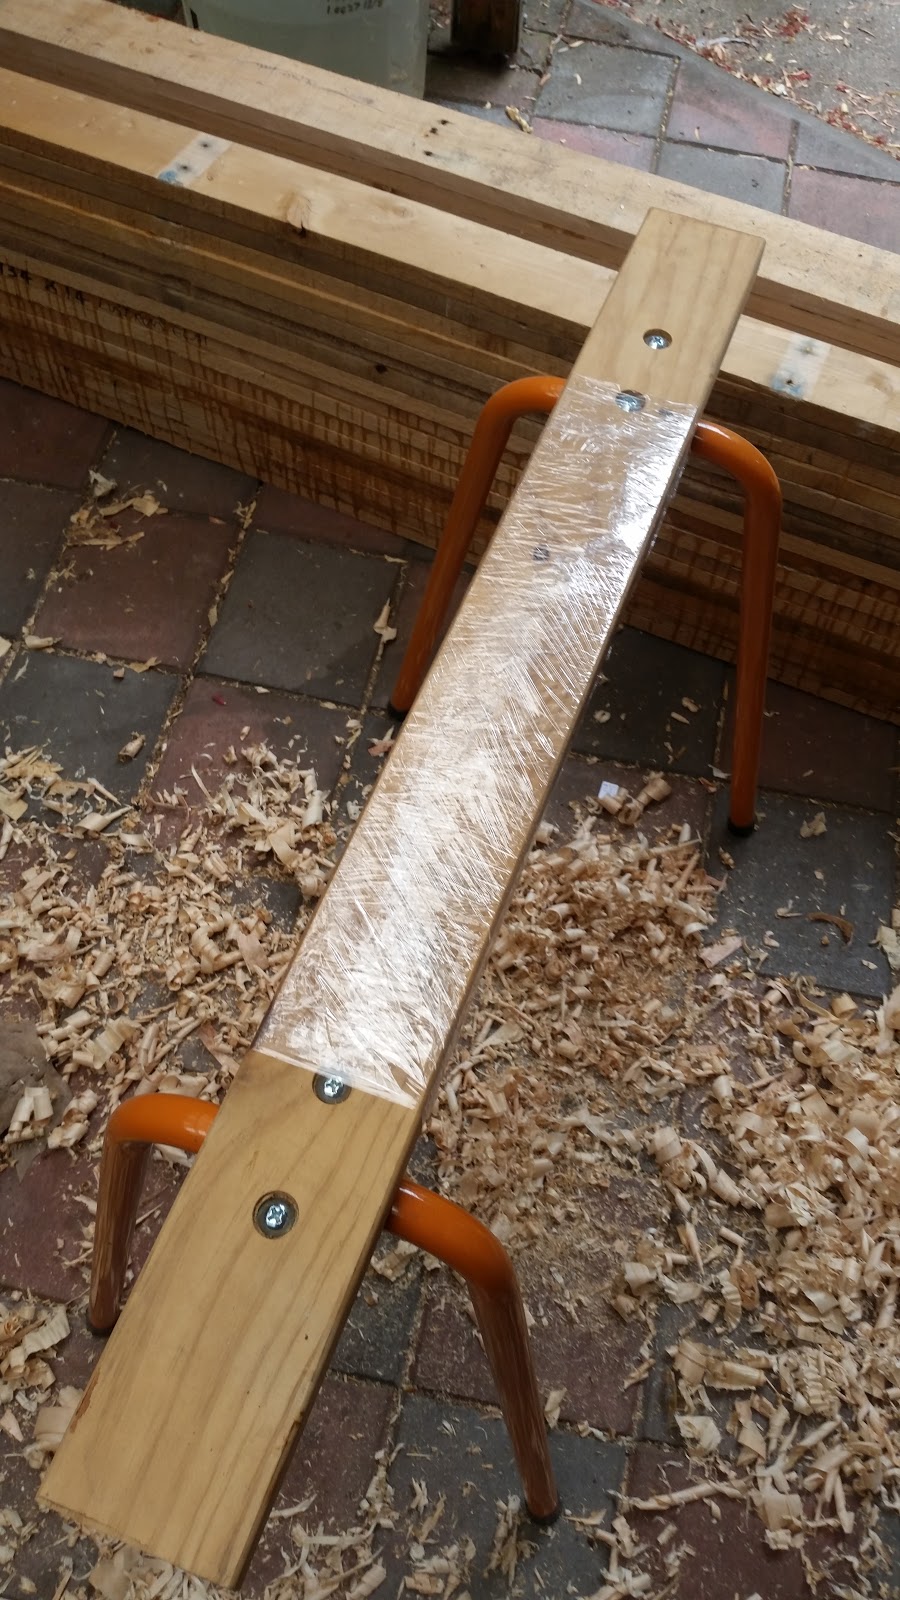
Then it was time to get ready for the glue up. To make sure that I didn't glue the bench to the sawhorses I put some pallet wrap around them.
Doing a dry fit to make sure there wouldn't be any gaps one everything was pulled up.
You can just see some light through here. This needed to get fixed.
To fix it I found the high spot and just took a little material off with the plane until it was pretty even on the straightedge.
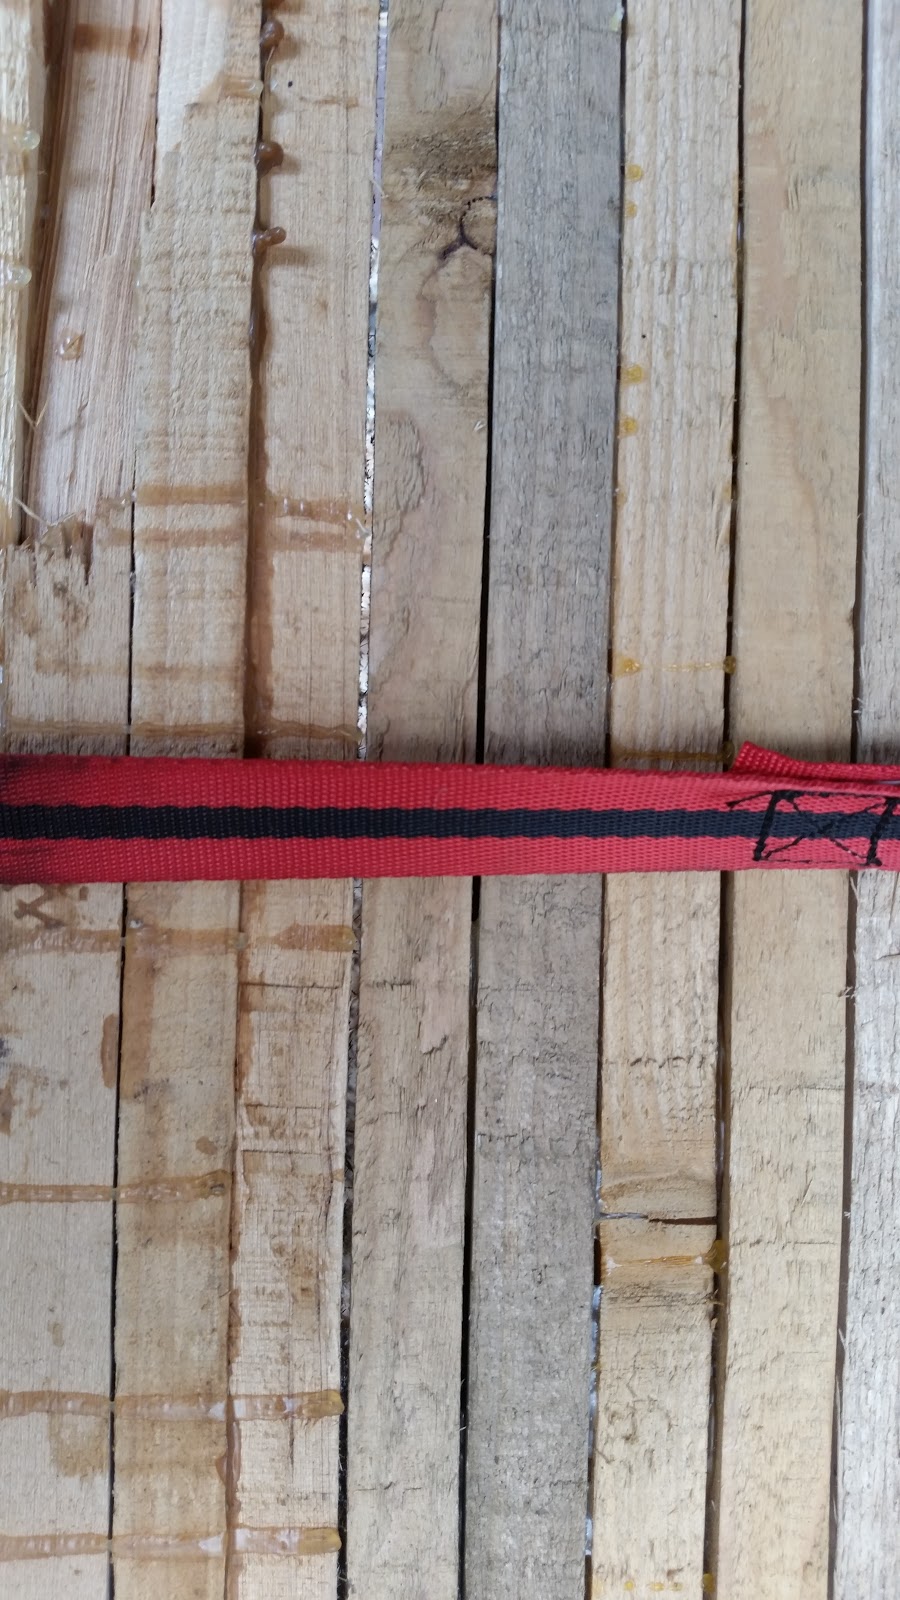
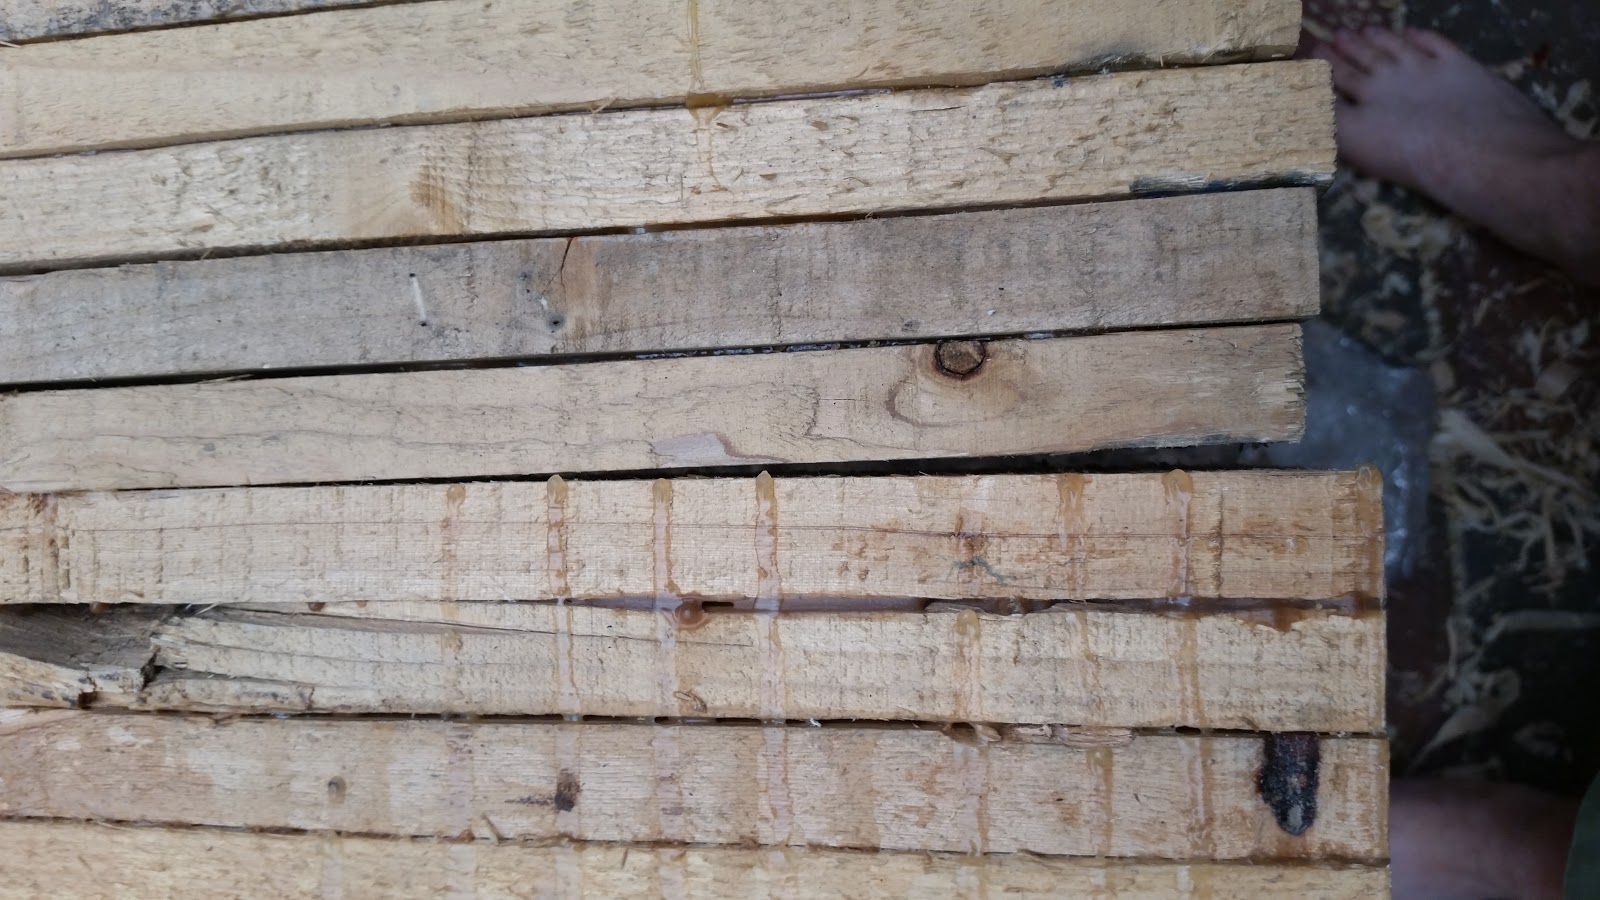
Here we are, gluing in process. I put some pallet wrap around the joint as well to stop drips landing on the ground and on my straps.
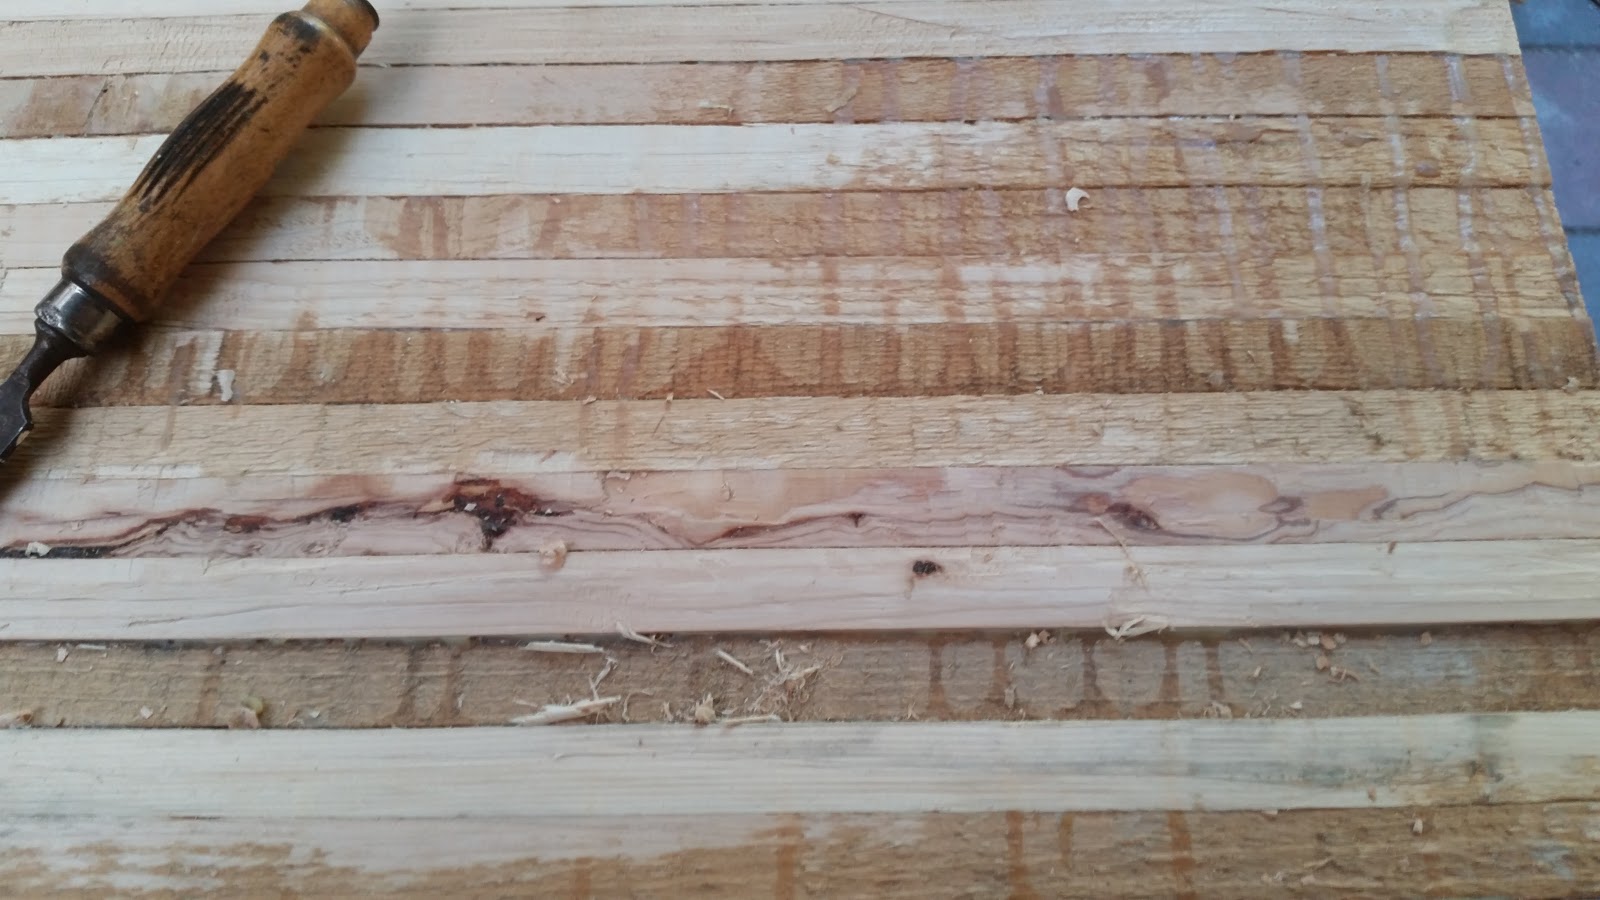
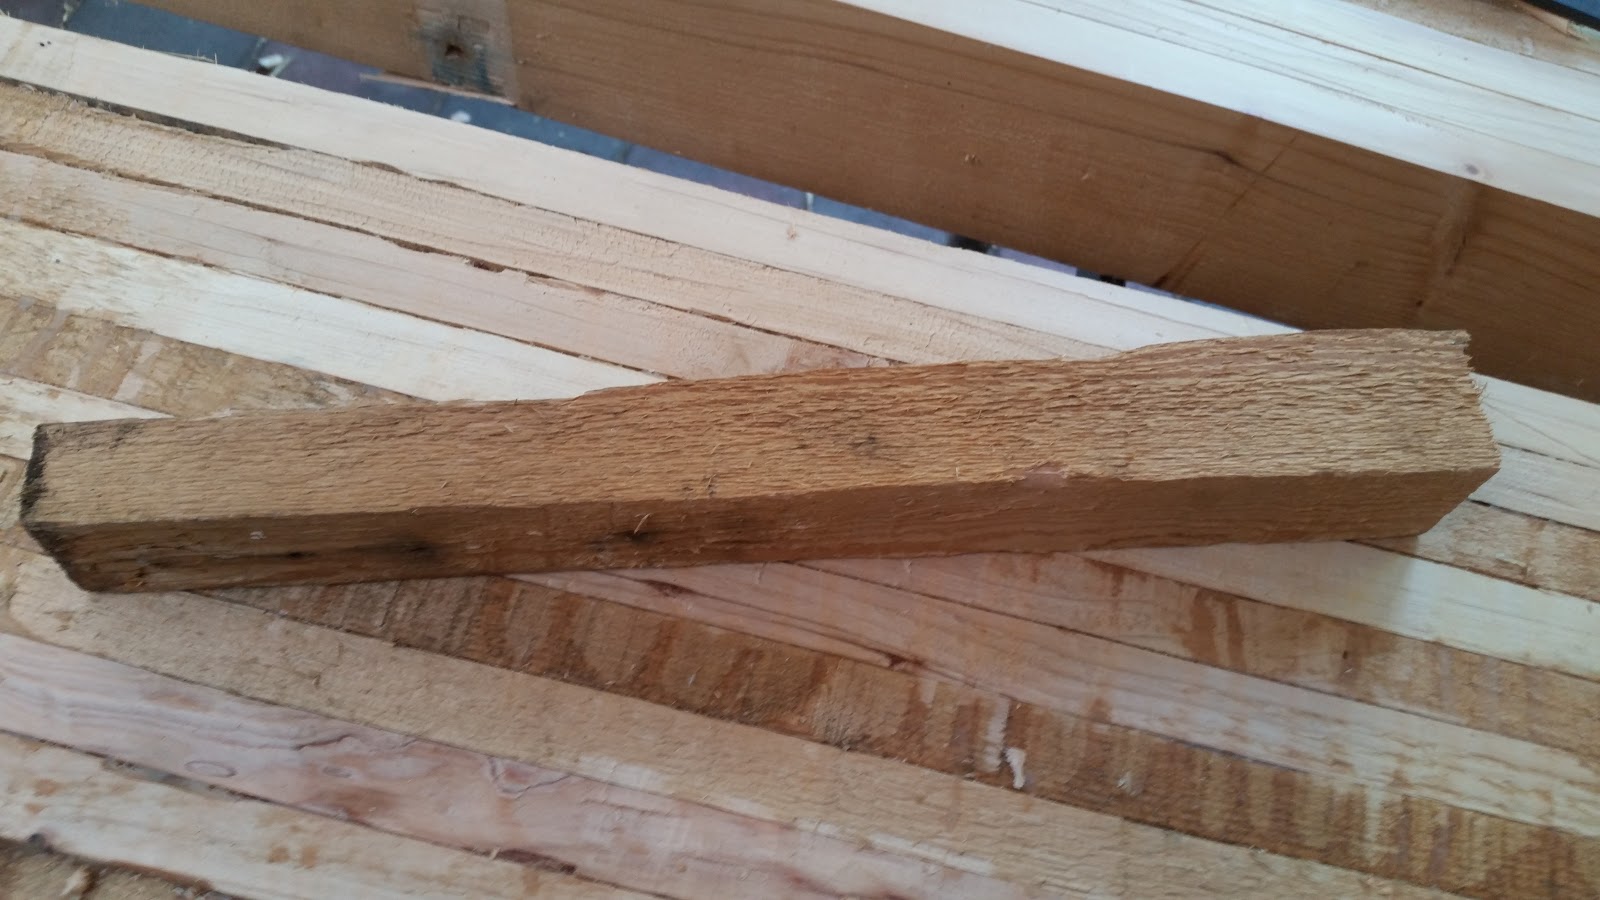
Unfortunately I did have a little split open up during gluing. I think this was because I tightened the straps differently which meant that the one at this end would have been slightly slacker. I'm not worried about this as I can either chop out a section and inset a new piece, or more easily I can make an appropriate wedge and glue that in there.
Because I didn't plane down or level off the bottom side of the table at all I needed to cut rebates through the high points for the cross bars of the frame I am using. To mark them I used a chisel.
And this is the hammer I have been using with the chisel. Yes it is just a random hunk of wood. And yes there are characteristics it has that I would like to be different. But it works surprisingly well, is not heavy enough to be tiring and I don't need to worry about breaking or wearing it out as I can very easily find another just as good.
I cut down along the marked lines with a saw to about the depth of the lowest plank. Then I chopped out the middle with the chisel. It probably would have been easier if I'd made the trench a bit wider so it was the same width as the chisel. That would have made it much easier to get a nice clean even trench. As it was, it wasn't too bad.
And there you have it. There is still some work to be done in making it nice and flat and even. But at this point I need a workbench and this is now flat enough for me to start using it.