Those who know me will agree that I'm lazy, very lazy. If there is an easy way to do something I will do my best to find it. So when I had in mind a project that needed a smallish metal container I went looking for the easiest thing I could find.
A tin can will serve nicely for what I have coming up and many other projects in the future. But how to clean it without taking too much effort? Here's what I came up with:
If you look closely you can see I put it in a little fire I lit to burn off some of the tree trimmings from our yard. I got impatient so I pulled out the can rather than just letting the fire burn out. This is what I had left:
It is a little blackened and charred, but a light coating of carbon may actually help with what I have in mind. But if I needed to I could probably clean up the can with a wire brush or some sand paper. But I don't need it clean and I am lazy so it will stay dirty.
So there you have it. If you need a tin can for a project and don't want to spend too much time cleaning it all you need is a fire and the work will be basically done for you.
It is good to be adaptable. If you can only do a few things, even if you can do them really well then eventually the situation will change and you will end up having to do something you are bad at. However if you give everything a go, and ensure that you do your best you will be able to get everything done that comes your way.
On the weekend I had a go at laying some turf. Not really something in line with what I'm normally doing, but that's no reason to stop. We started with this:
And finished with this:
I found that the slope this was getting laid on was fairly slippery so I was wearing my best non-slip footwear:
I'm no turf laying Guru, but the way we did it was to put down a full roll:
Then a half roll below that. Then we just kept putting full rolls in line with each of those until we reached the end of the run. Unfortunately after putting in 2 rows there was still a bit of space between the Agapanthus' and the turf. To fix this we put a row of half rolls in. Now you might be wondering what tool you use to cut a roll of turf in half? Well we tried using a spade; that worked but it was a lot of work and not a very straight cut. The best tool we found was a hand saw. Once we cottoned on to that it was much easier to cut the rolls cleanly into half.
So with the turf down I went through with a bag of mulch and put that around the Agapanthus' to make a nice neat edge at the bottom of the fence. Hopefully in a few weeks we will be able to see that we did this properly and there will be a lice lush stable lawn in that part of the yard.
But remember, you don't need to know what you're doing to get something done. All you need is to be careful, think about what the end target is and don't give up after a setback.
Thread tape, Plumbers tape, whatever you want to call it. You may have seen it used on hose fittings to help keep fluid inside. What many people don't know and can cause quite major problems is that you must be very careful about how it is applied. I recently replaced the shower rose in our bathroom so I will use that as an example here.
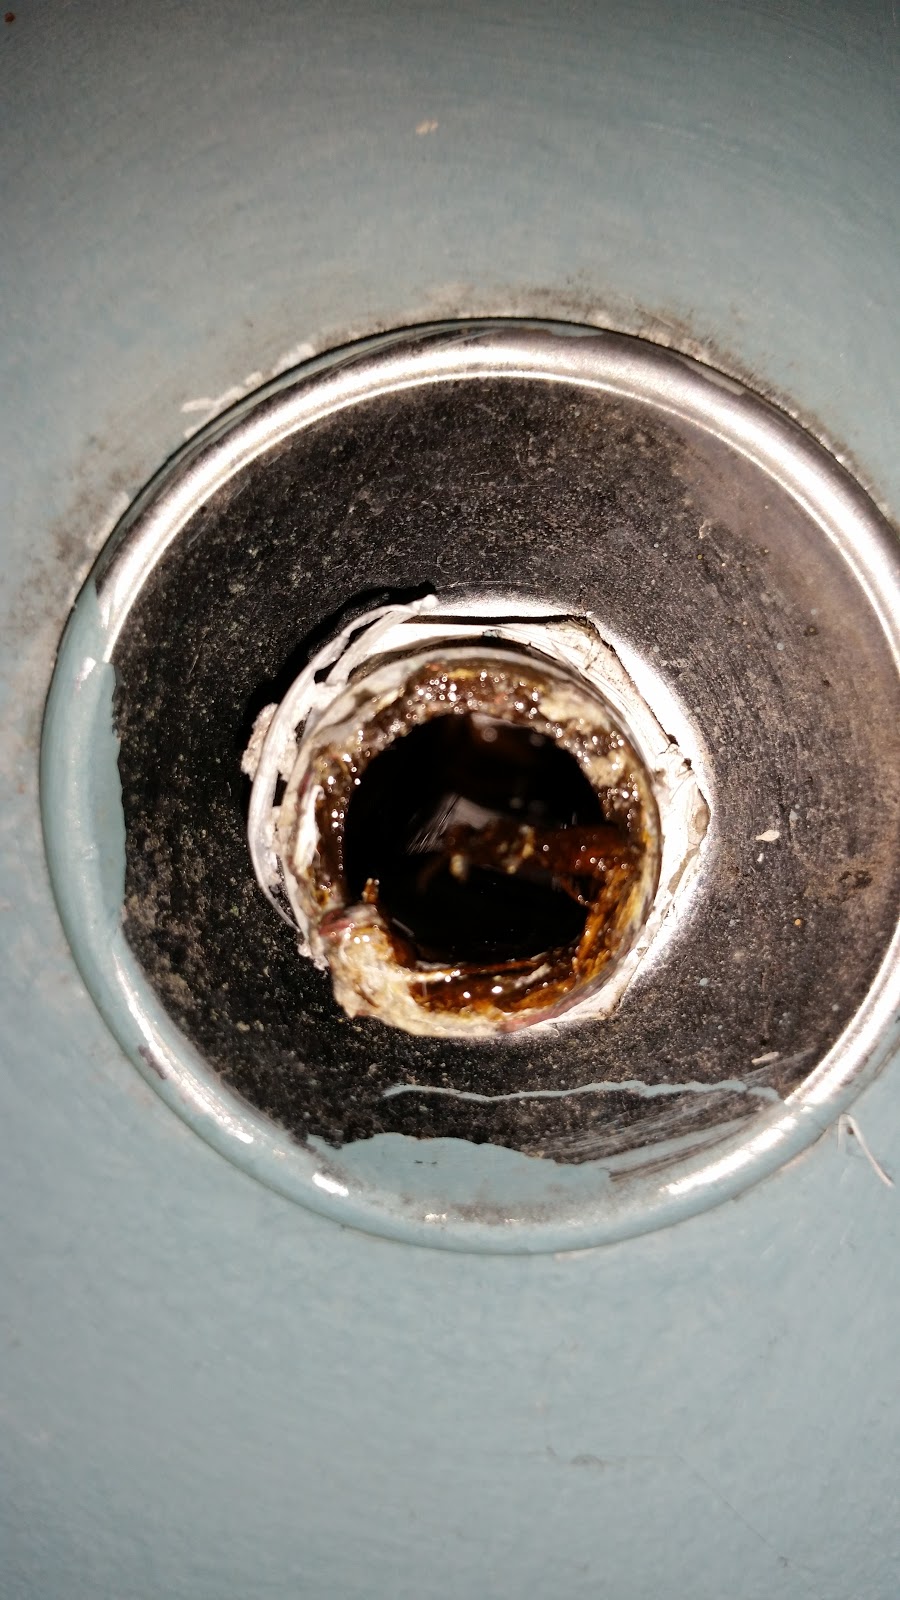
These are pictures of the old fitting and the wall fixture. It's a little difficult to see but the tape has been cut off the end of the thread and has gotten into the pipe and is partially blocking flow. In a shower this is not much of an issue, however when I used thread tape to seal up the transmission cooler hoses on the Jeep I had it could've caused some quite major problems if pieces had come loose.
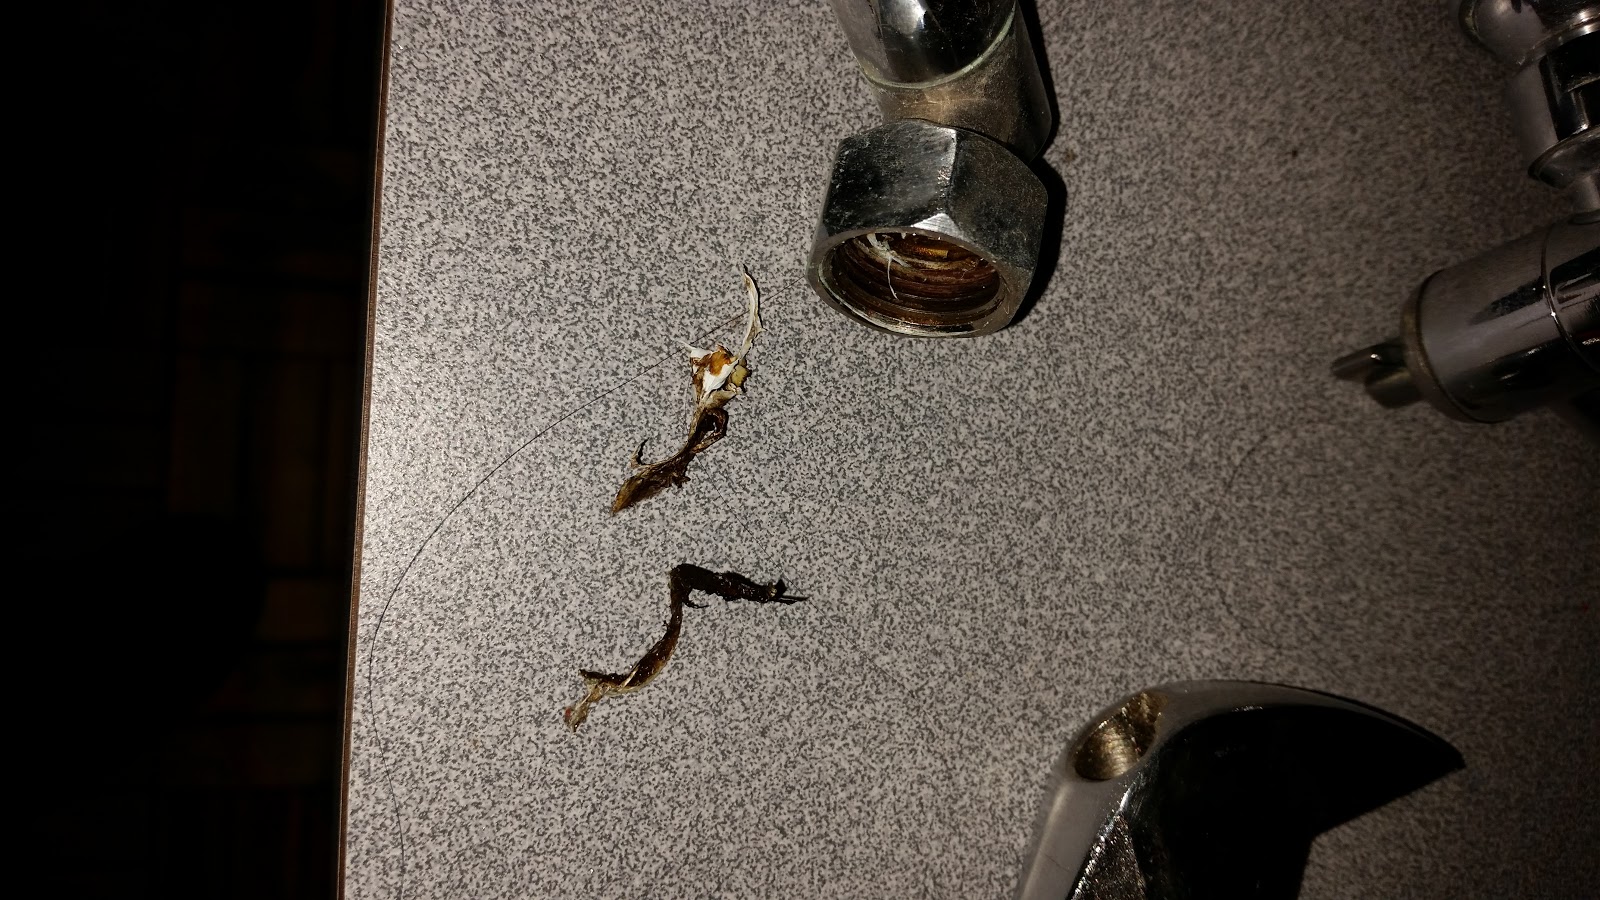
These are the bits that I pulled from both the shower head and the wall fitting. Could be bad.
This is how I've been taught to apply this tape. Yes I know it's pink not white but it's all that I found around the house. You need to wrap the tape so that when the fitting screws in it tights, not undoes the tape. On a standard right hand thread this means going clockwise around the thread. Another, lesser known trick is to feed the roll of tape in such a way that you can maintain even tension. If you look at the above picture you can see that the roll is away from the pipe. This means that I can ensure there is enough tension on there to pull the tape down into the threads and make for a good seal.
I usually do 2 or 3 wraps, but this depends on the depth and sharpness of the threads. Putting too much on will make it hard to screw the fitting together and can cause bits to be cut off and carried into the flow. To finish applying the tape I just pull quite hard on the tape while keeping it as if I just wanted to increase the tension of the wraps. This will stretch the tape until it tears and will leave it nice and neat. If you find that you've wound the tape the wrong way when you start to screw the fitting together then simply unwind the tape and start again in the other direction.
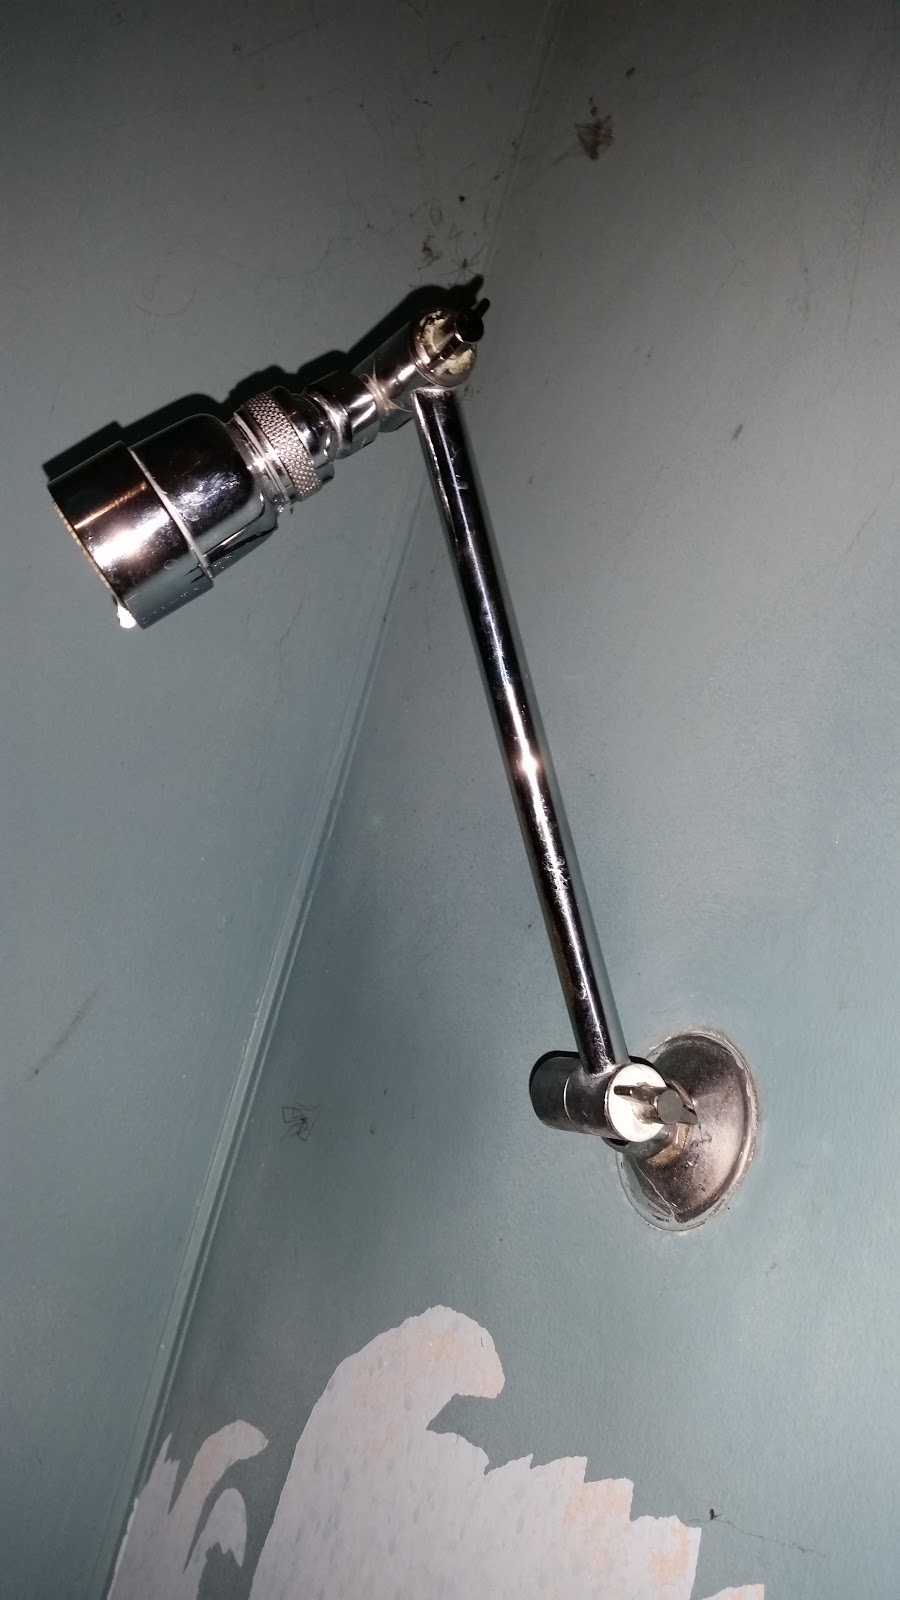
Here we are, a new water saving shower head that will hopefully start to save us some money. A fairly easy thing to do for the average homeowner and over the course of a number of years can make quite a considerable difference.
I hope you find this useful at some point and if you've got any other ideas on how to apply plumbing tape please share below in the comments.
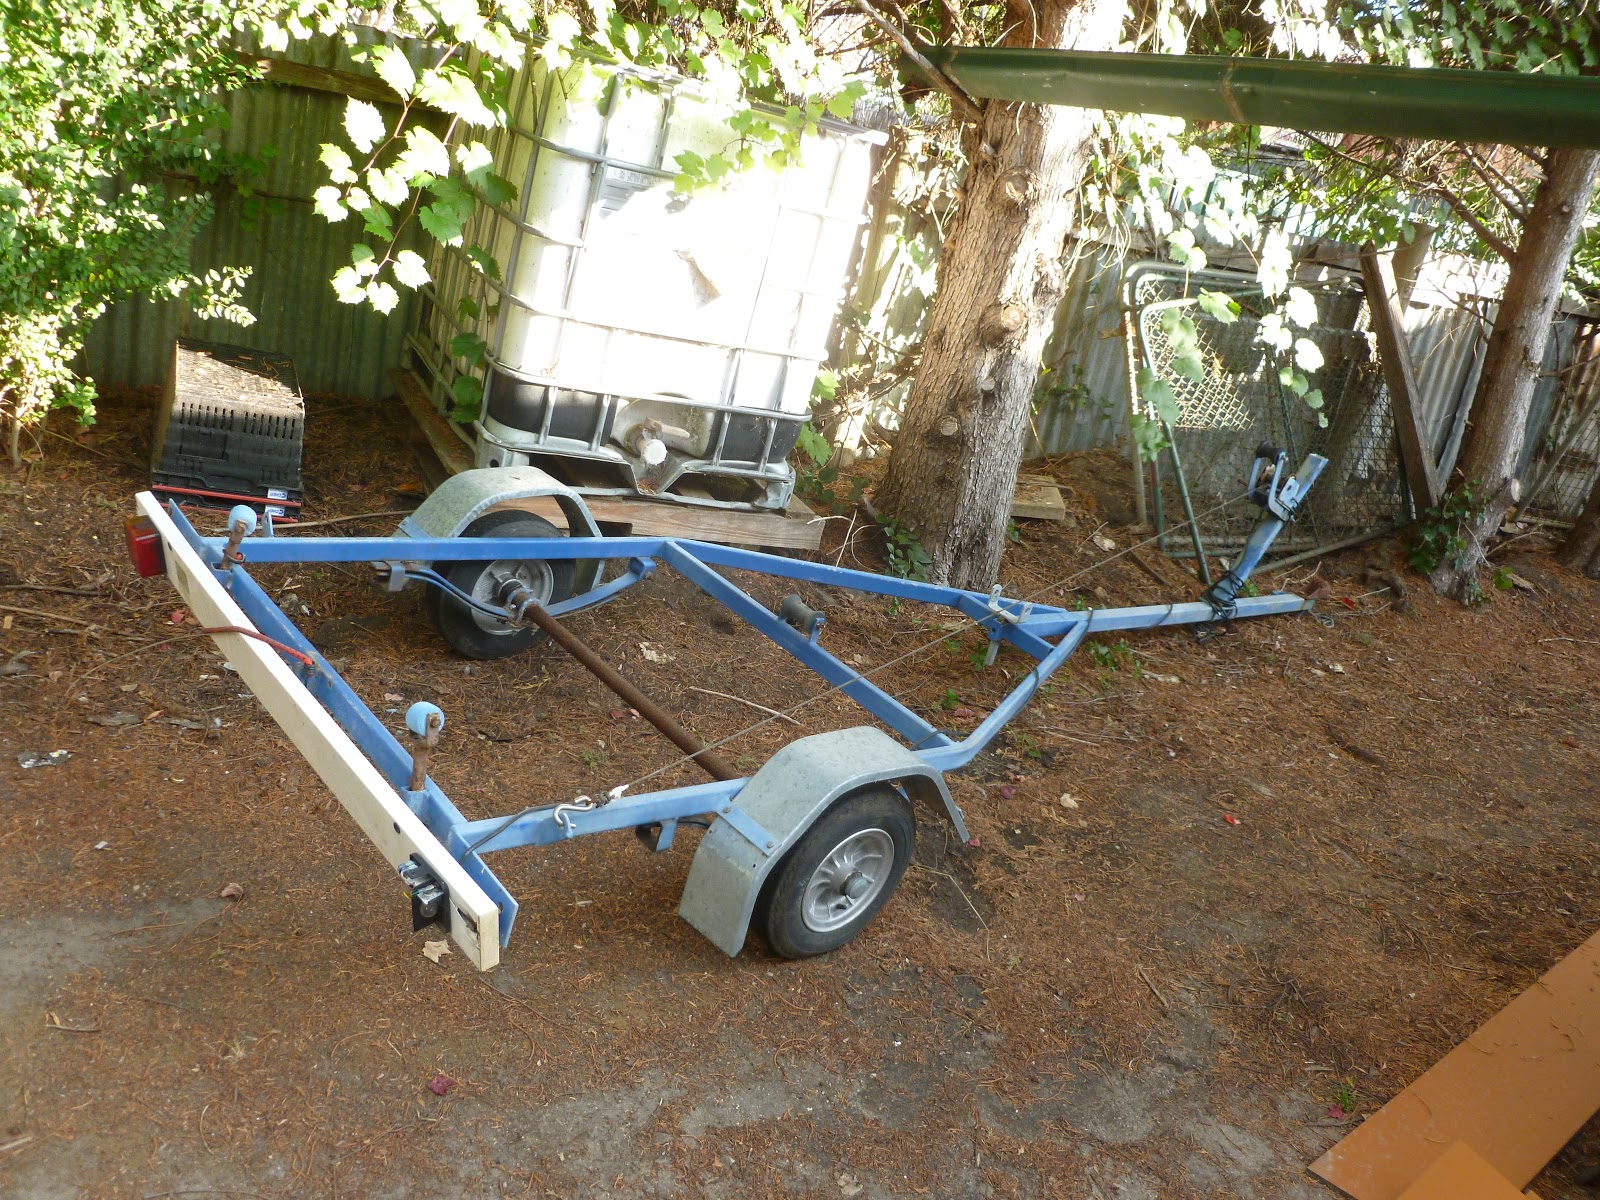
Finally more progress has been made on the Fireball. We originally saw it here. About a year ago when I went for a drive up to Queensland and came back with the Fireball on the back of a borrowed trailer.
More recently we saw me getting a trailer of my own for it here.
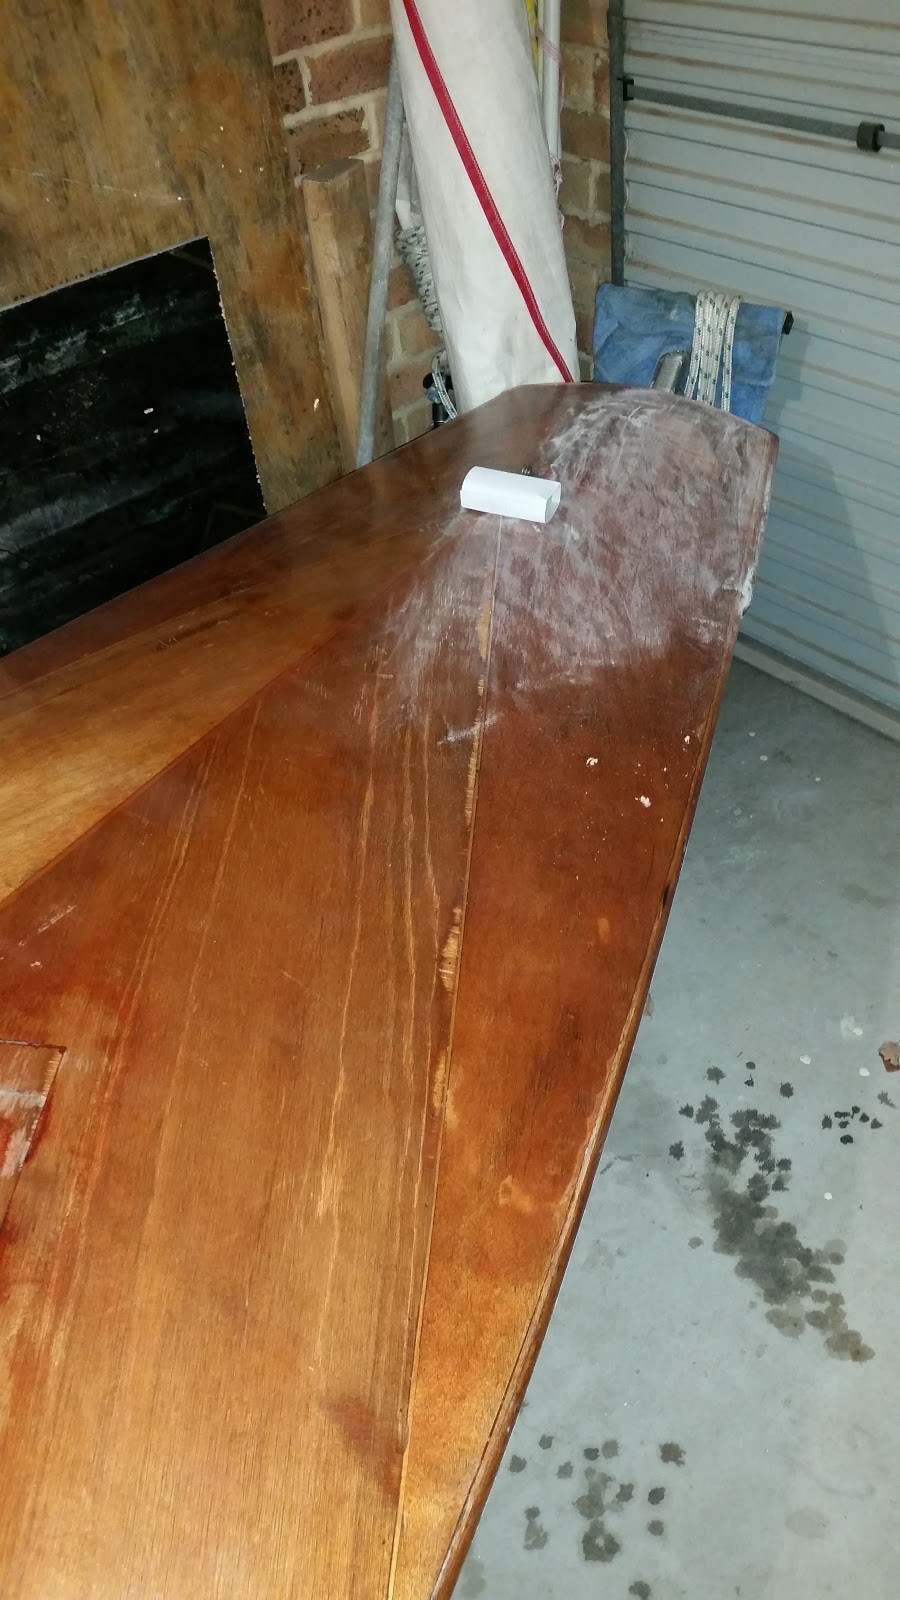
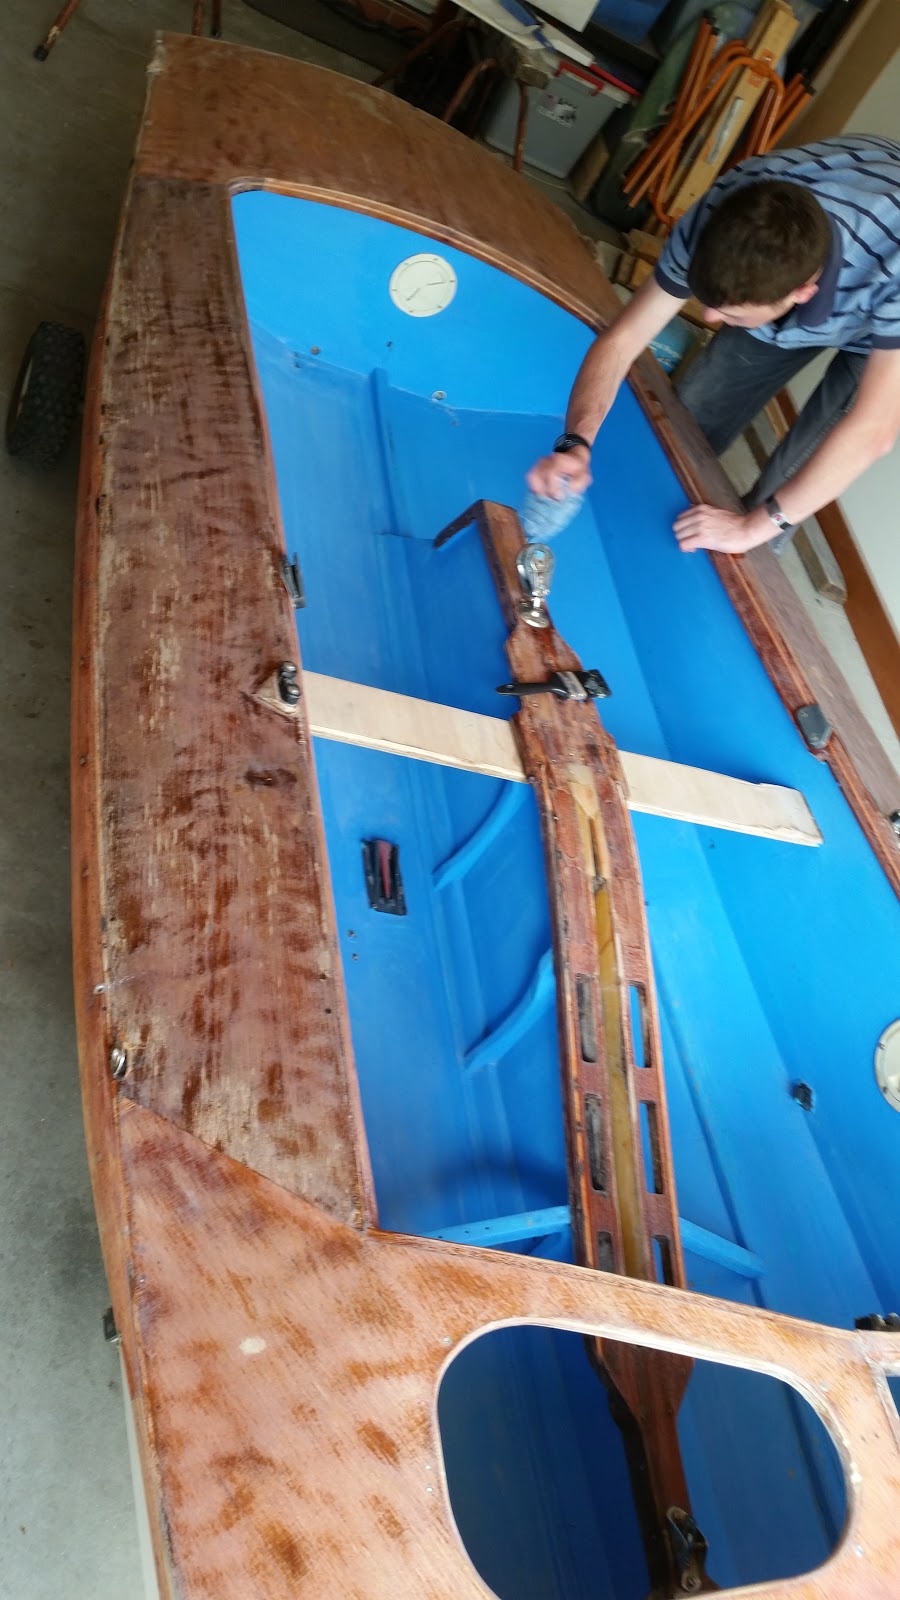
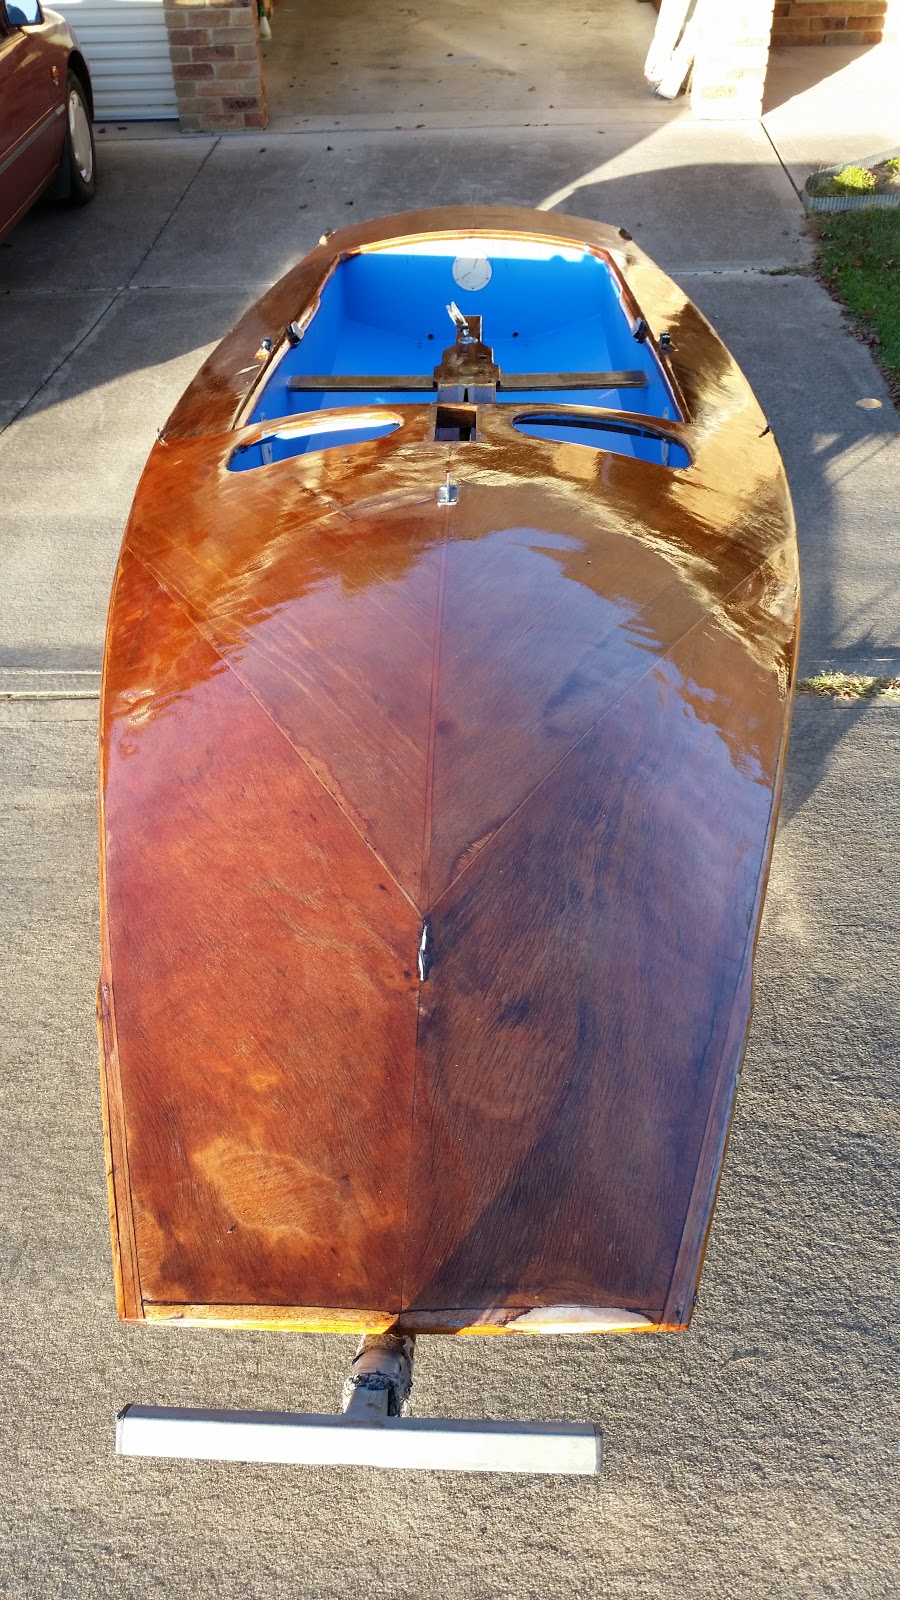
Well, it now has nearly enough paint and varnish on it that we can splash soon again. My brother has put a few coats on the bottom and between us to date we have put 2 coats of paint in the cockpit and 2 coats of varnish on the deck. With the varnish on it started to look quite special, particularly remembering what it did look like before we started to repaint.
Below are some photos of the work in progress.
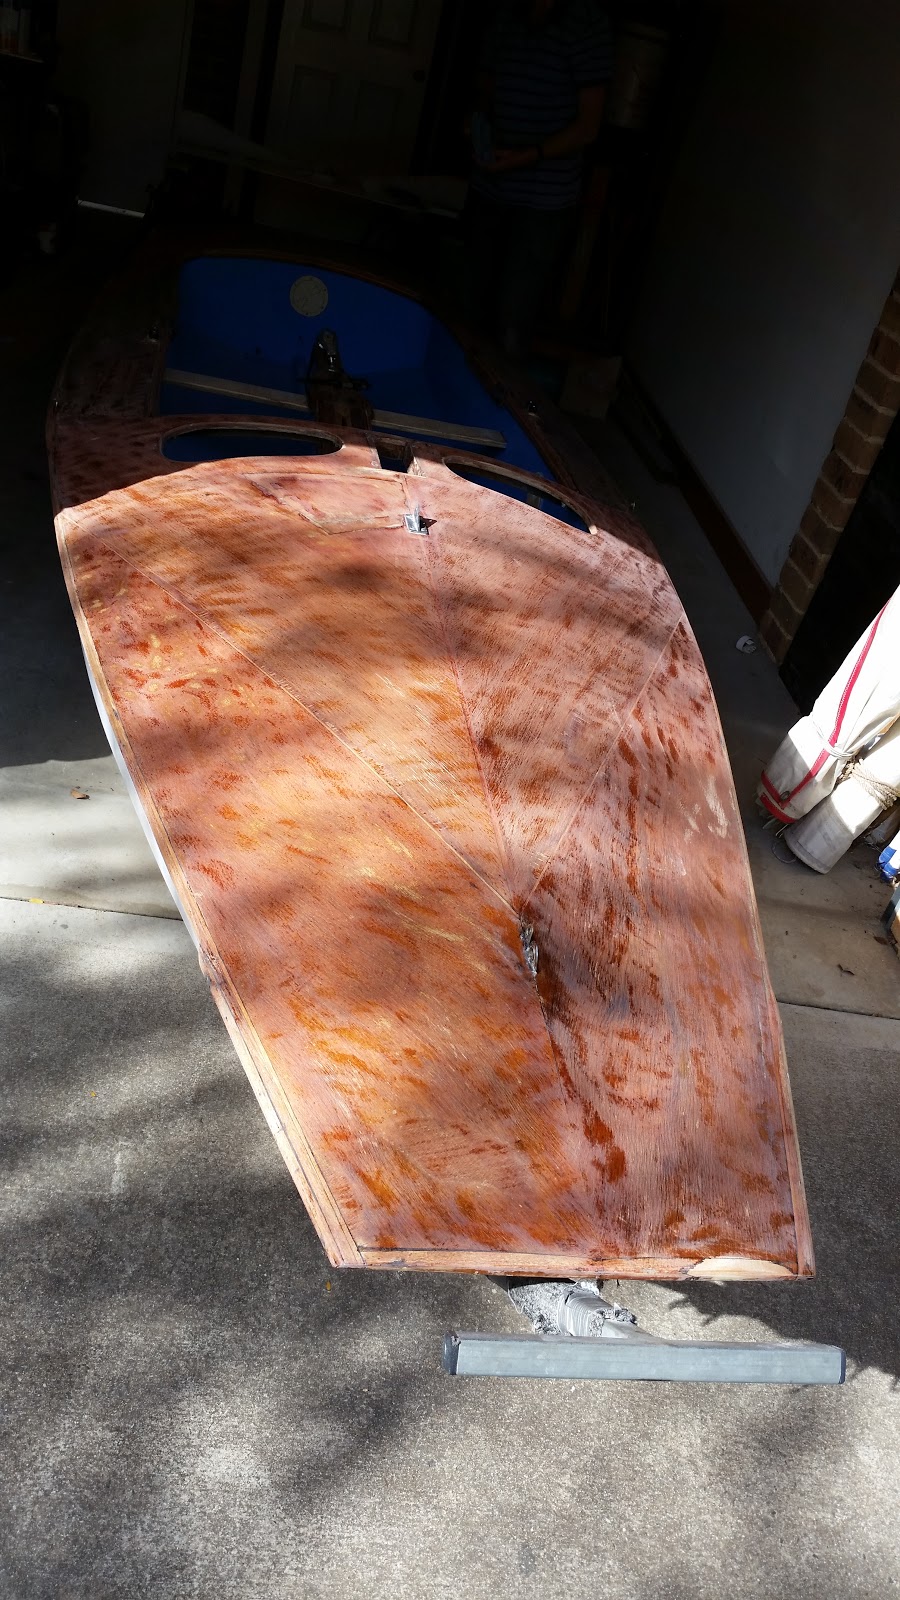
Just started sanding the deck. Not a very fun job I must say.
This is where I stopped for dinner. We didn't get a chance to start again until the next morning because the pain in the cockpit was still a bit wet in a few spots and we were hoping to keep most of the sanding dust out of the paint. You can see the whole deck except for the bits around the cockpit have been sanded and are pretty well ready for varnish.
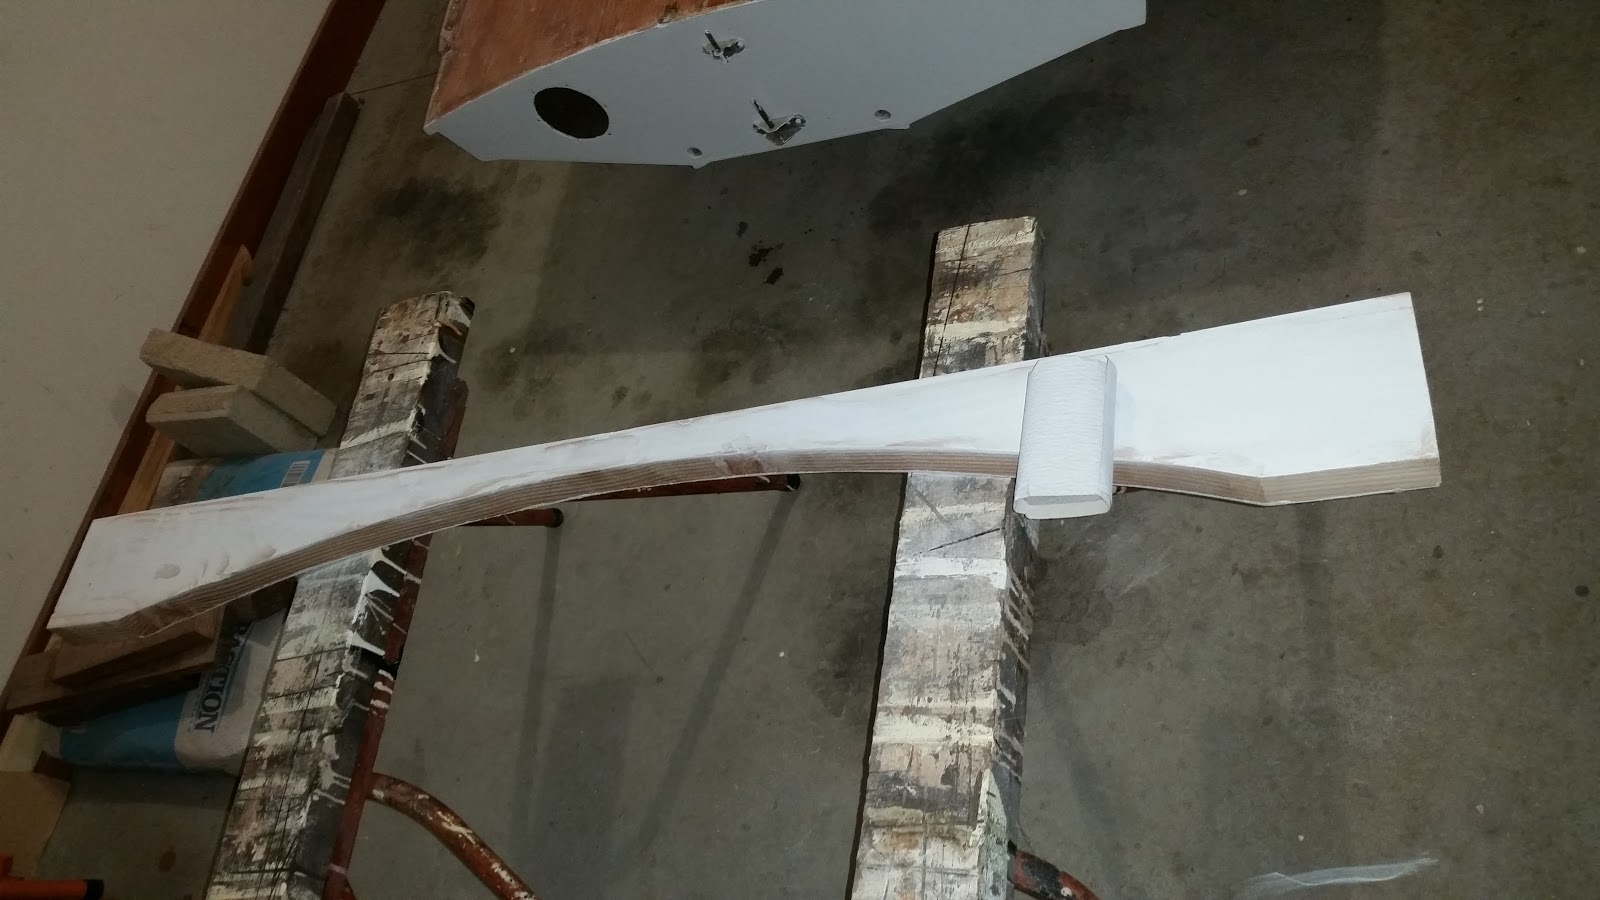
This is the beginning of the light board that will sit on the back of the trailer to hold the number plate and lights. Nathan made it from a scrap piece of timber left over from repairing the verandah at their house. We ended up painting it to match the cockpit as we already had the paint out and being an exterior house paint it should handle being out in the weather.
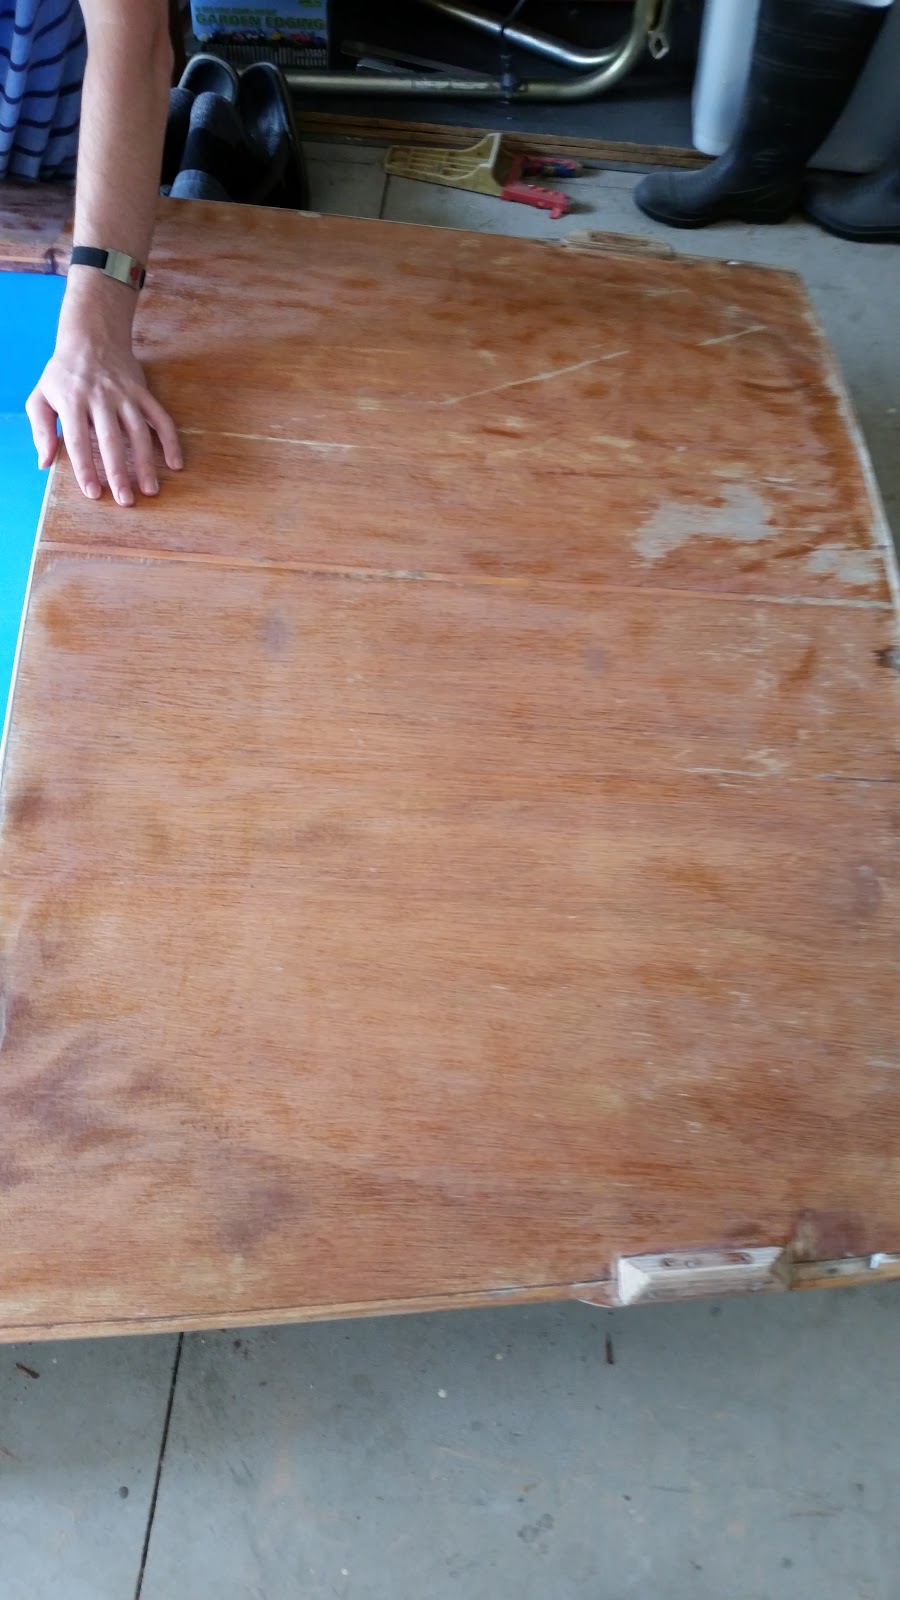
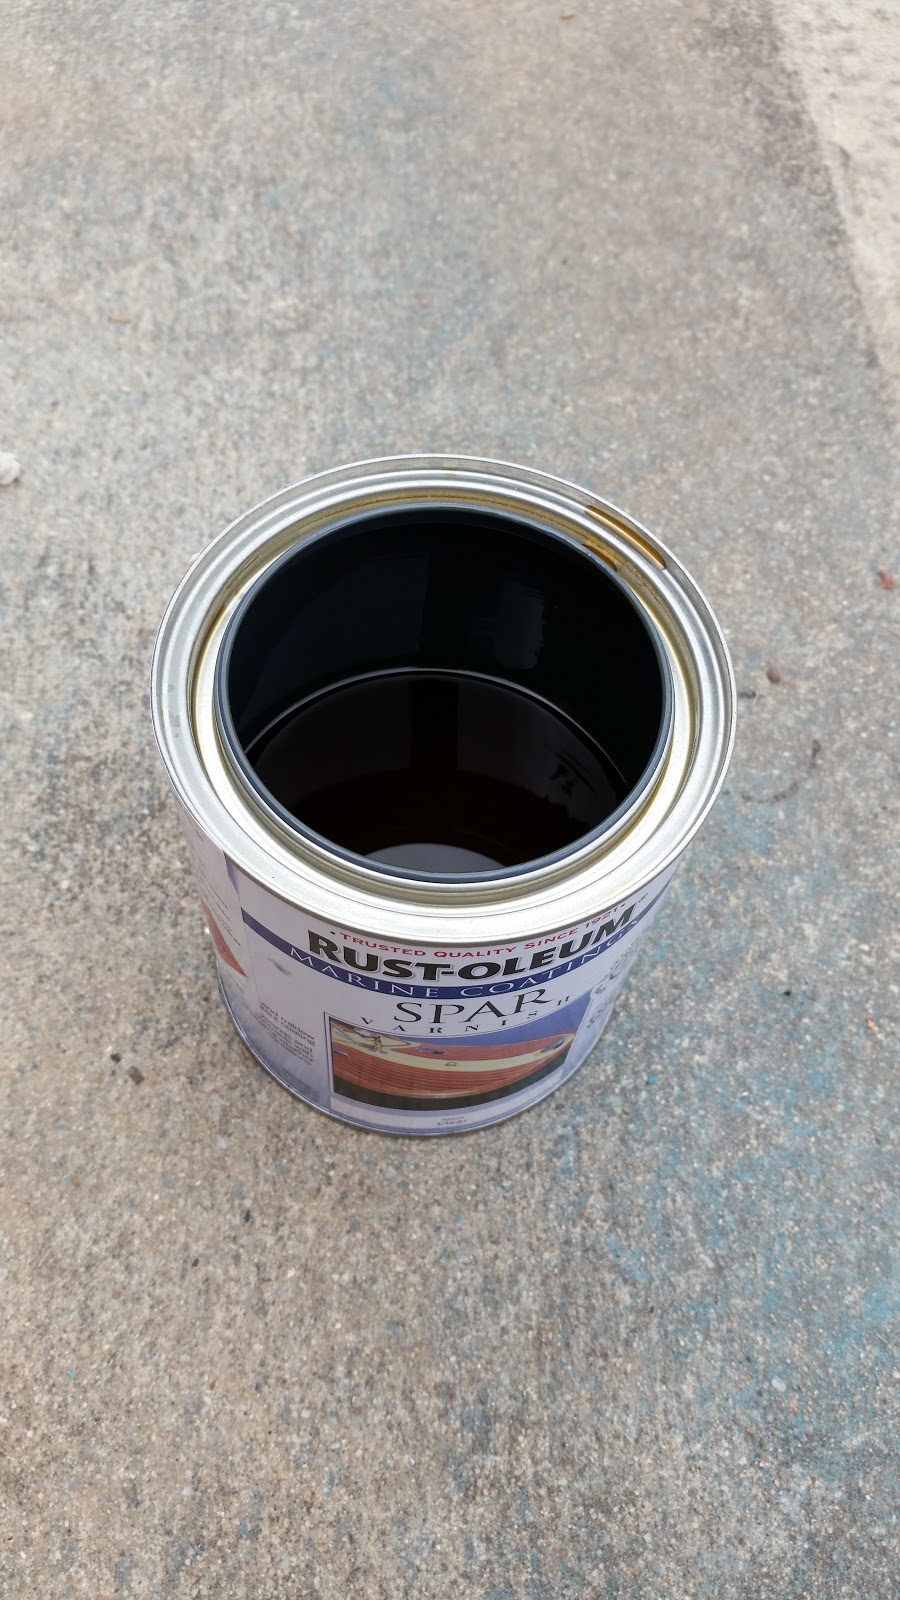
All ready to go, wiped down with a damp rag then time to apply. We put the paint in the cockpit together then while that was starting to dry I put the varnish on. This was easier for 1 person to do because we only had one tin of varnish.
And here is the finished product after 2 coats. It was still a bit damp here so looks shinyer than it will once finished. But it certainly gives a nice look to the timber. It will probably need another coat or 2 as before we put this one on there were still some checks and weathered bits of timber that had soaked up all they could and were dry again.
So far on the 2 coats we have used probably a hair more than half of the tin we bought of varnish.
Hopefully the next update will start with a picture of the boat in the water with all sails drawing well. But we'll see. There are still a few bits a pieces that need to be done on the trailer first.