I've made a start on what needs to be done on my new Land Rover. The biggest thing that had to be done first was replace the water pump. The one that was on it had failed so badly that the weep hole in the housing has a stream coming out of it, even when the engine isn't running. I want to get this fixed so I can keep the engine full of coolant and be able to just start it when I need to move it, rather than having to top it off and then try and do everything as quickly as possible.
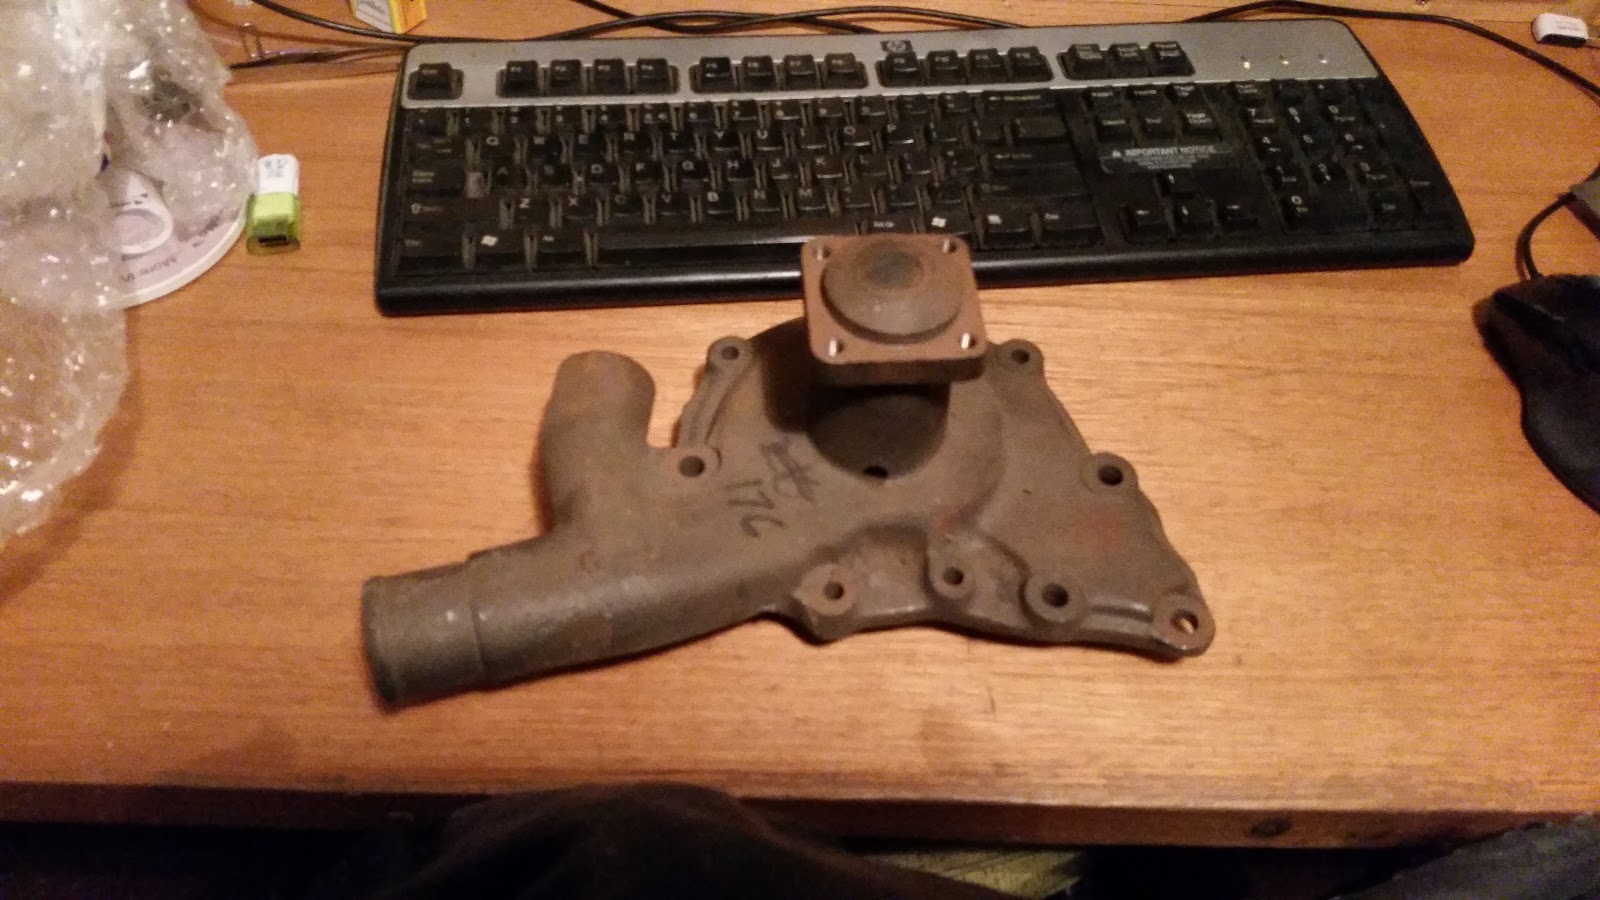
This is the new pump. I ordered it from E-Bay. It is still raw metal though so I grabbed a can of Kill-Rust paint that I had sitting around and made it not raw metal.
Looks pretty good. I think I will start doing this to all of the parts I take off, to help protect them and also to make the engine bay look a bit cleaner.
We thought it would be easiest to remove the radiator entirely. I forgot to take a picture, but here it is without a rad. There was about 12 bolts with nuts holding it on so we had to take off the grill and then with 2 of us remove all of them, making sure that it didn't fall down as we undid the last few bolts.
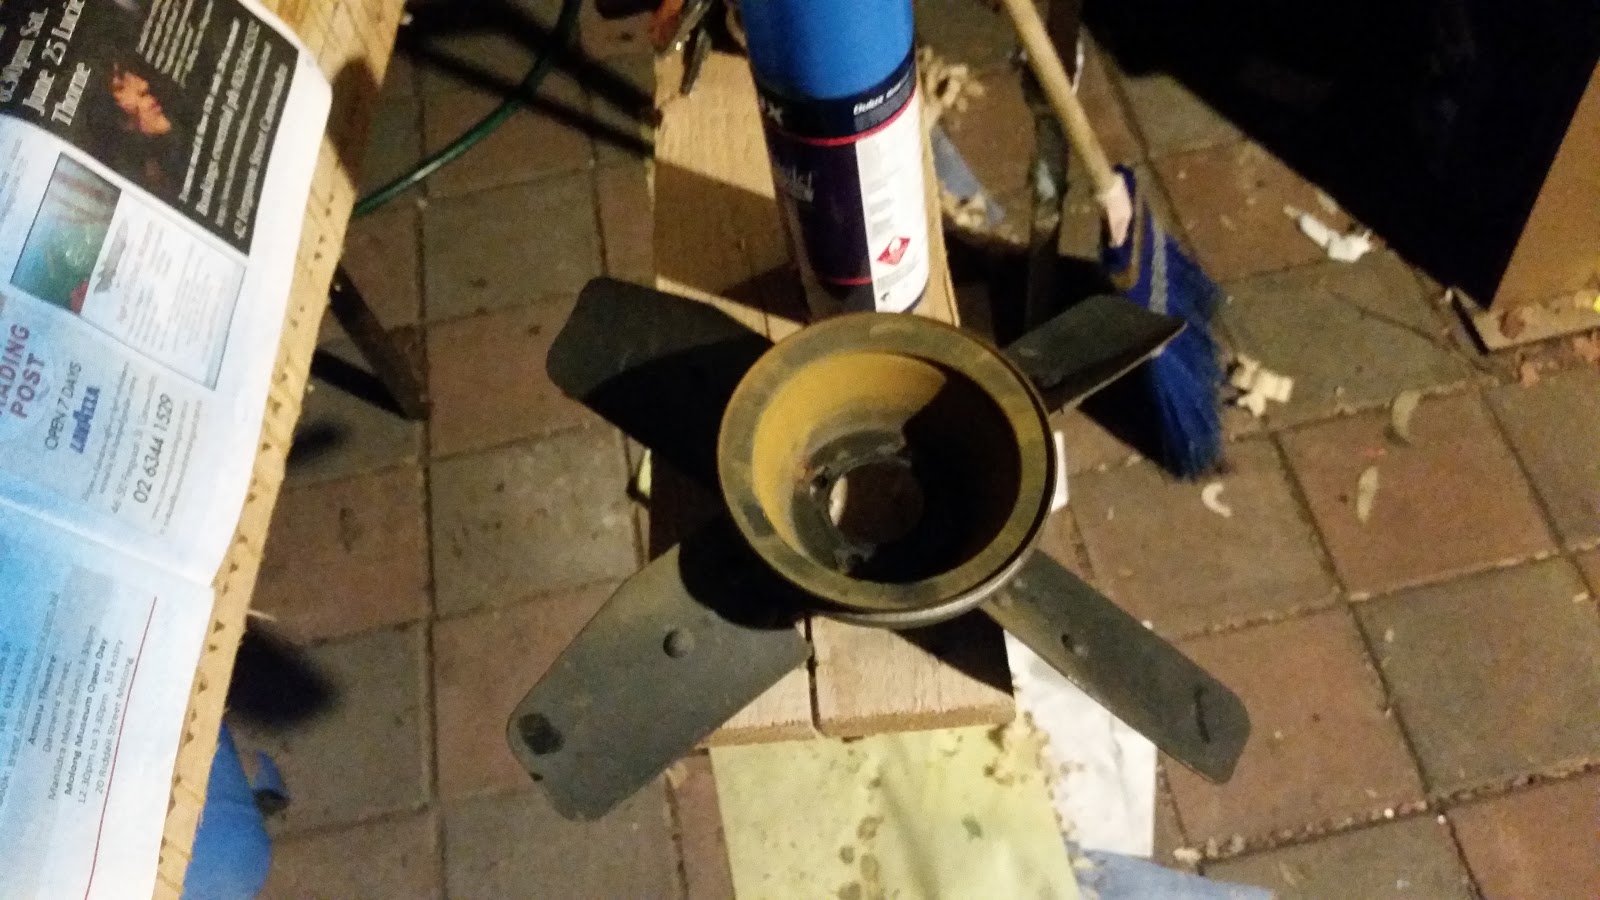
Here is the fan and pulley removed. There is a light coat of rust on the inside of the pulley caused by the leak from the pump. Interesting to note the blade and hole spacing is not even. 2 sides are longer and 2 are shorter. Weird.
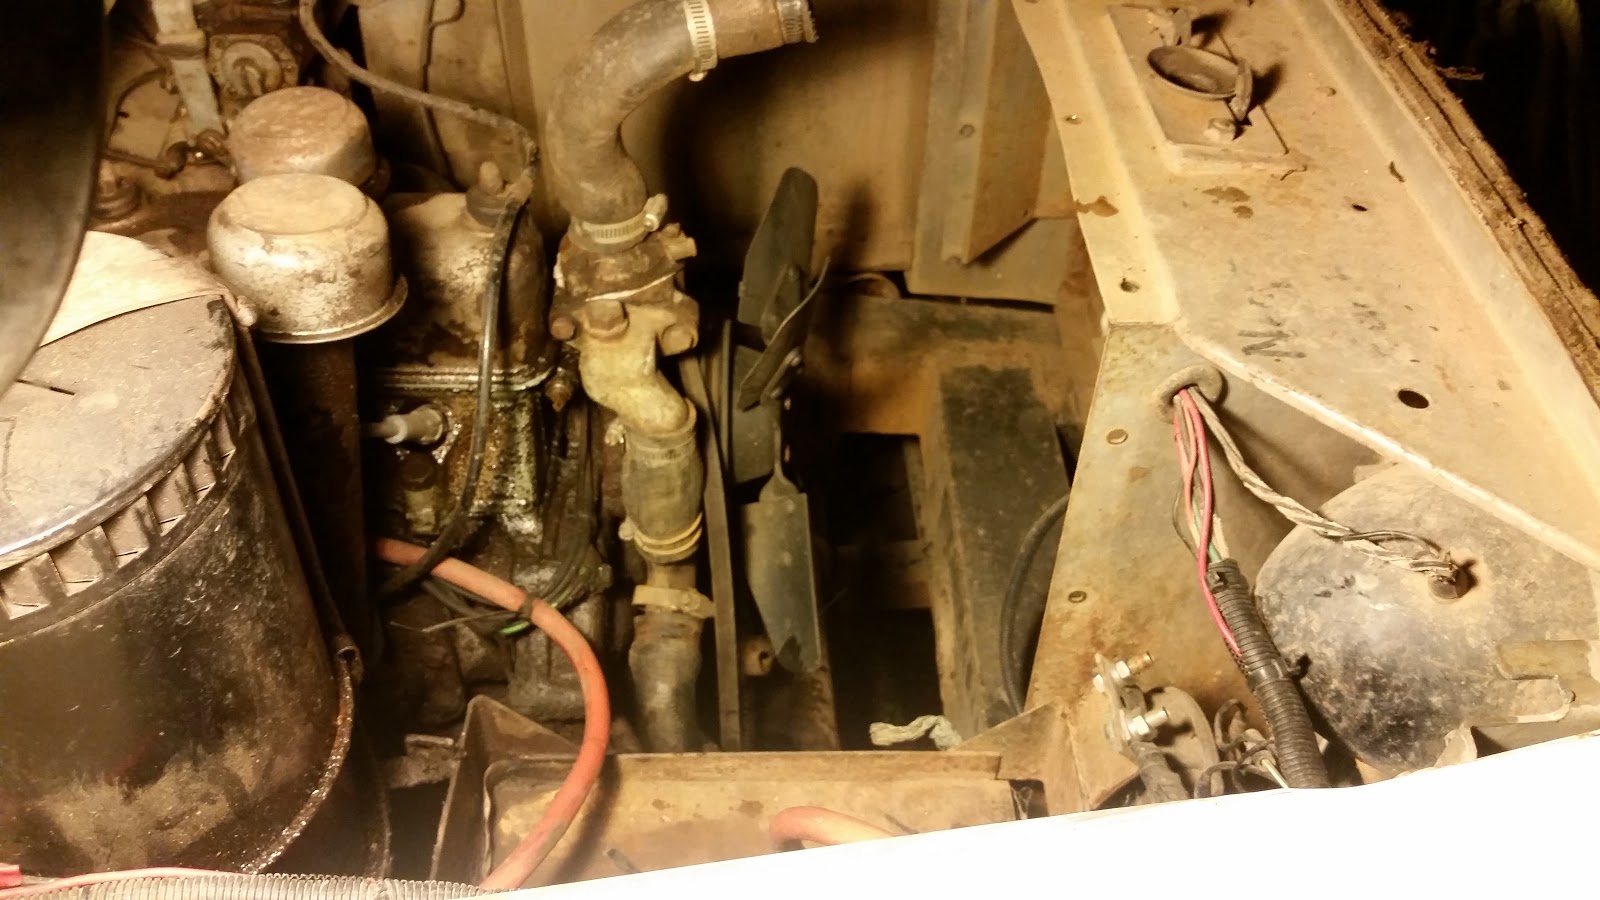
Really good access now the radiator is out of the way. The water pump is front and center, ready to be removed.
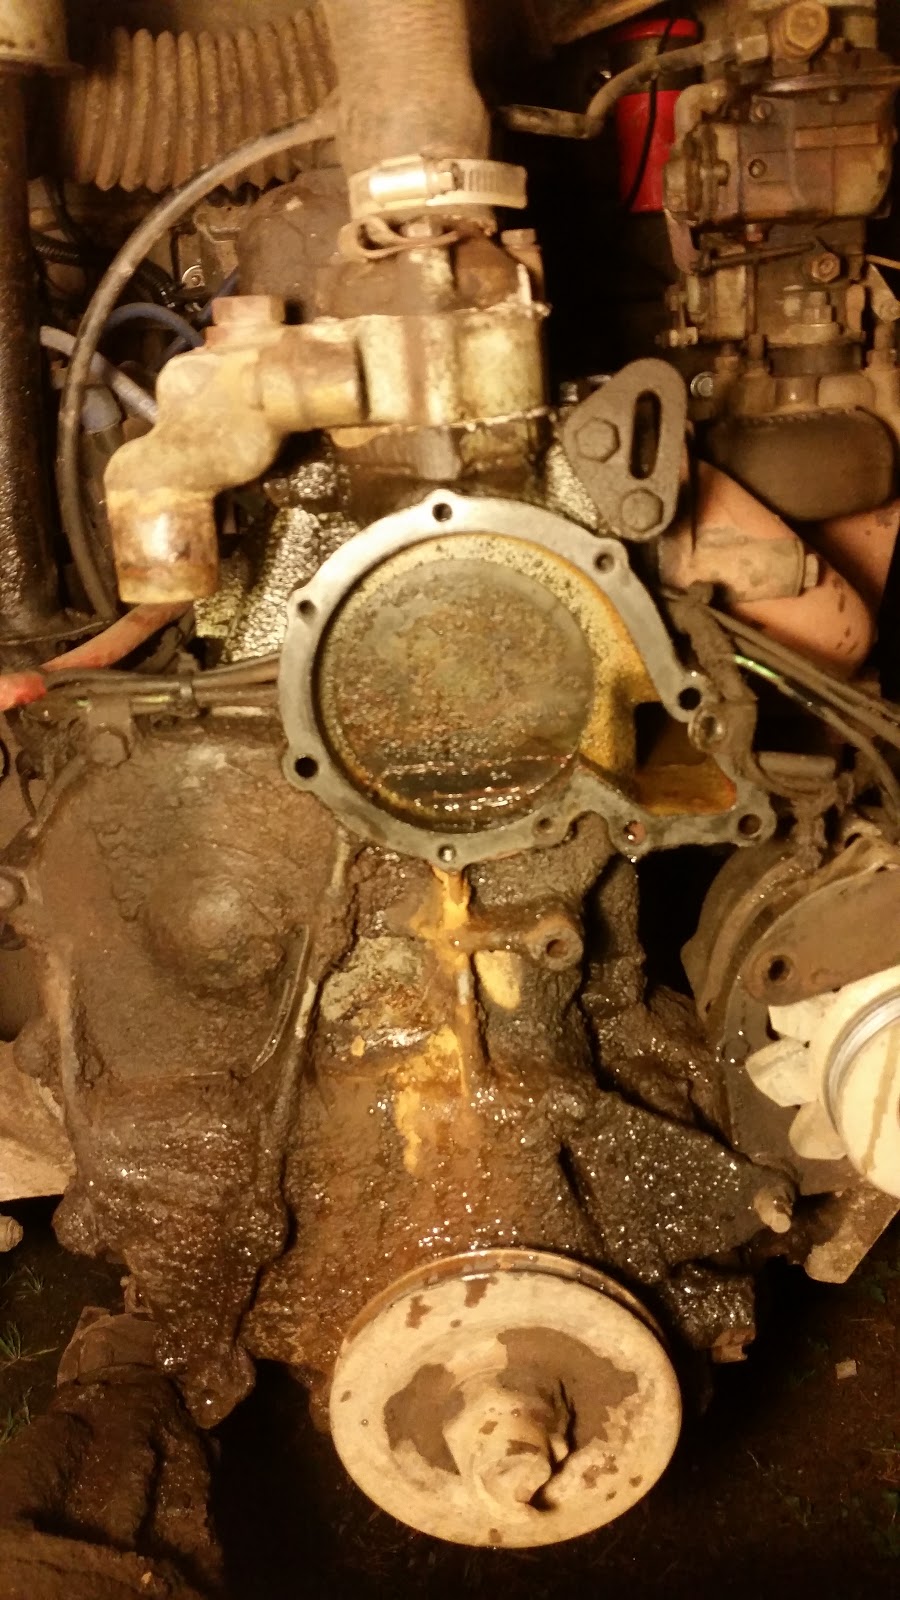
And now it's gone. It is a little crusty inside the housing, however noting is loose so I'm not going to worry about cleaning it other than the gasket surfaces.
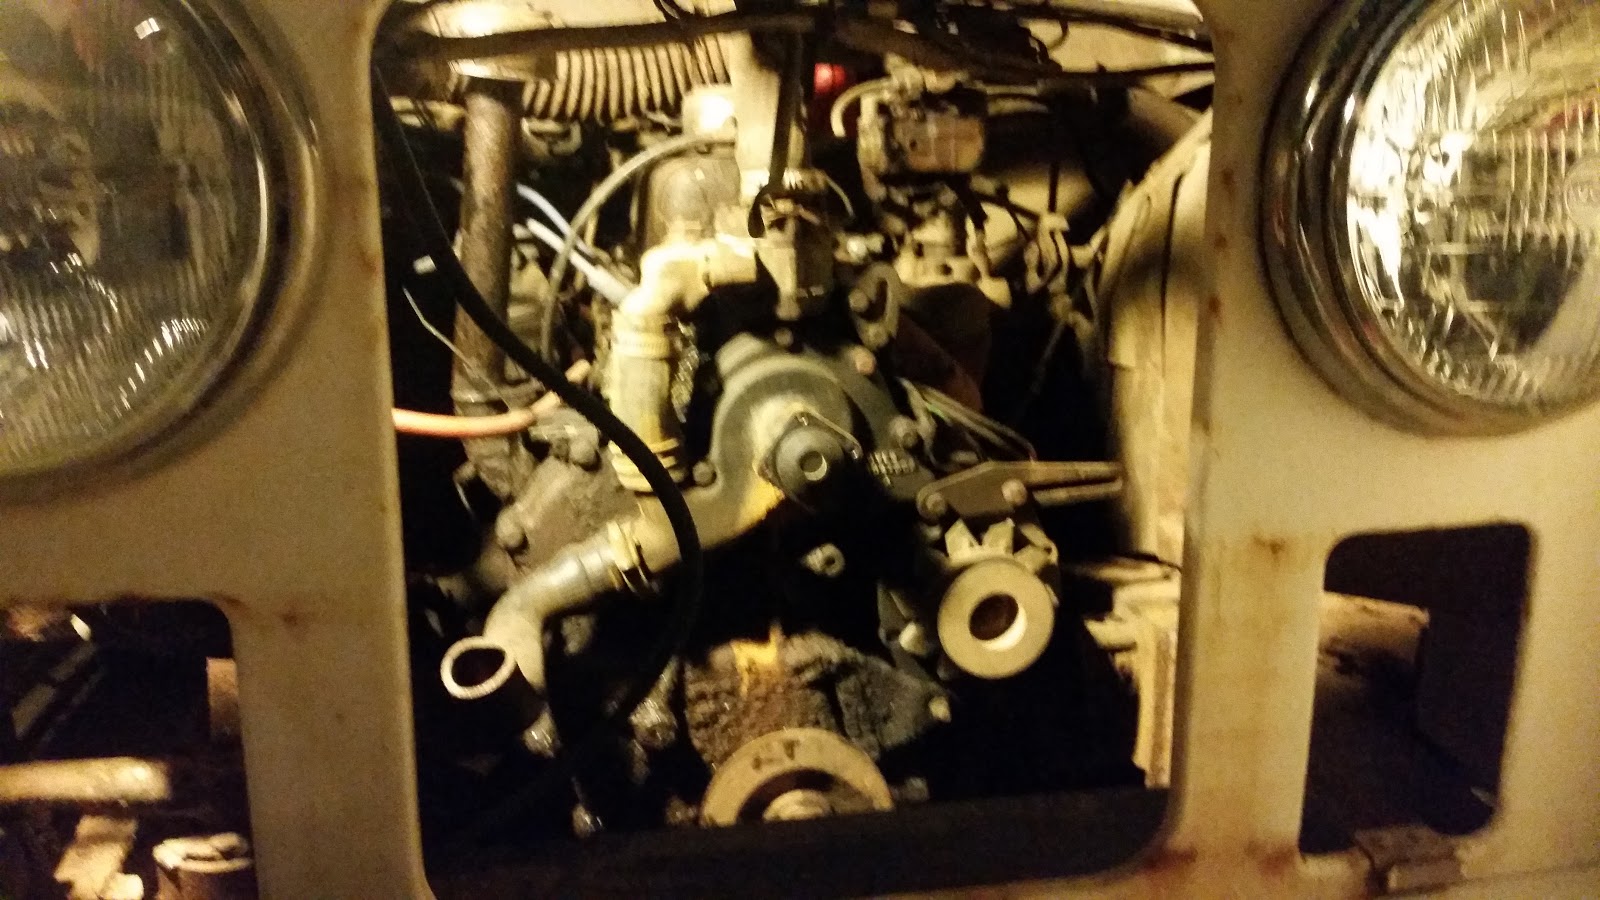
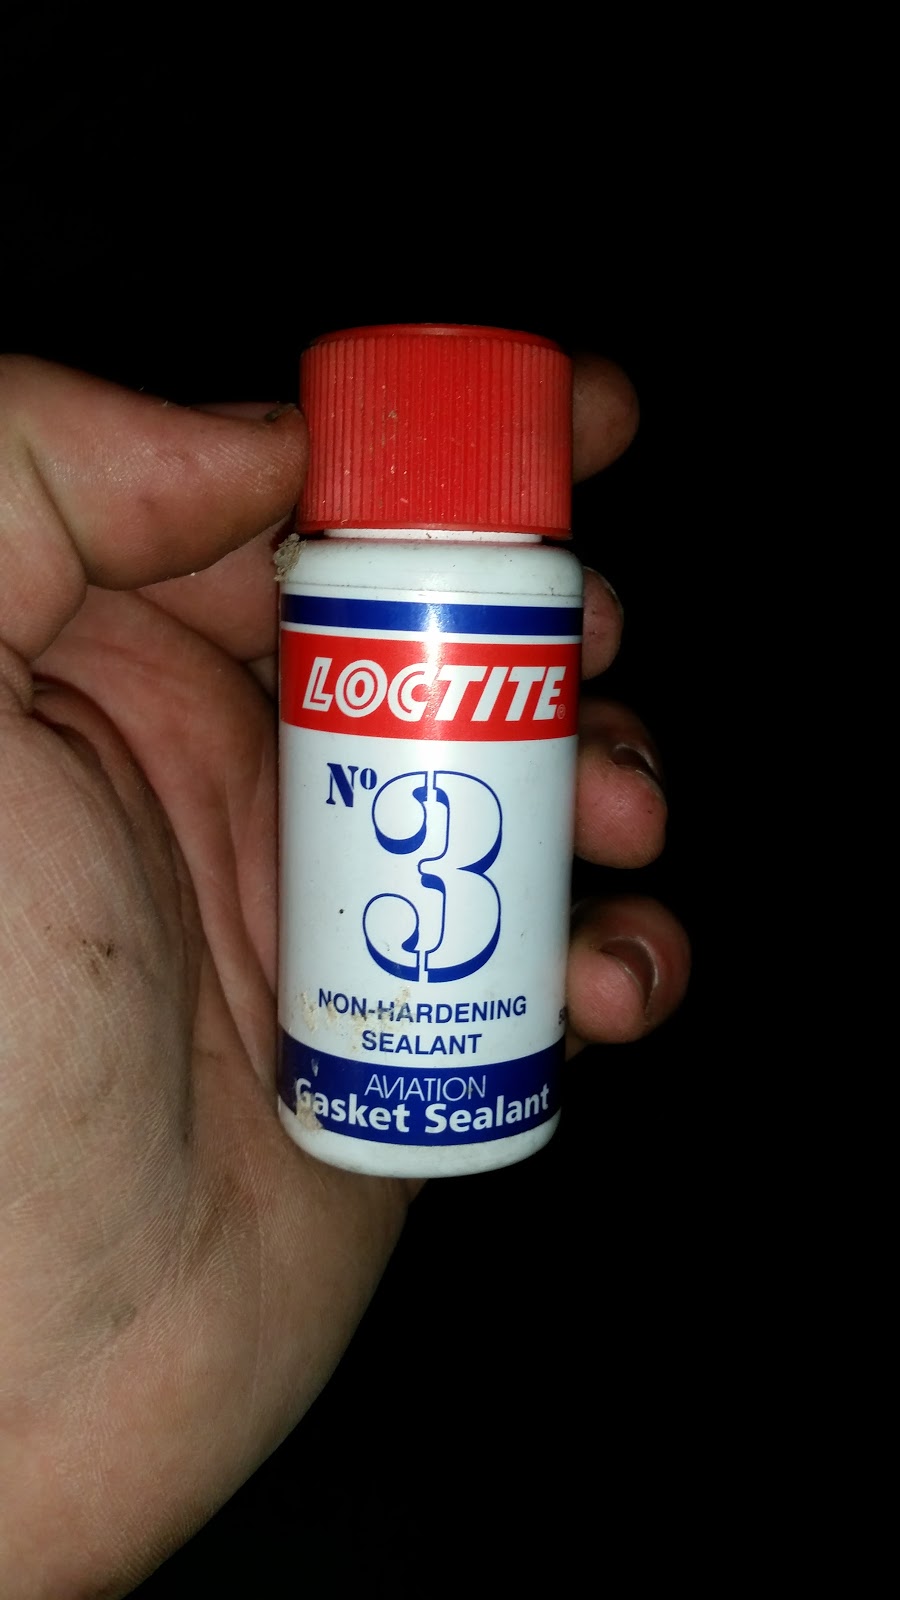
The new pump didn't come with a gasket so I was going to have to work something else out. To get this finished that night we were going to try this to seal it up, which should have worked. However the impeller is so deep that without the thickness of the gasket then it collides with the block and can't spin. So I am going to have a crack at making a gasket for this as a spacer as much as anything and then I should be able to start driving this around the yard.
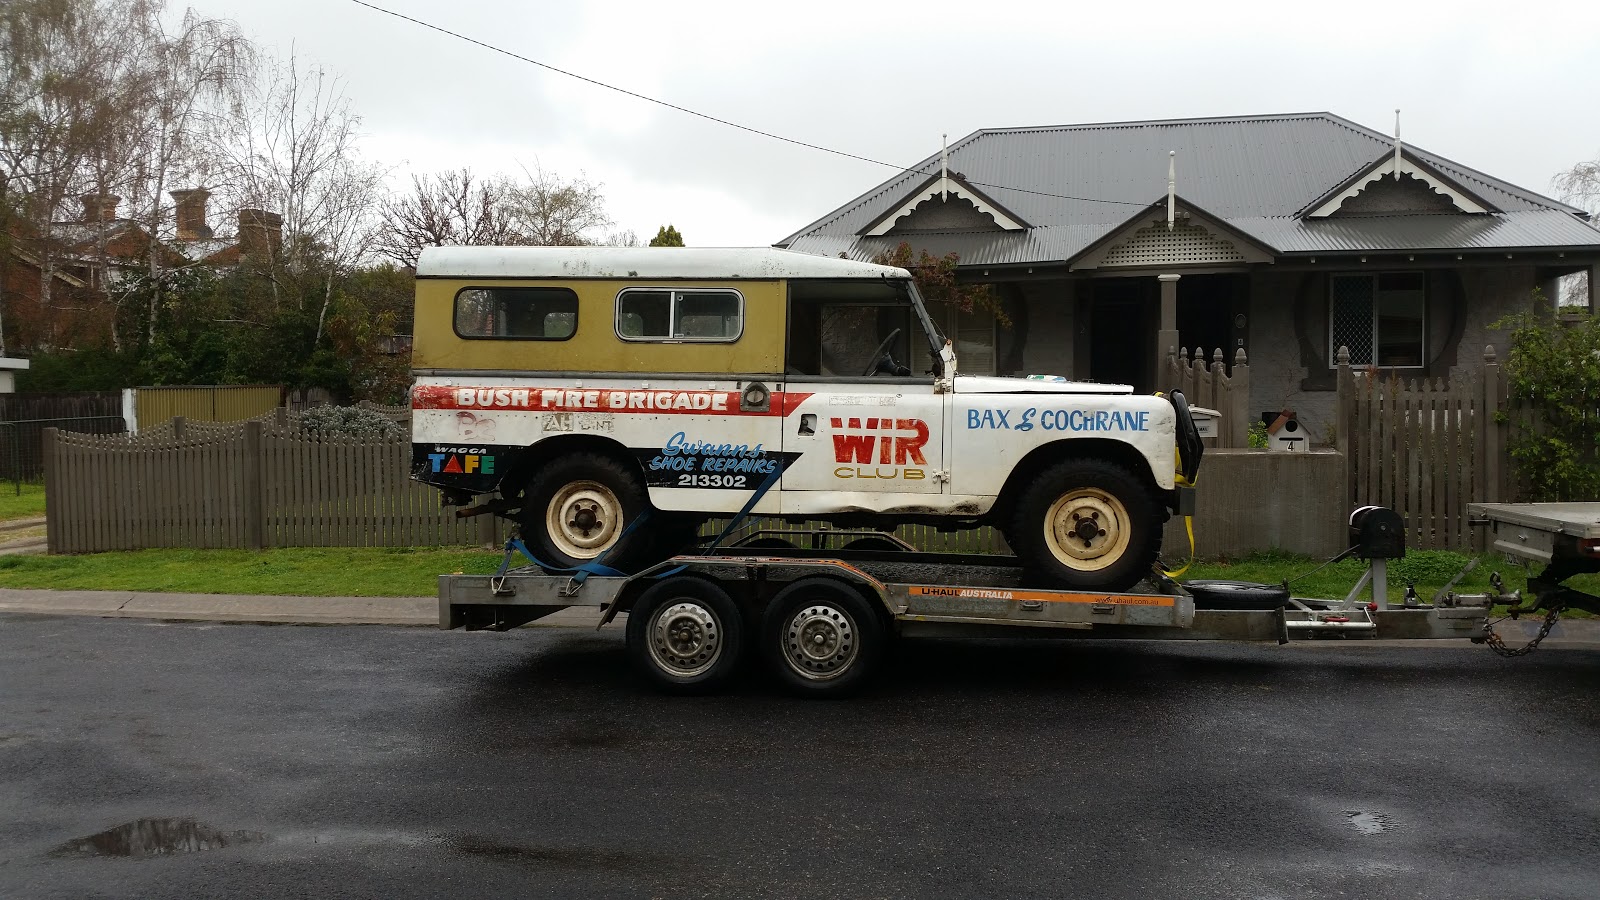
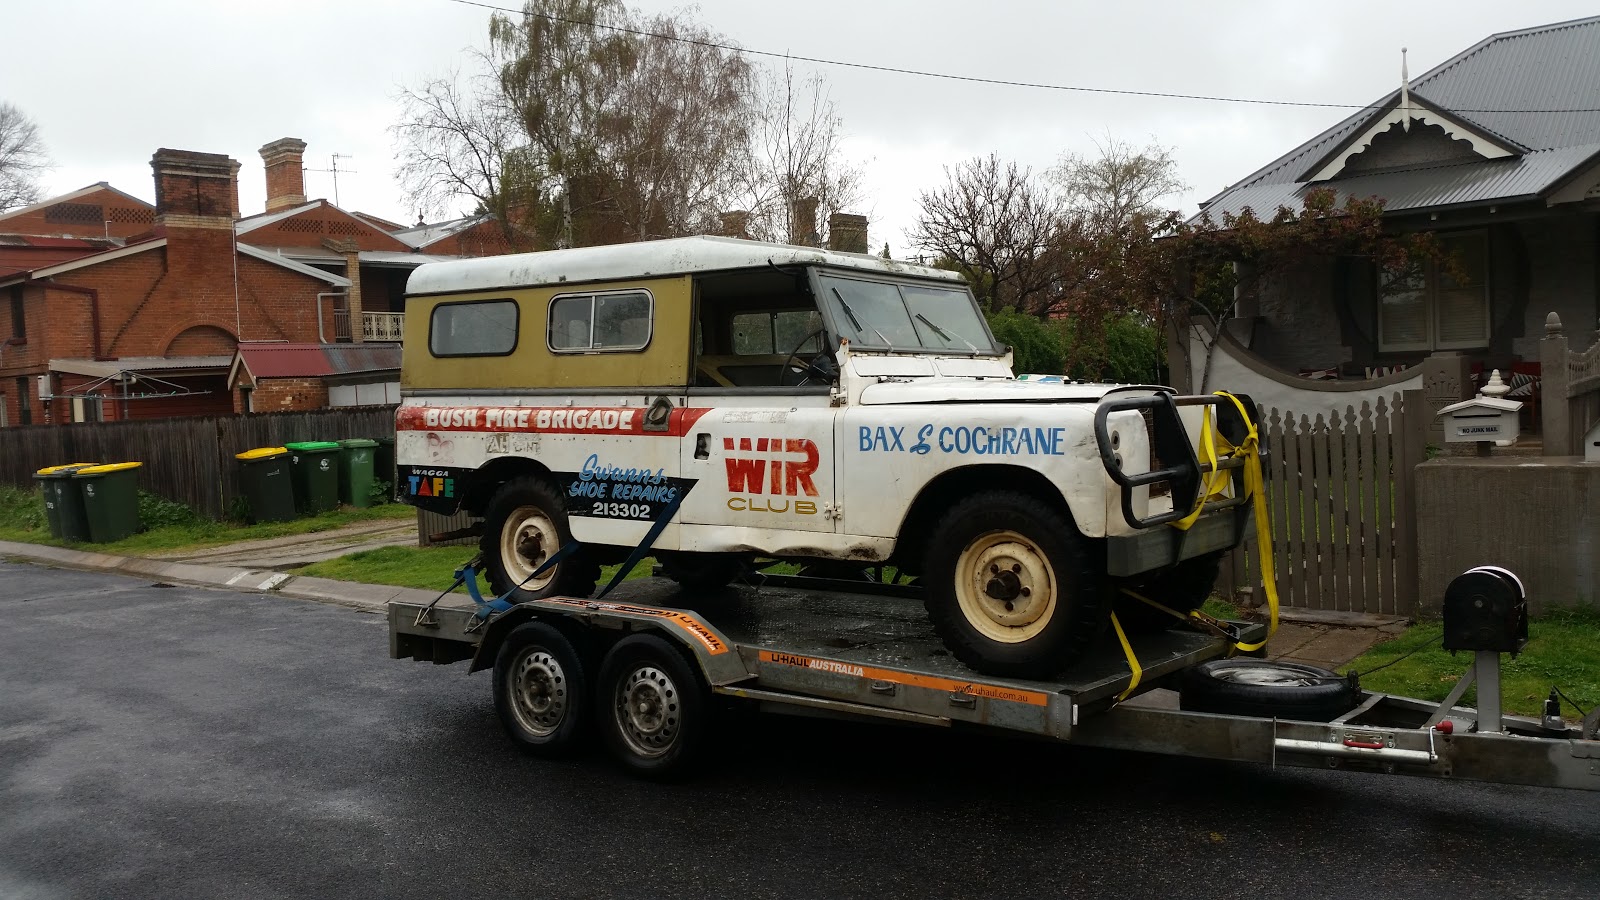
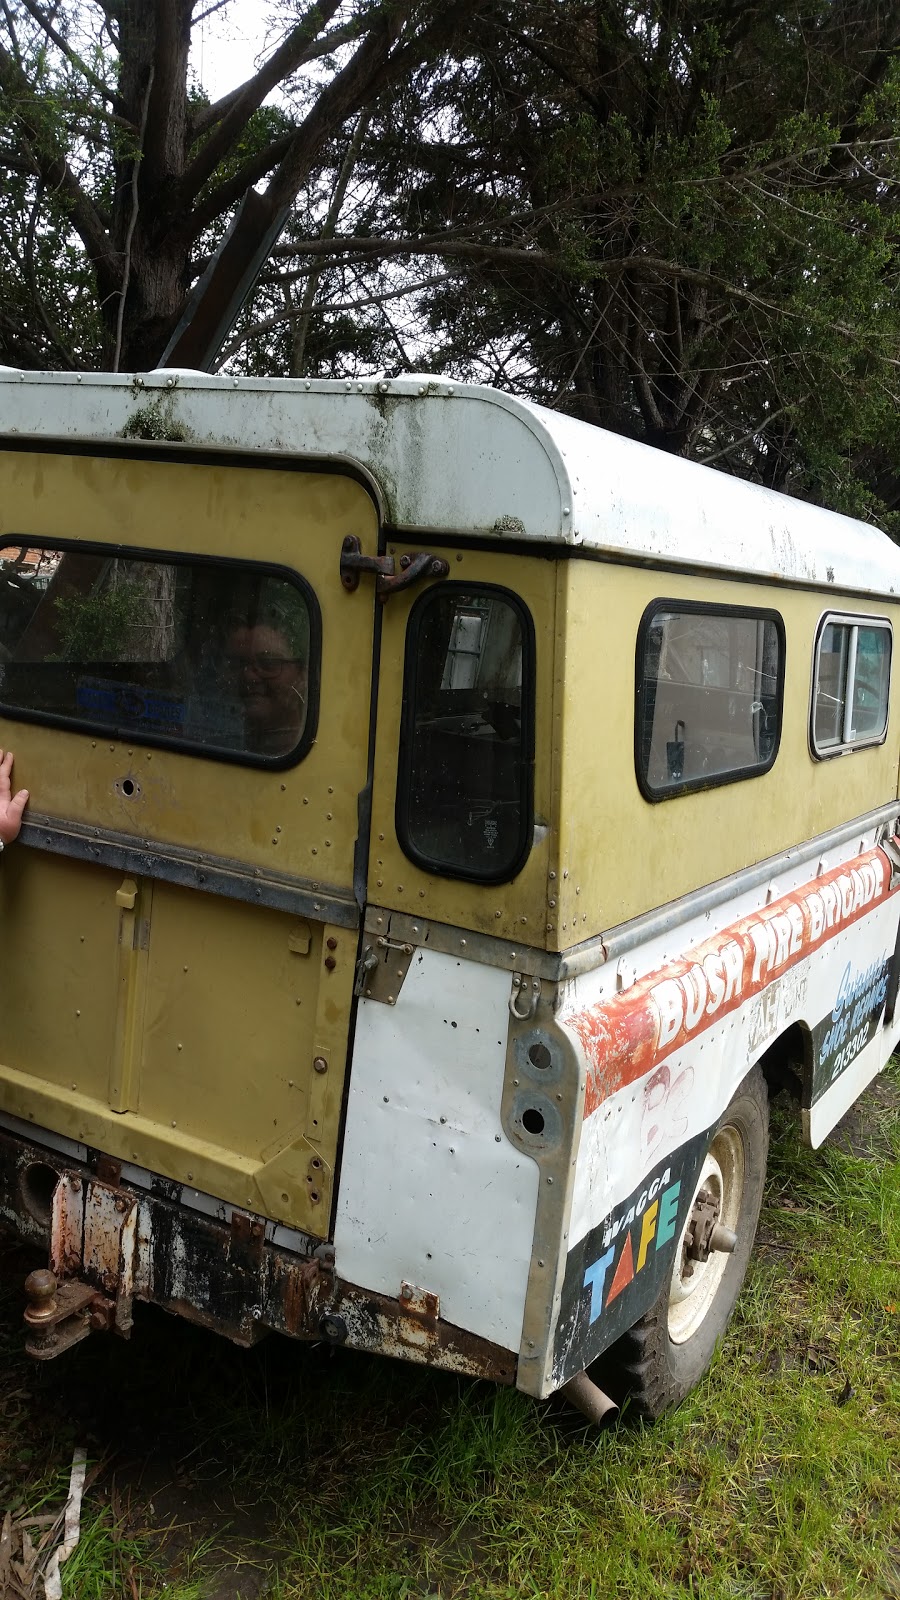
So just before I went away last week sailing I bought myself another project. I have bought myself an old Series 2A Land Rover. It has one of the original 2.25 Litre 4 Cylinder Petrol engines. It does run, however a lot of water leaks from the weep hole on the water pump. More like a stream than a leak. So that's the first thing I'm fixing.
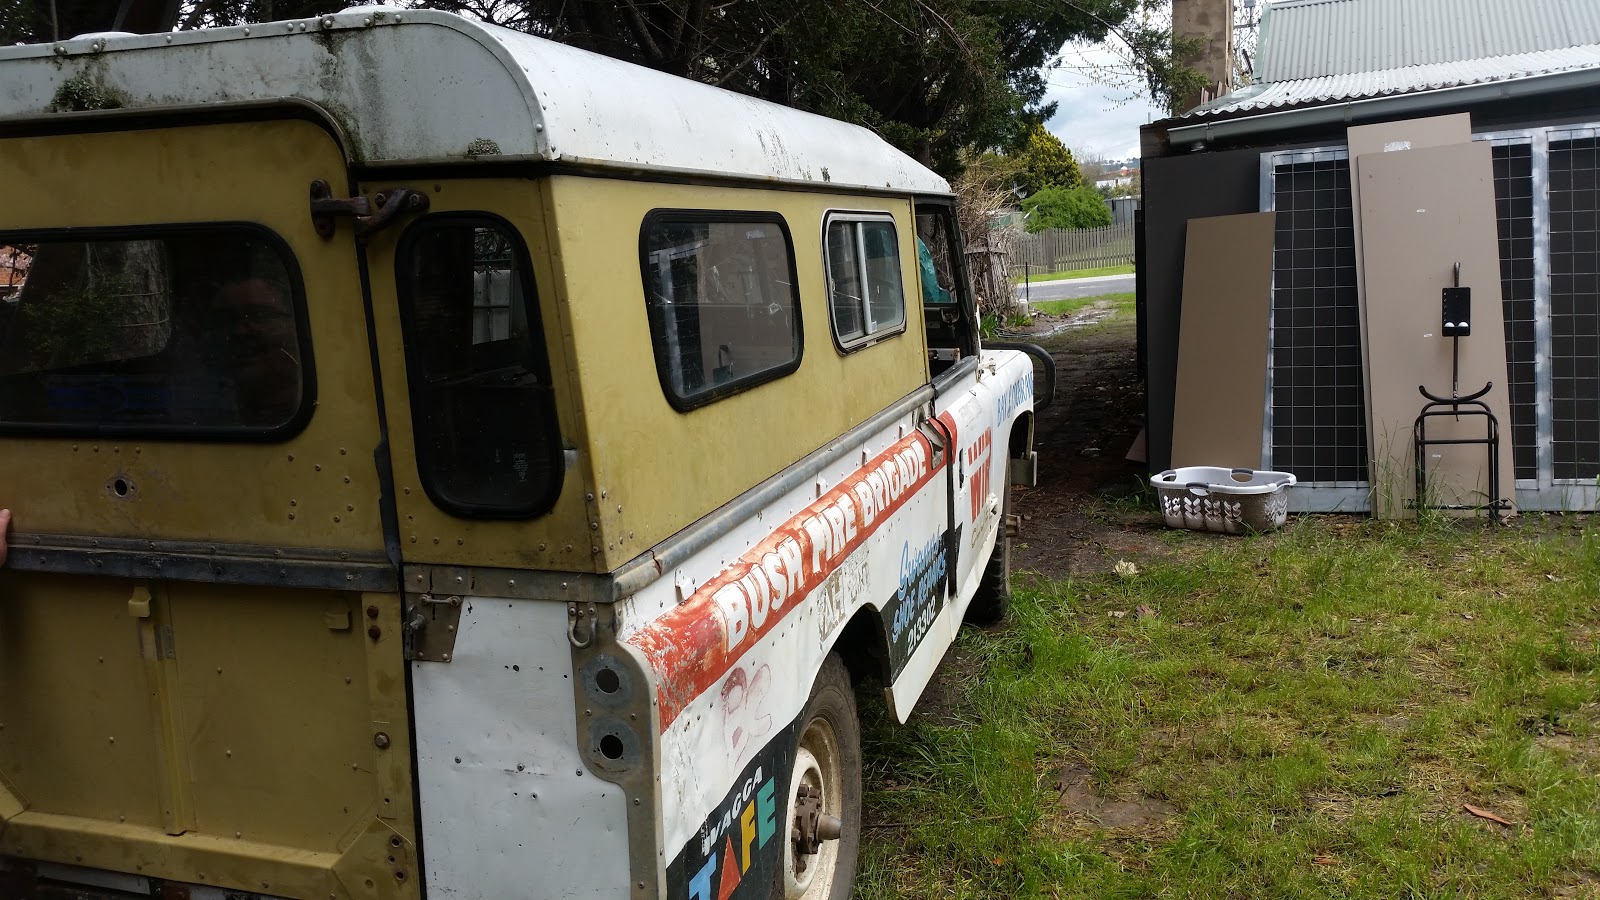
Here are some photos I've taken when I brought it home, then some from a couple of days ago when I was playing with the rear door.
I currently have frames with glass for both windows, however they have rusted pretty badly so they will probably need to be replaced before I put this on the road.
I am keeping a list of what I need to do, Need to buy and what I have bought on this page. Which you can also access from the sidebar on the left hand side of the page.
I'll have some pics of the waterpump install to go up in the next couple of days.
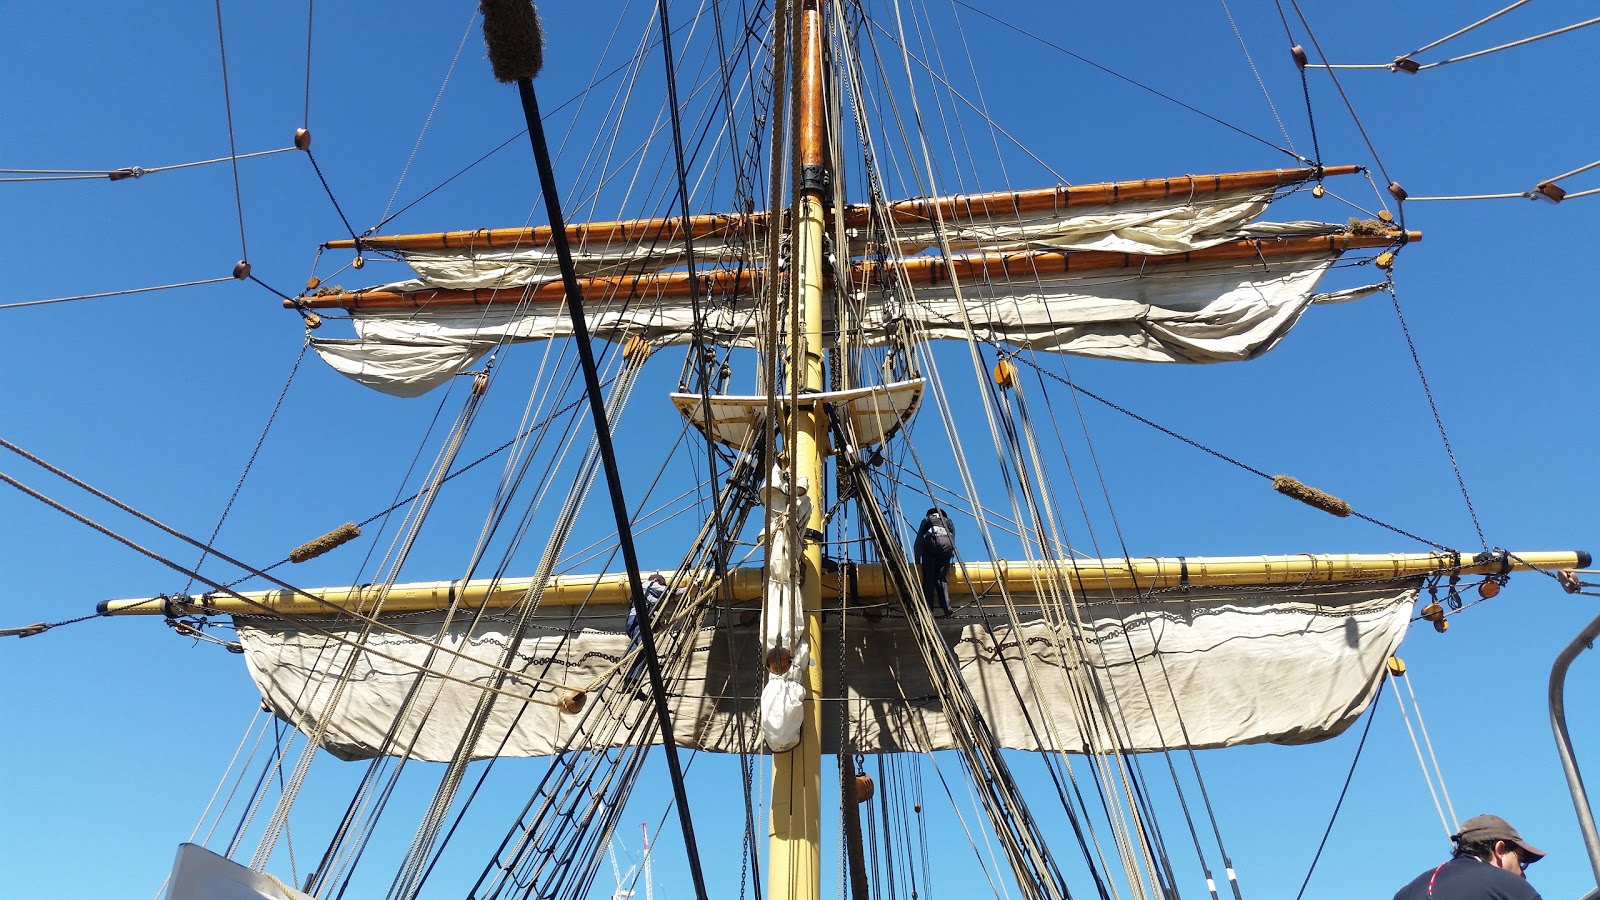
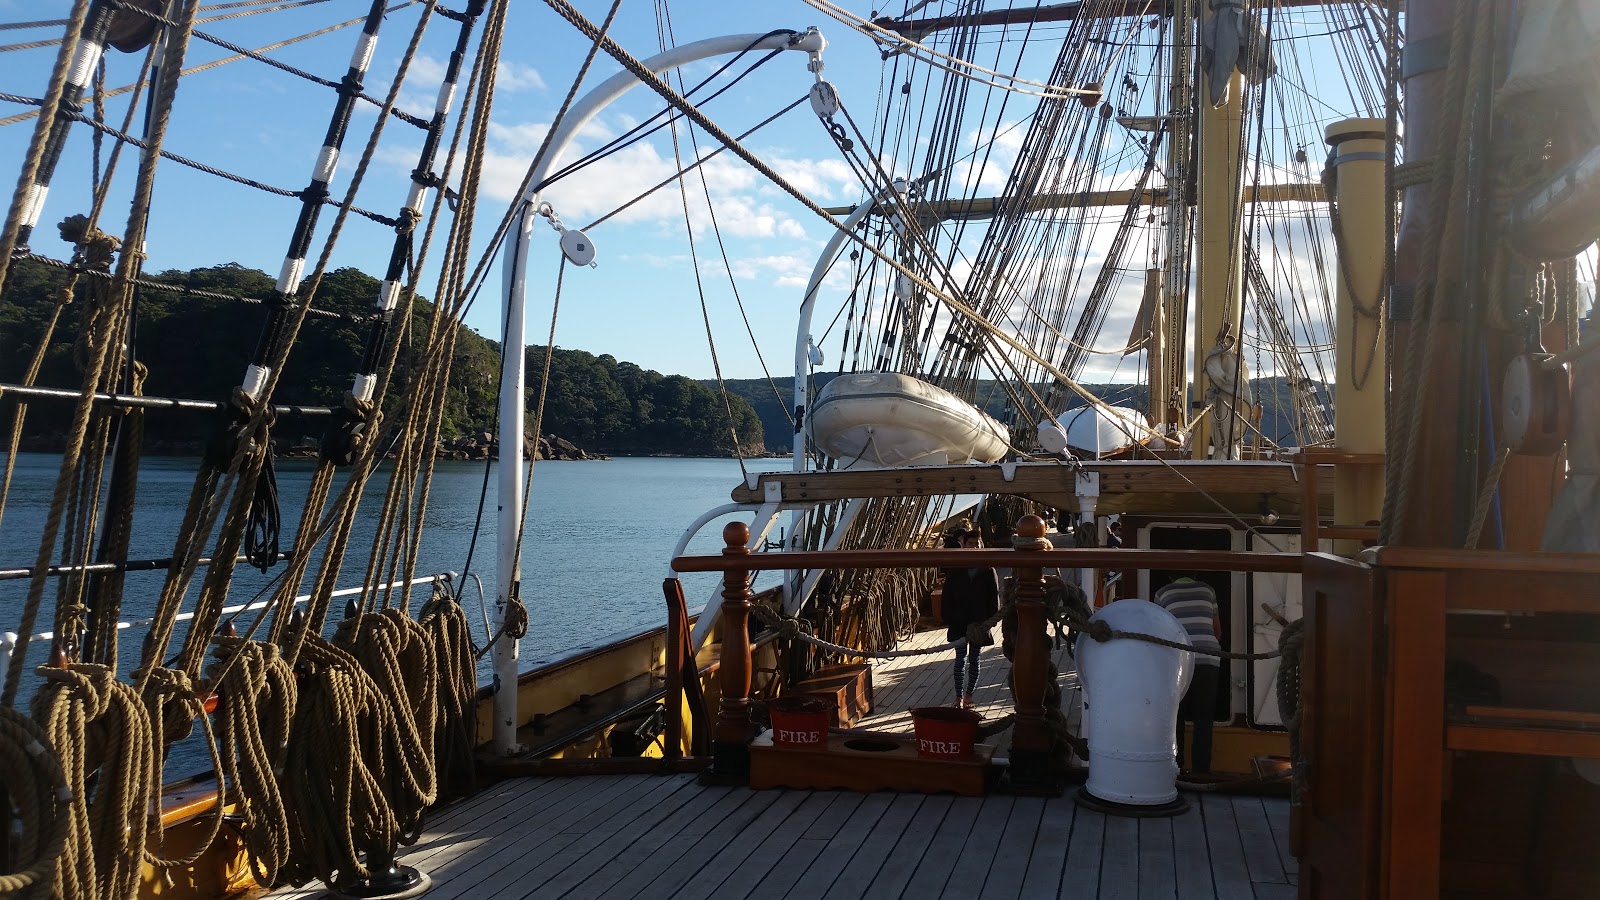
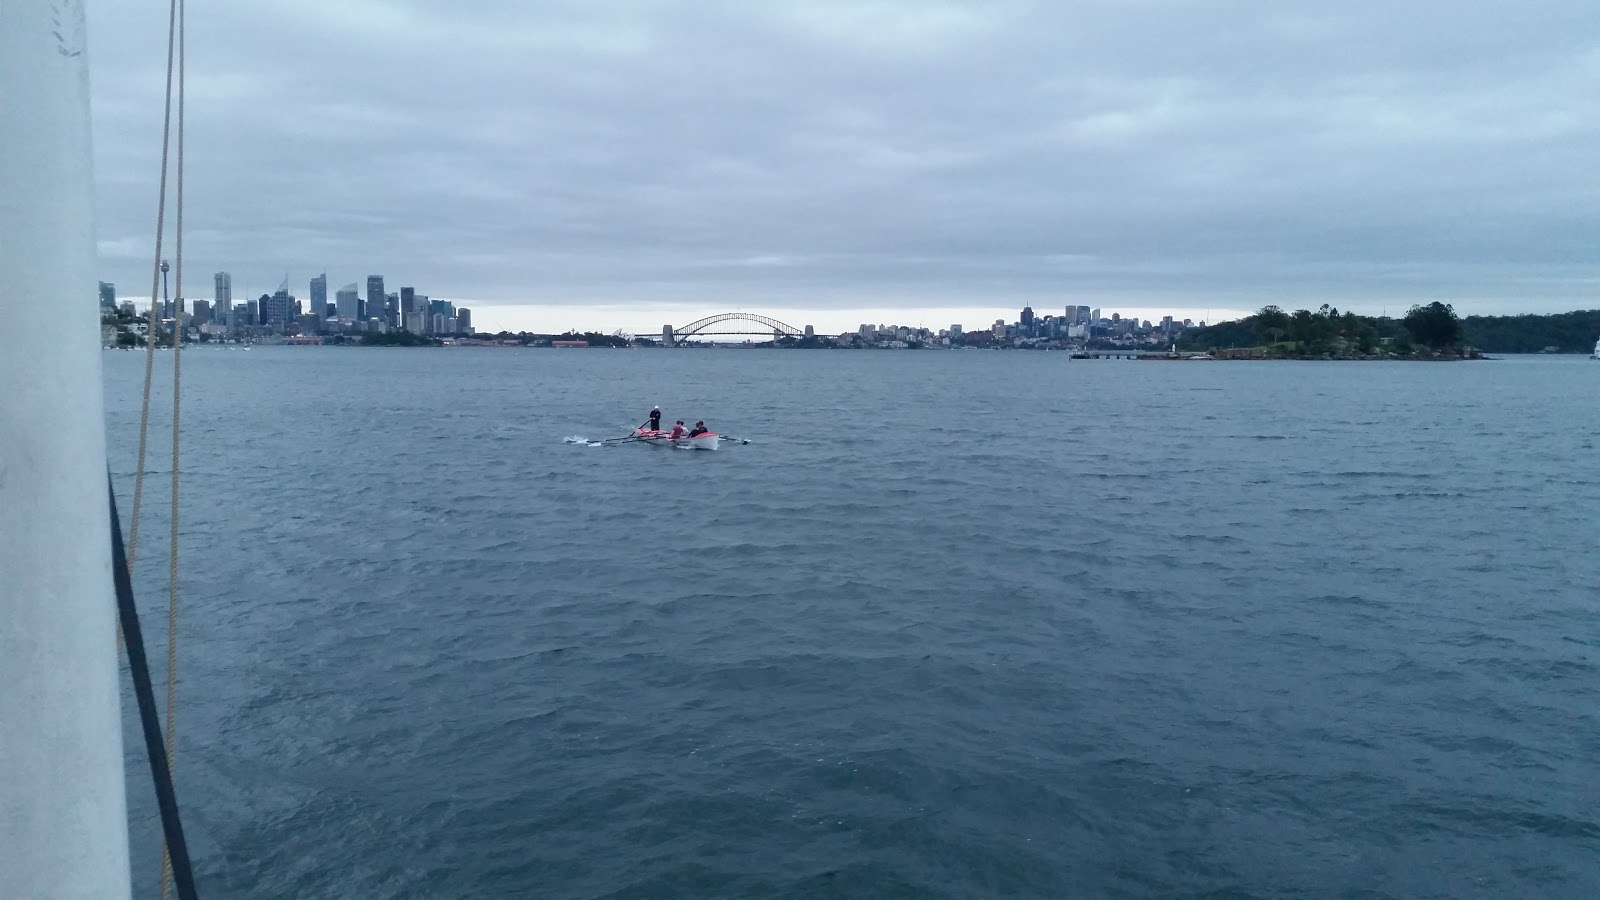
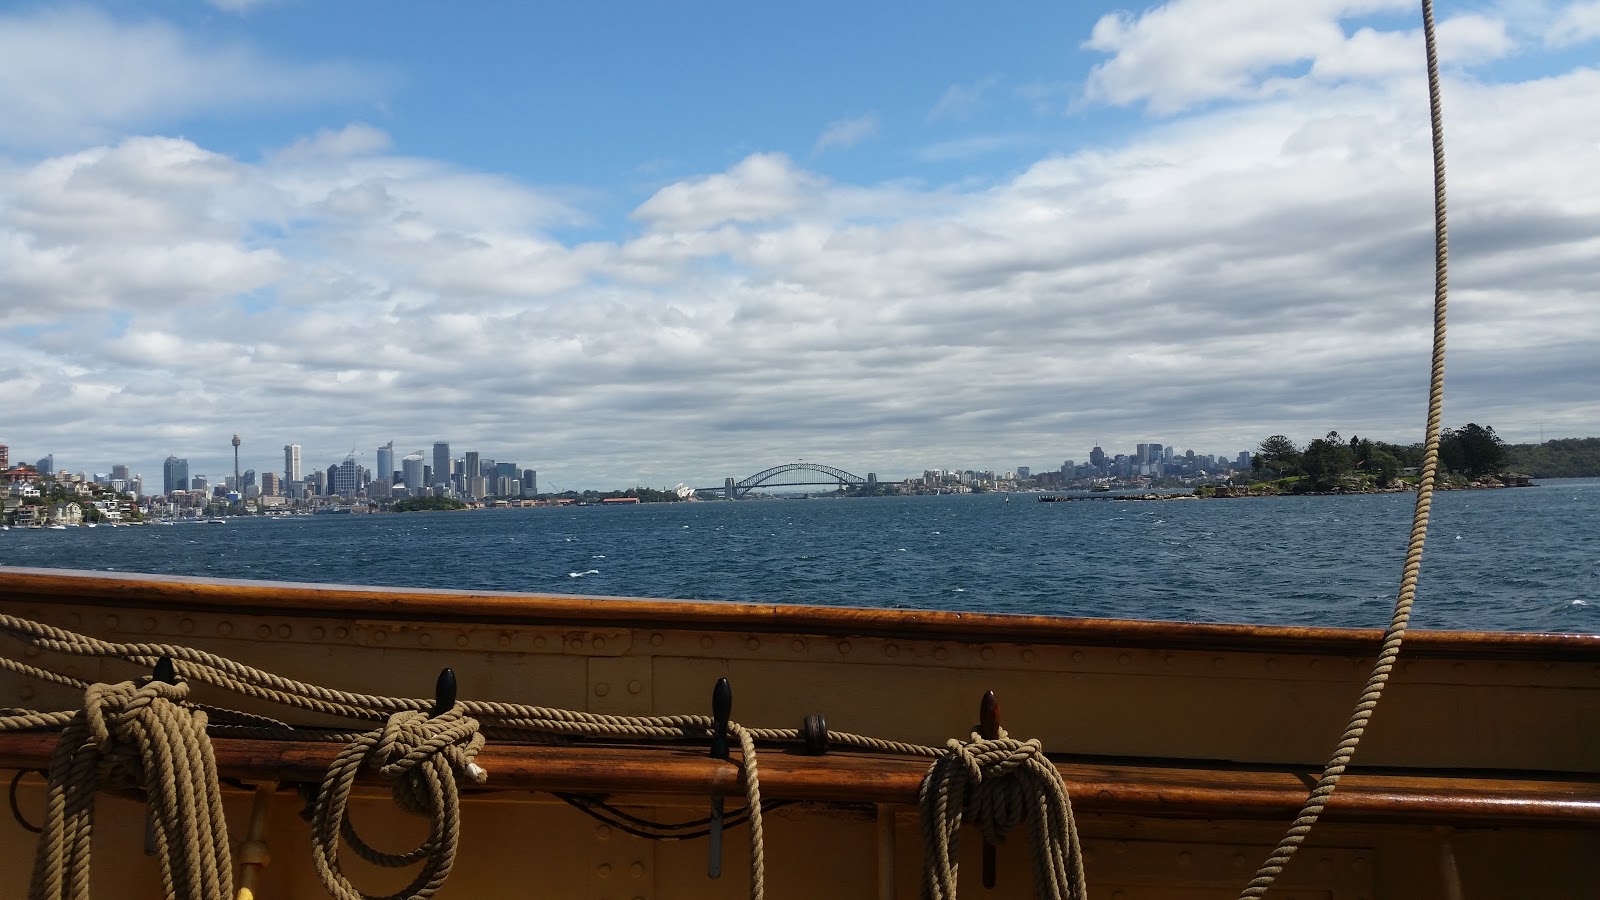
Last week I was lucky enough to go out sailing on the Tall Ship James Craig. We sailed from Sydney up to Broken Bay, spent most of the week up there. Then sailed back down on Thursday with some great weather and managing to get some significant sail set.
Here are some pictures from the trip.
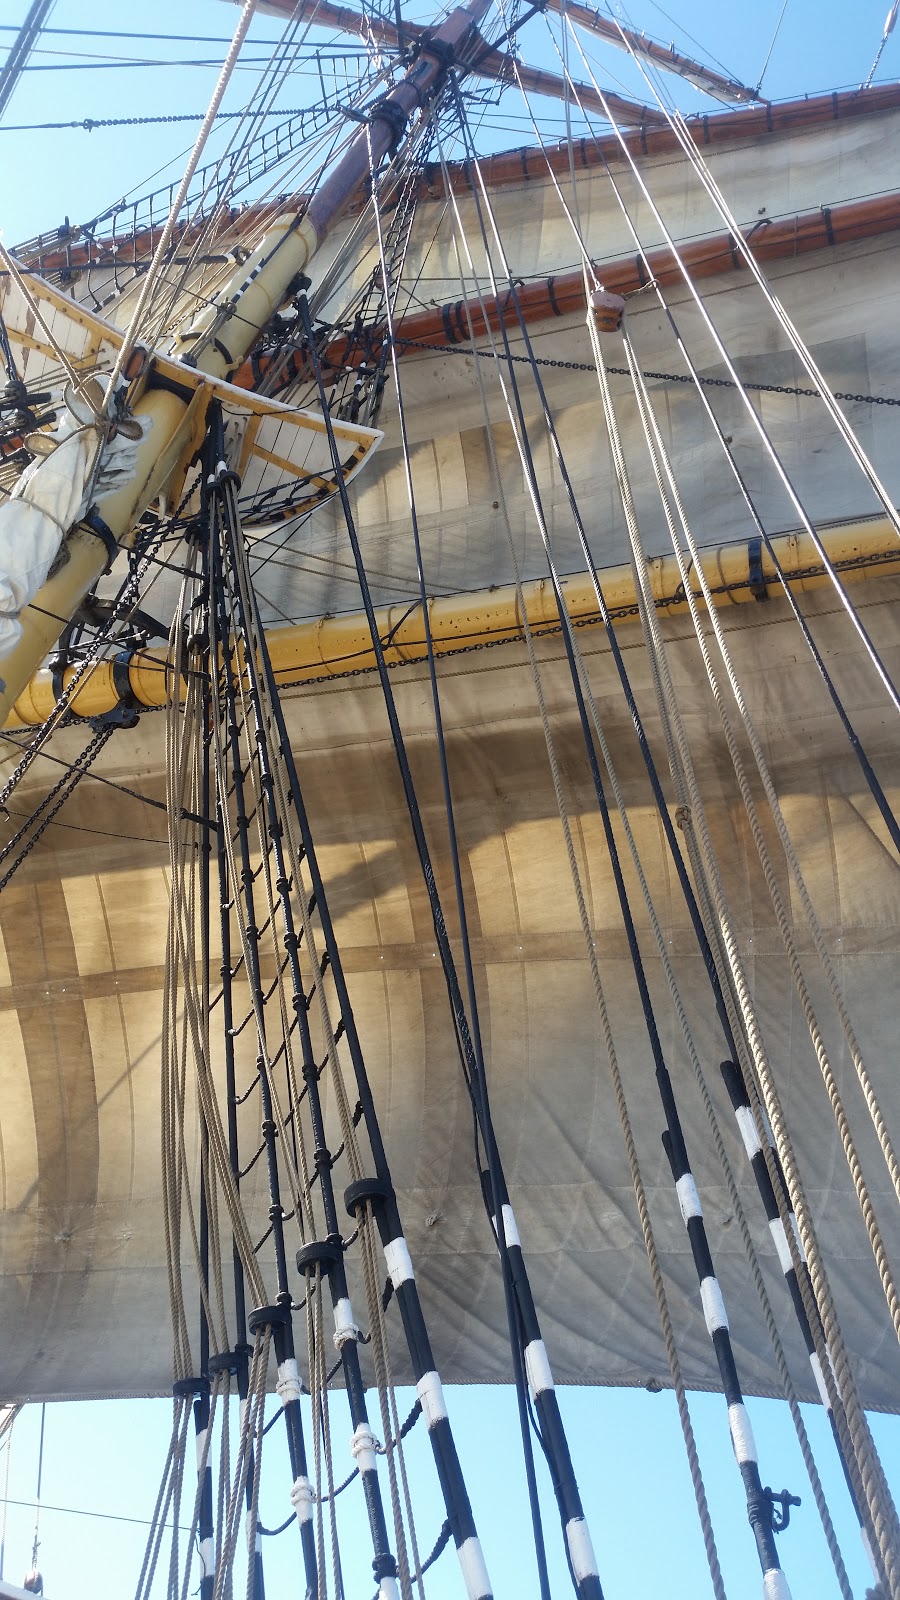
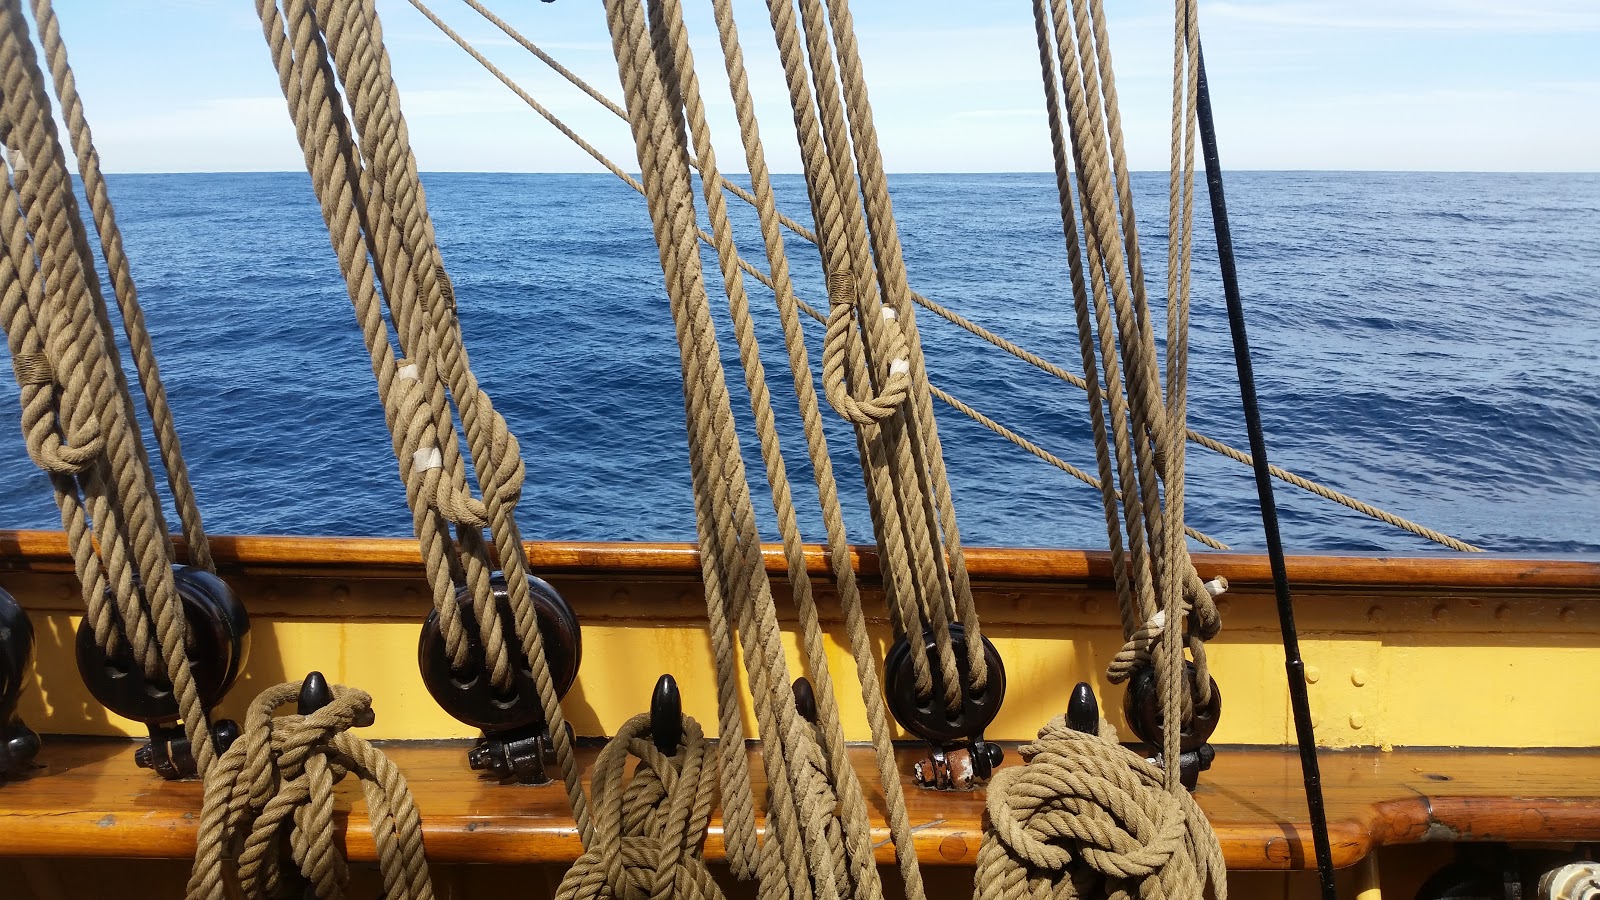
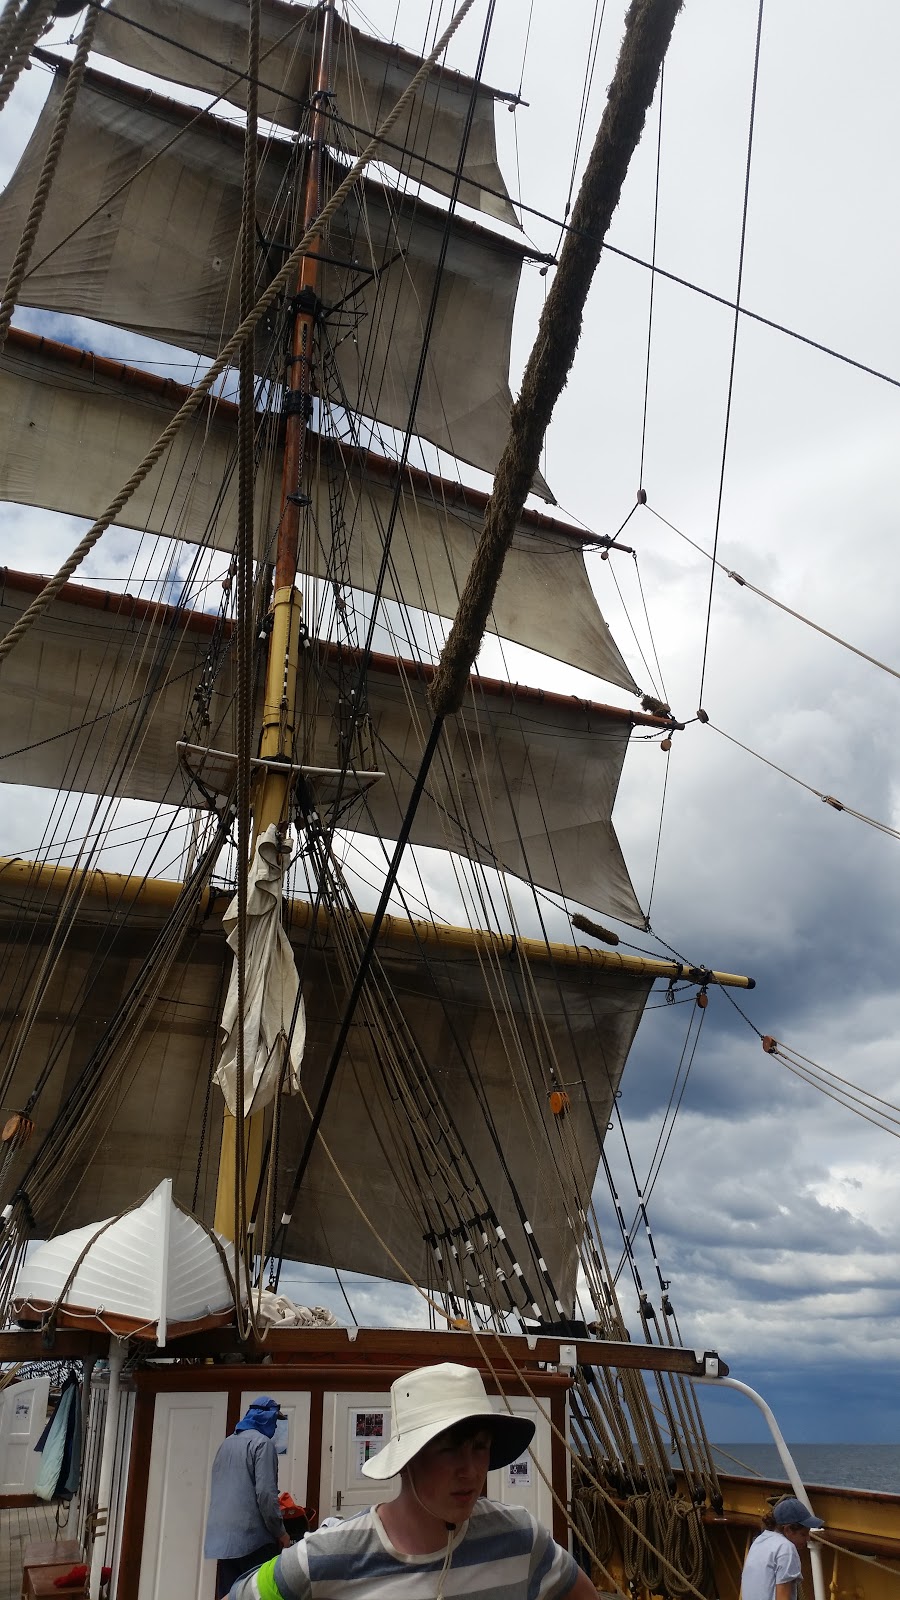
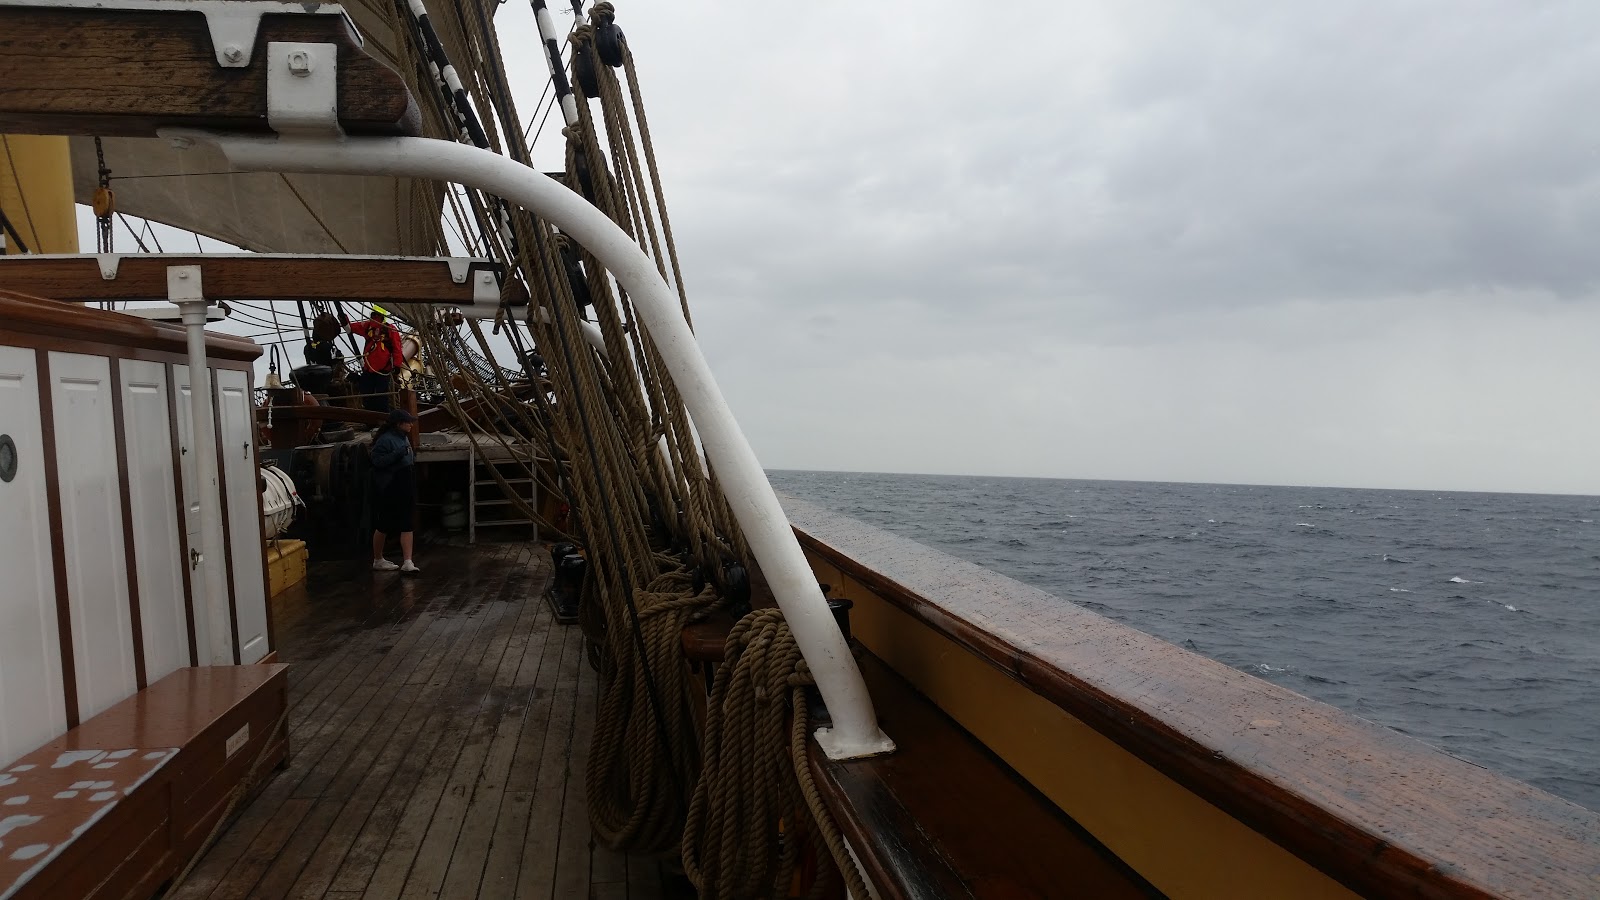
Fore Course and Topsails in their gear ready to help us up to Broken Bay.
The Main watch only had 2 sails to look after on the way up.
The sails on the Fore Mast set and drawing on the way up.
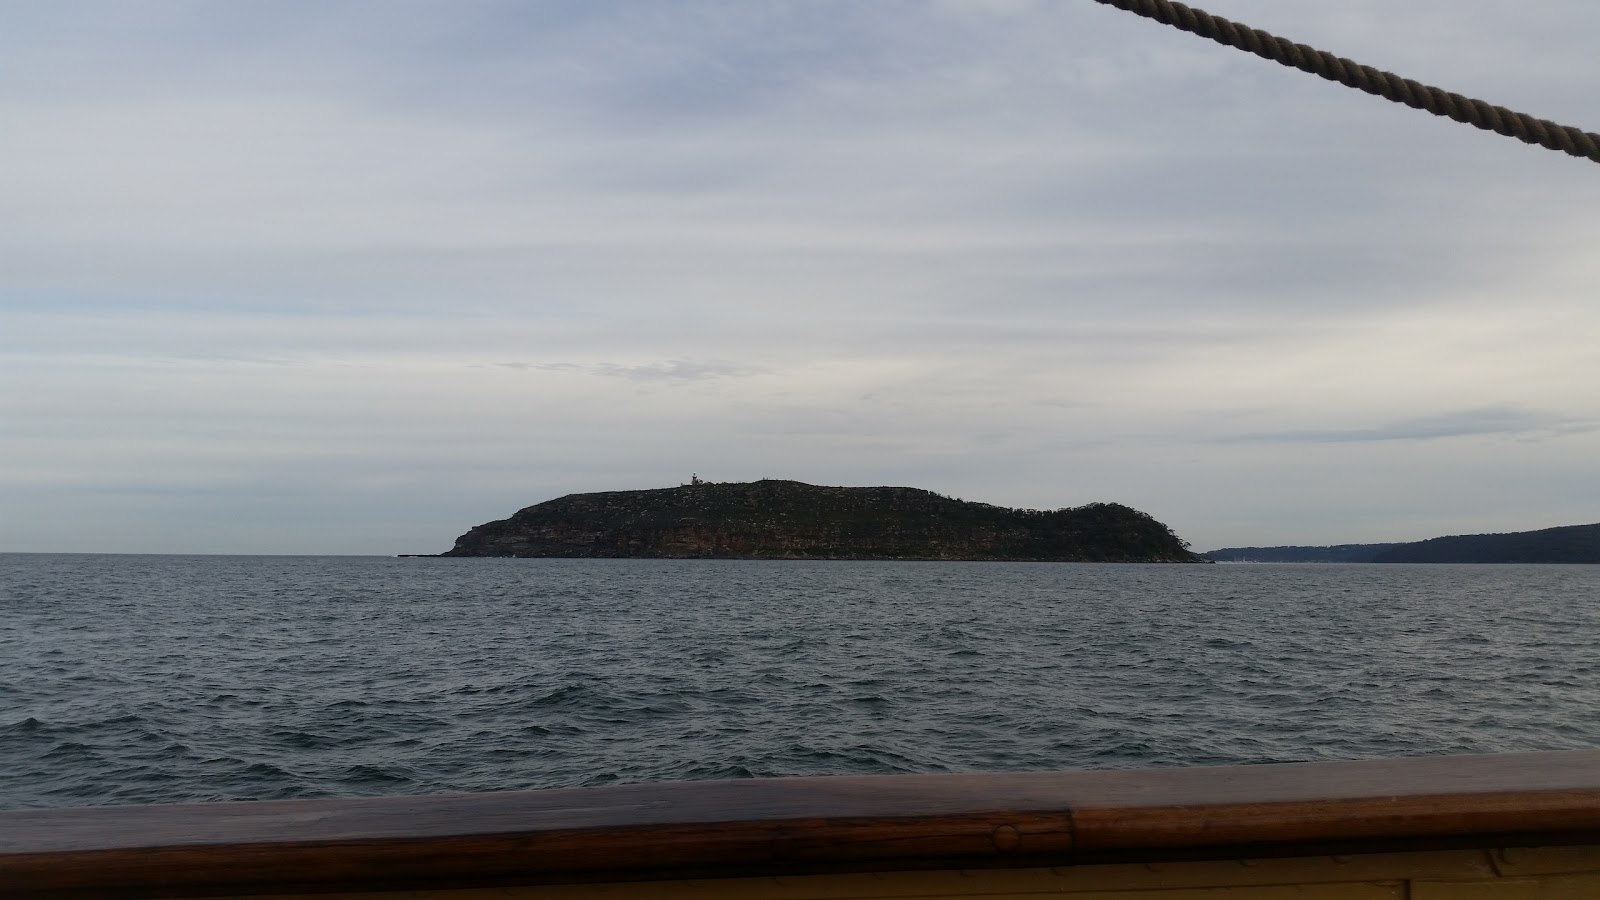
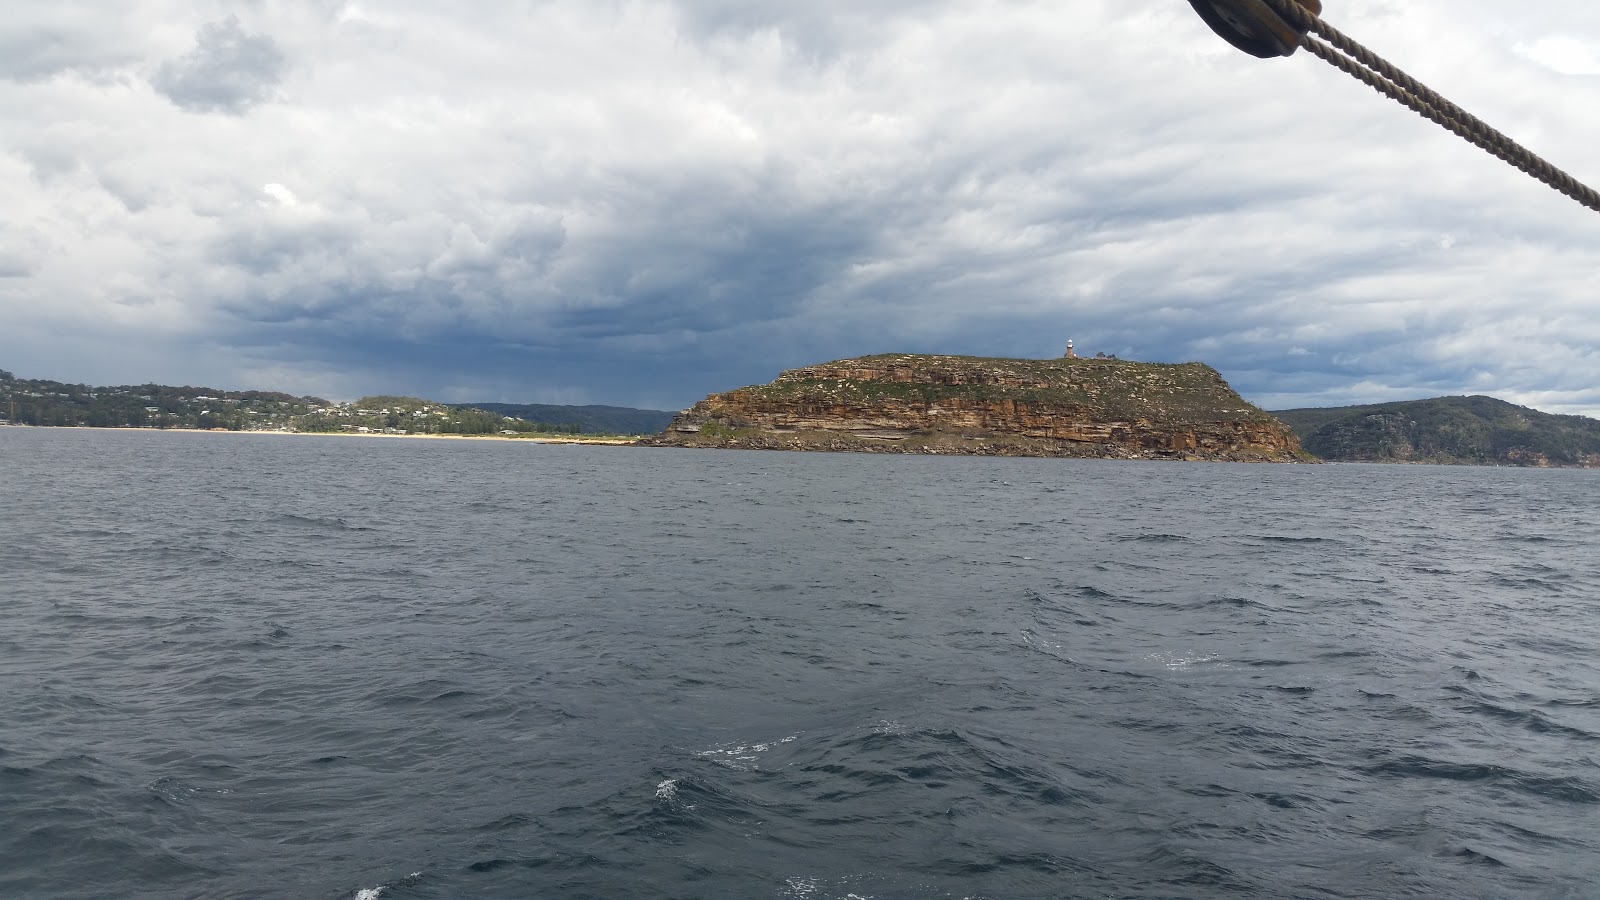
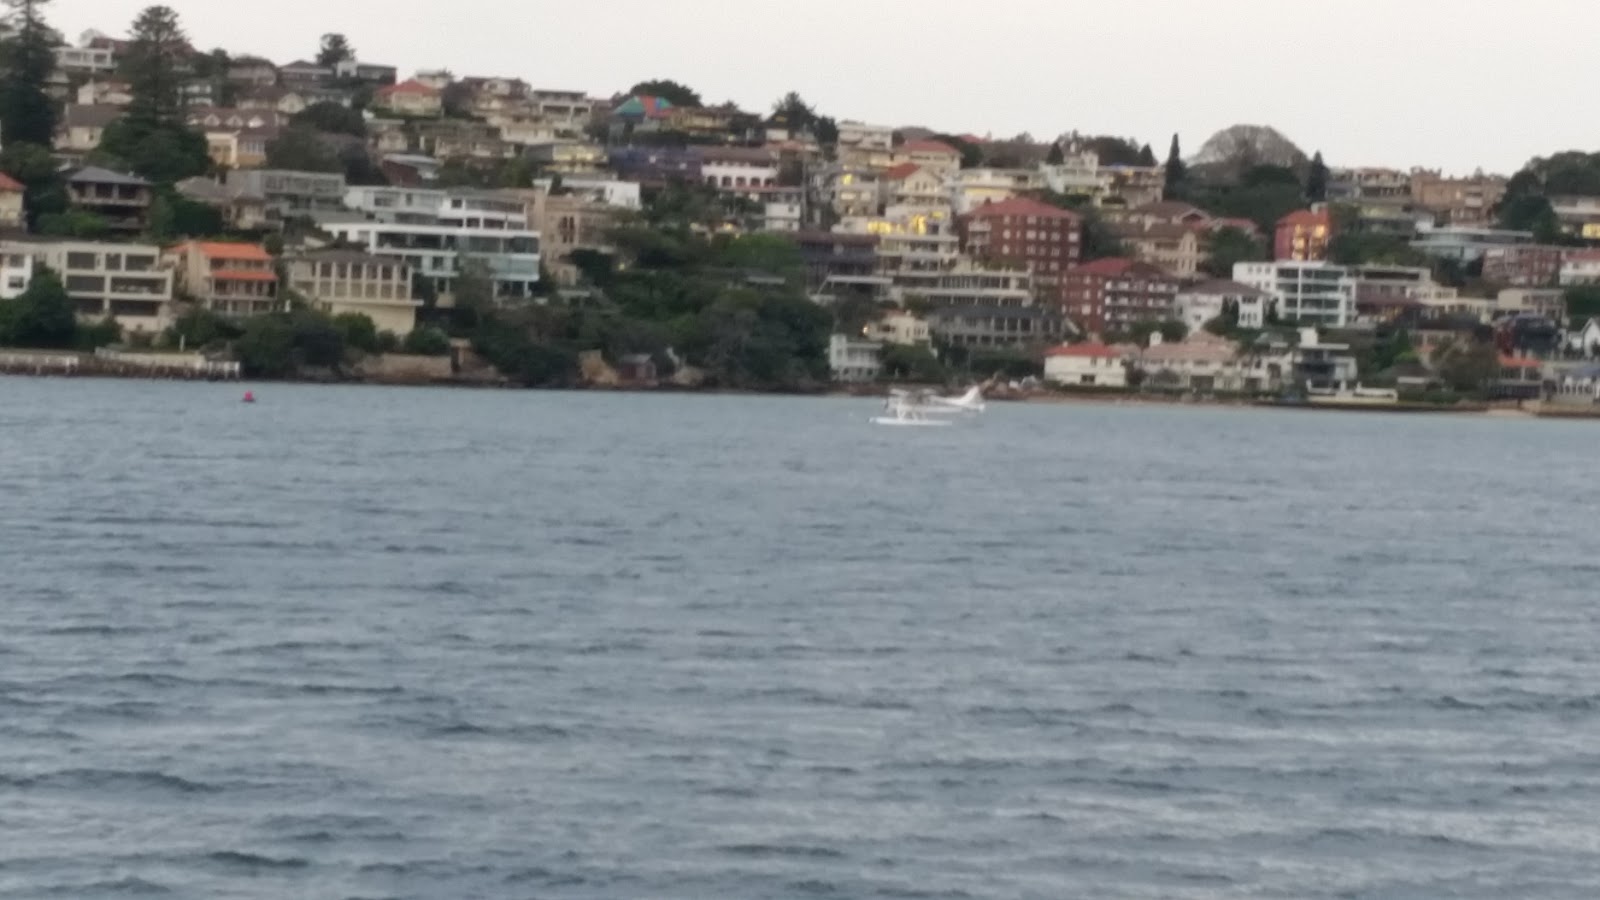
Just around the corner from where we anchored.
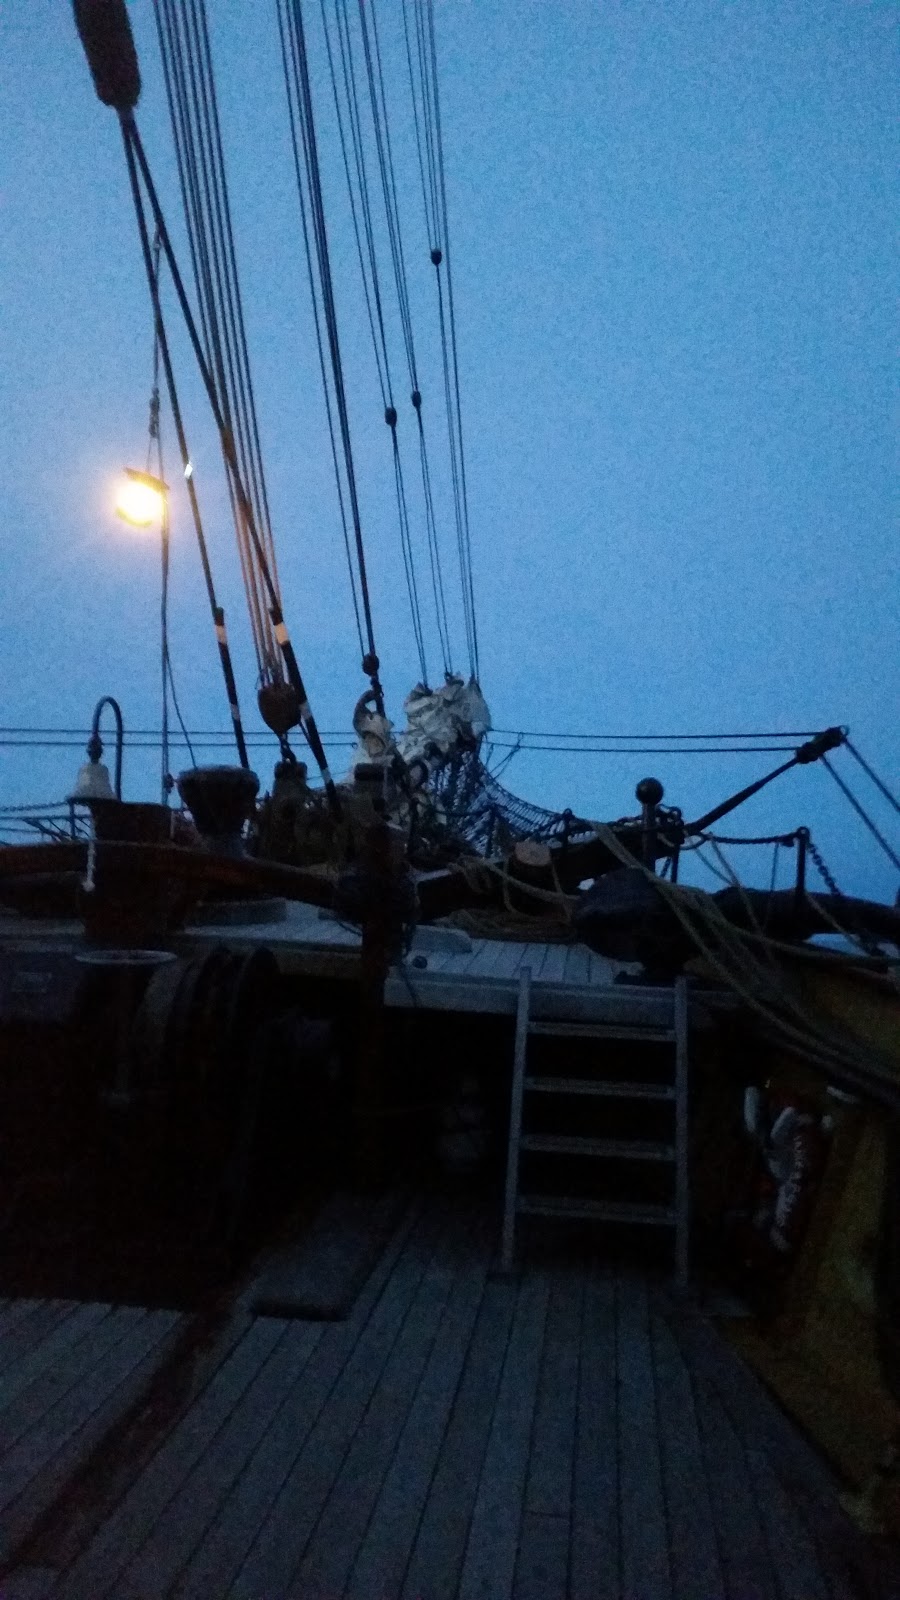
Everything furled and packed away for the night.
It's difficult to get a good picture of the moon with a phone.
Just before the sun came up on Tuesday. I was lucky enough to get the last anchor watch.
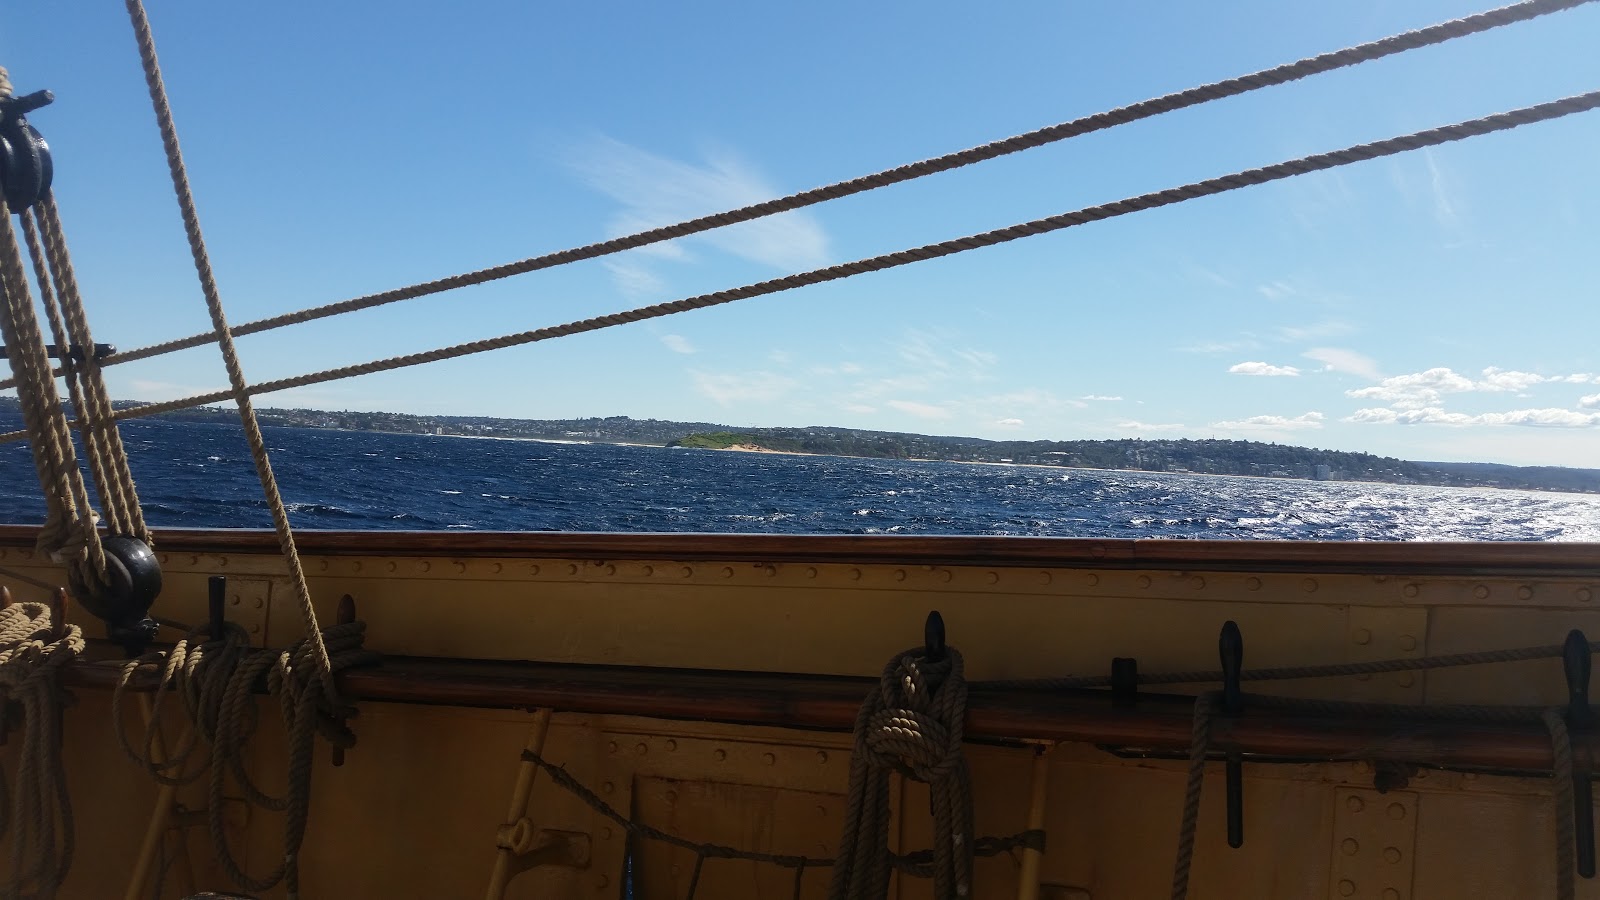
Looking up river to the railway bridge.
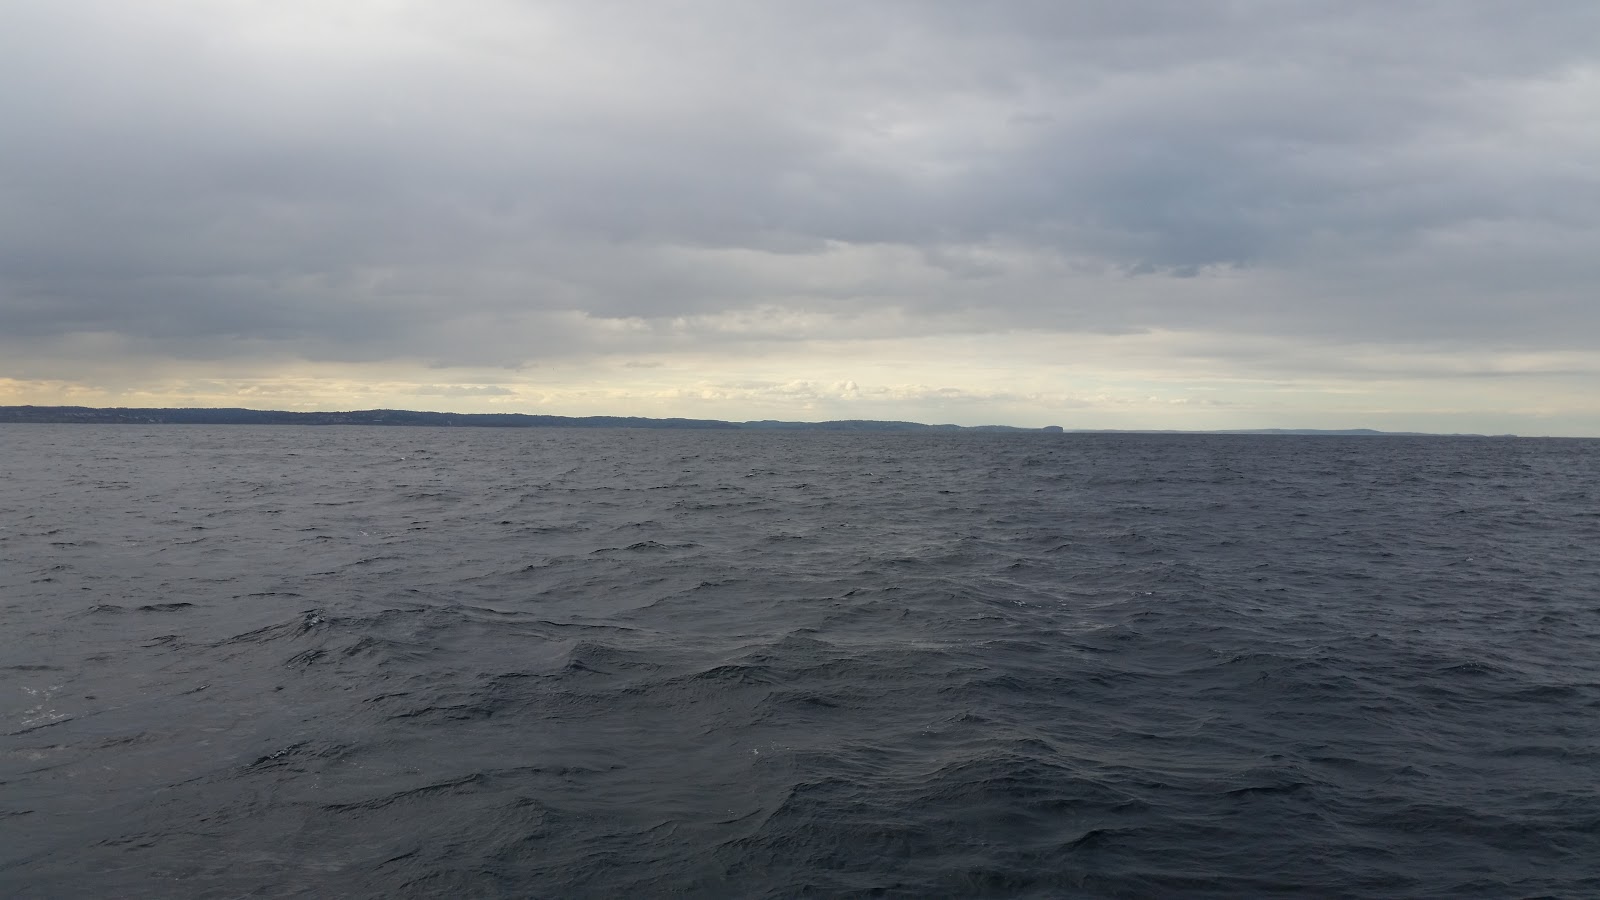
That's a lot of water.
That's now a lot of sky. It was pretty rolly until about lunch on Tuesday.
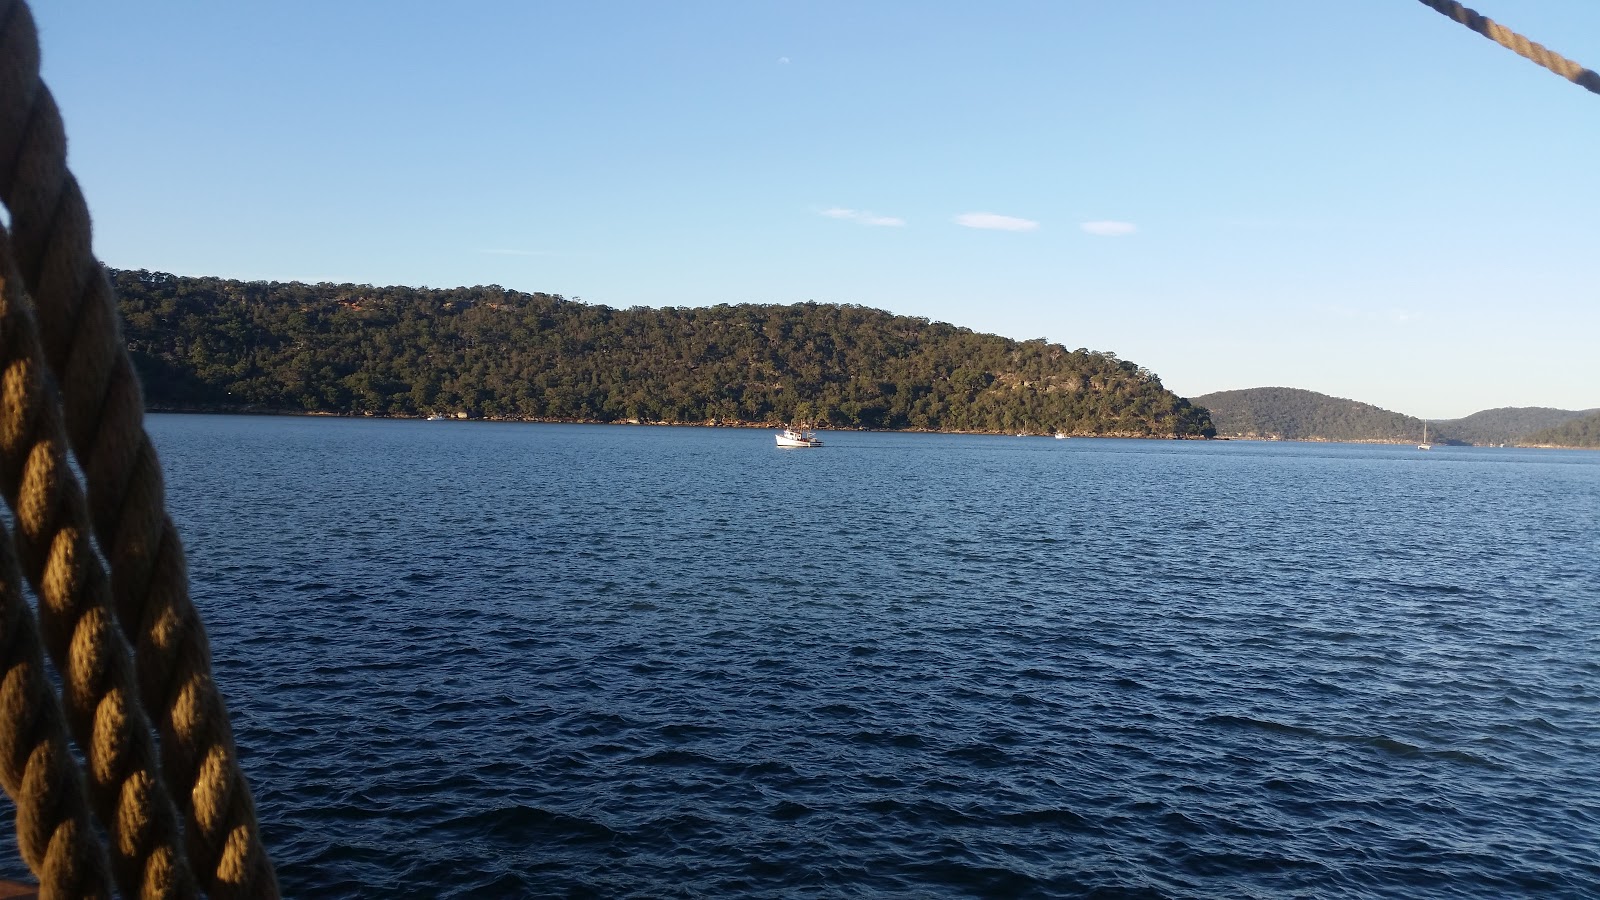
Back on the anchor Tuesday afternoon.
No moon on Wednesday Morning.
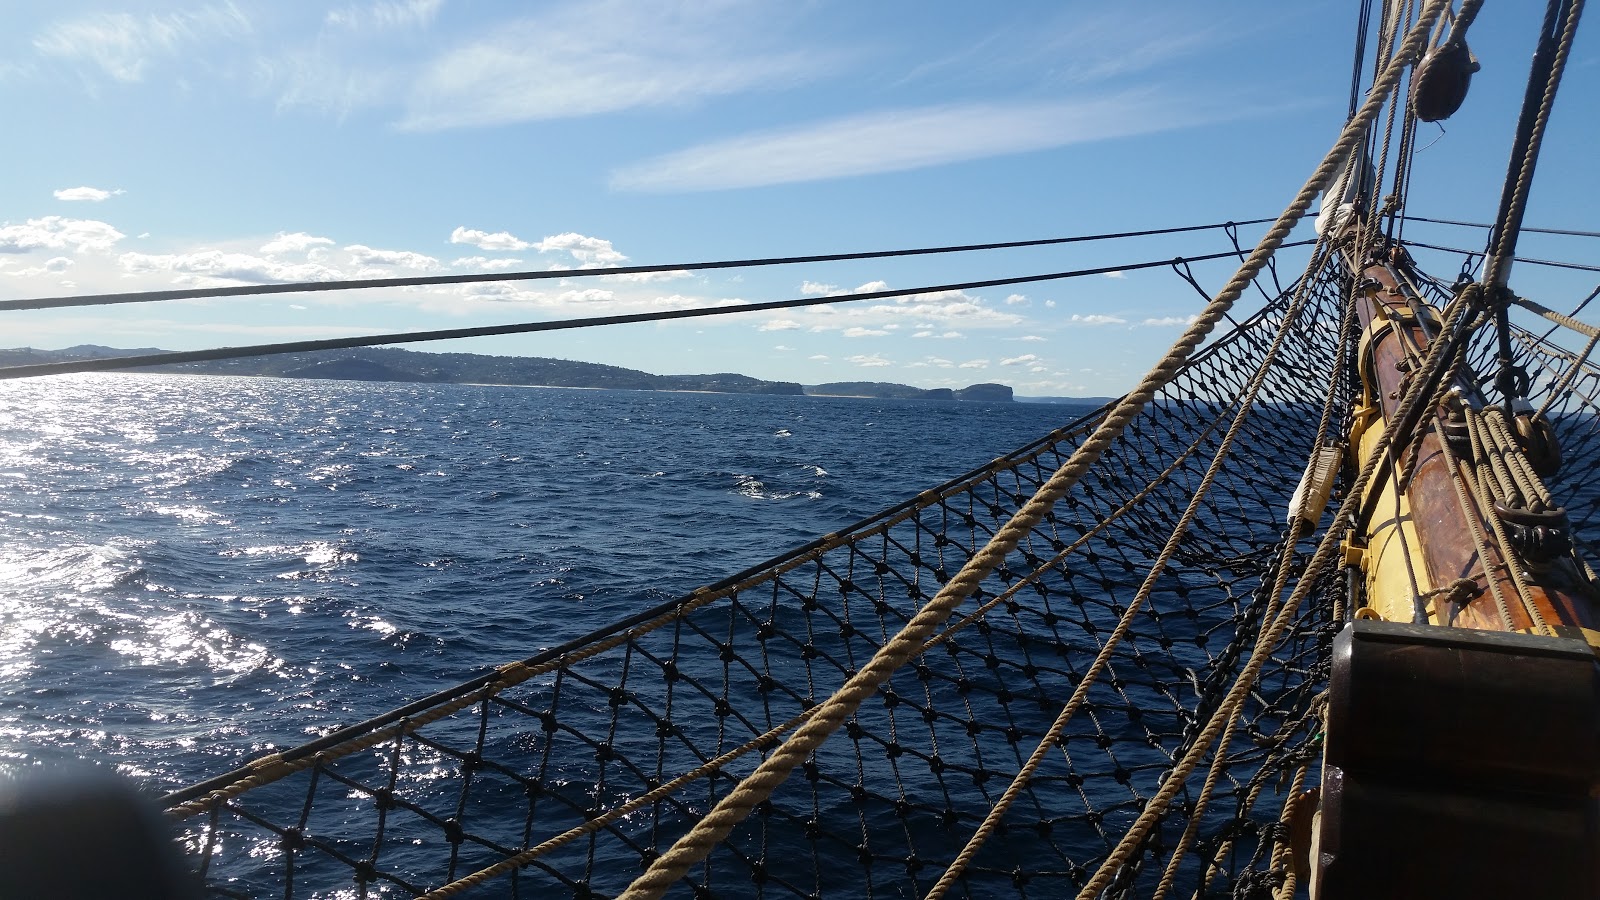
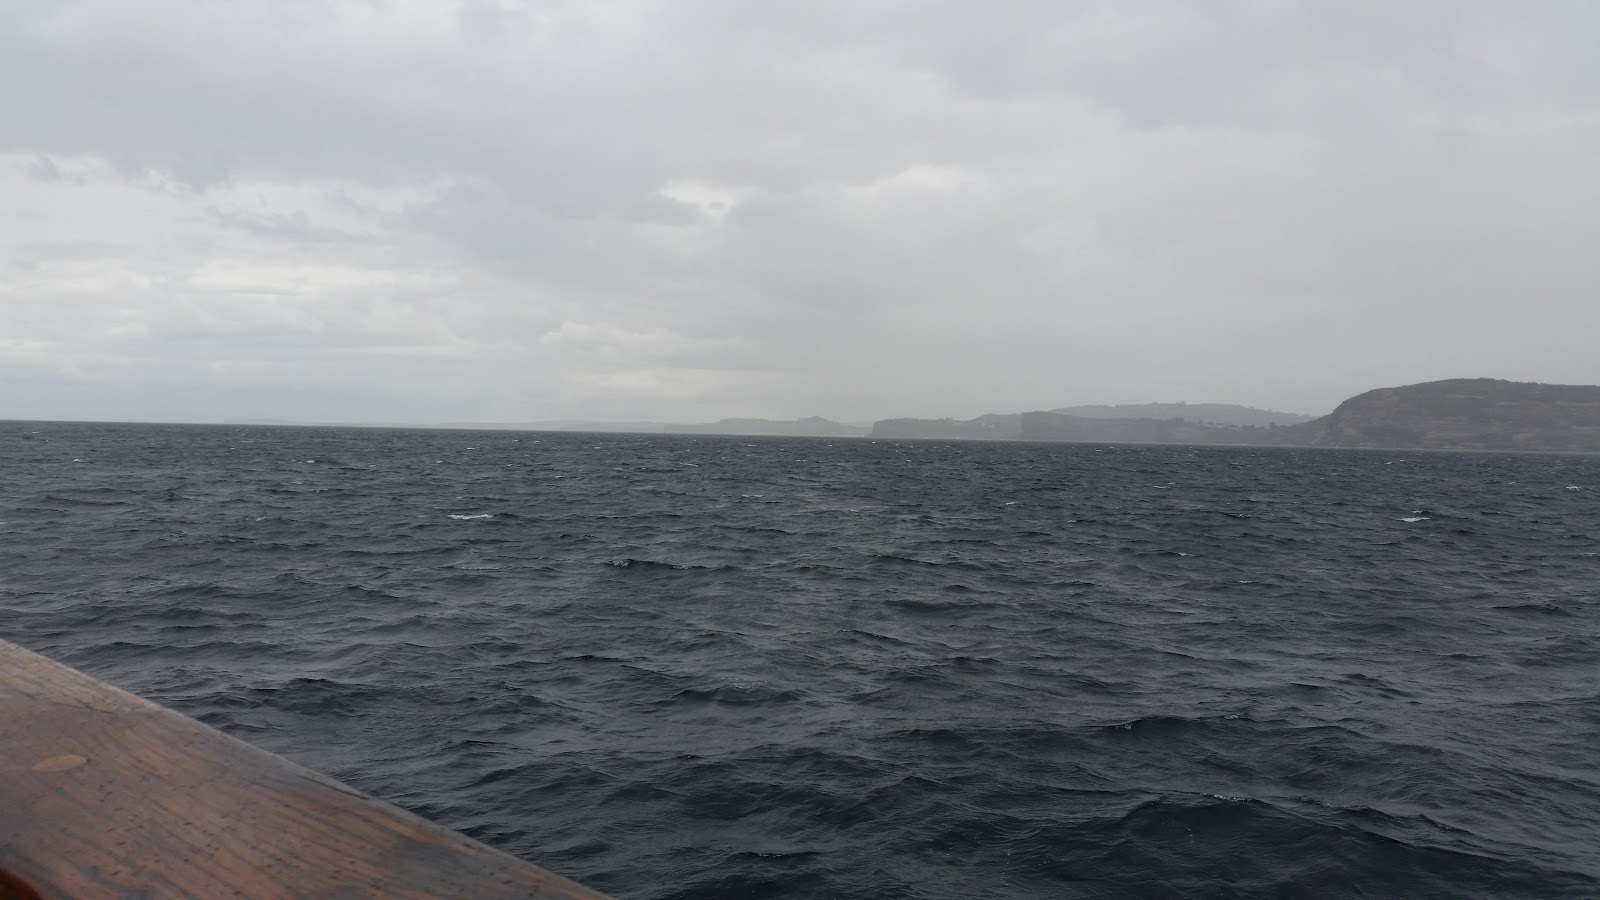
Looking out at the big blue wet thing.
Still at anchor. That looks a lot closer from deck than it does from the chartplotter.
Had a couple of rainy patches on Wednesday.
A bit clearer now.
Perfect timing. Just after coming down from the royal yard.
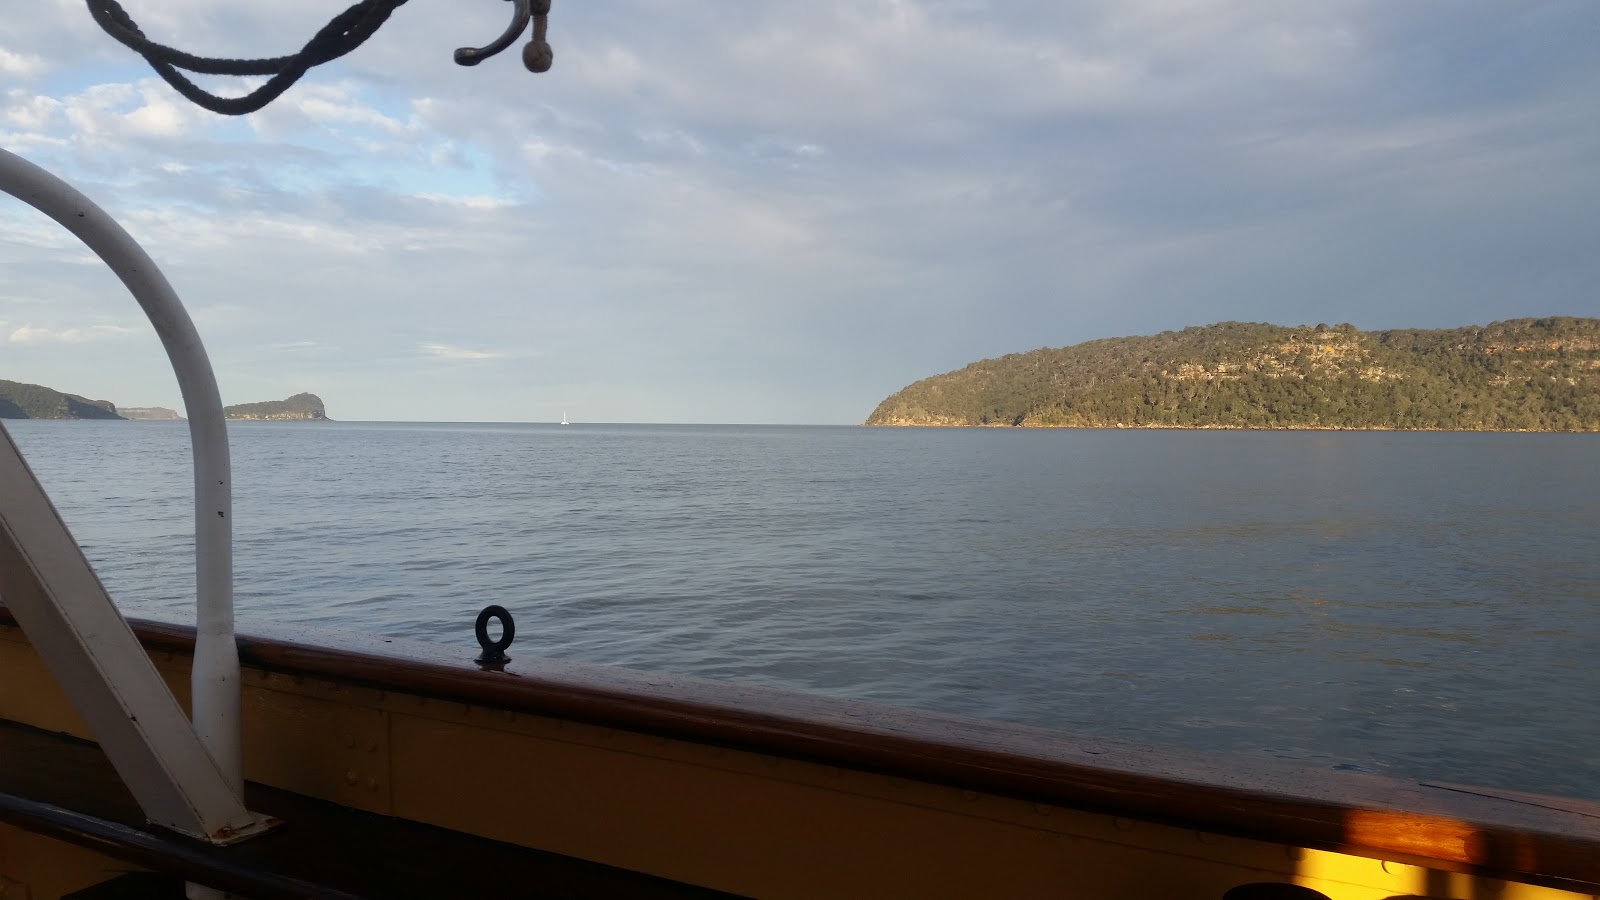
Thursday morning. Going sailing out there.
Add caption
We actually managed to sail of the anchor on Thursday. Here is the full Fore Stack set.
Add caption
We did get a little bit of rain, however it wasn't too heavy to ruin the great sailing.
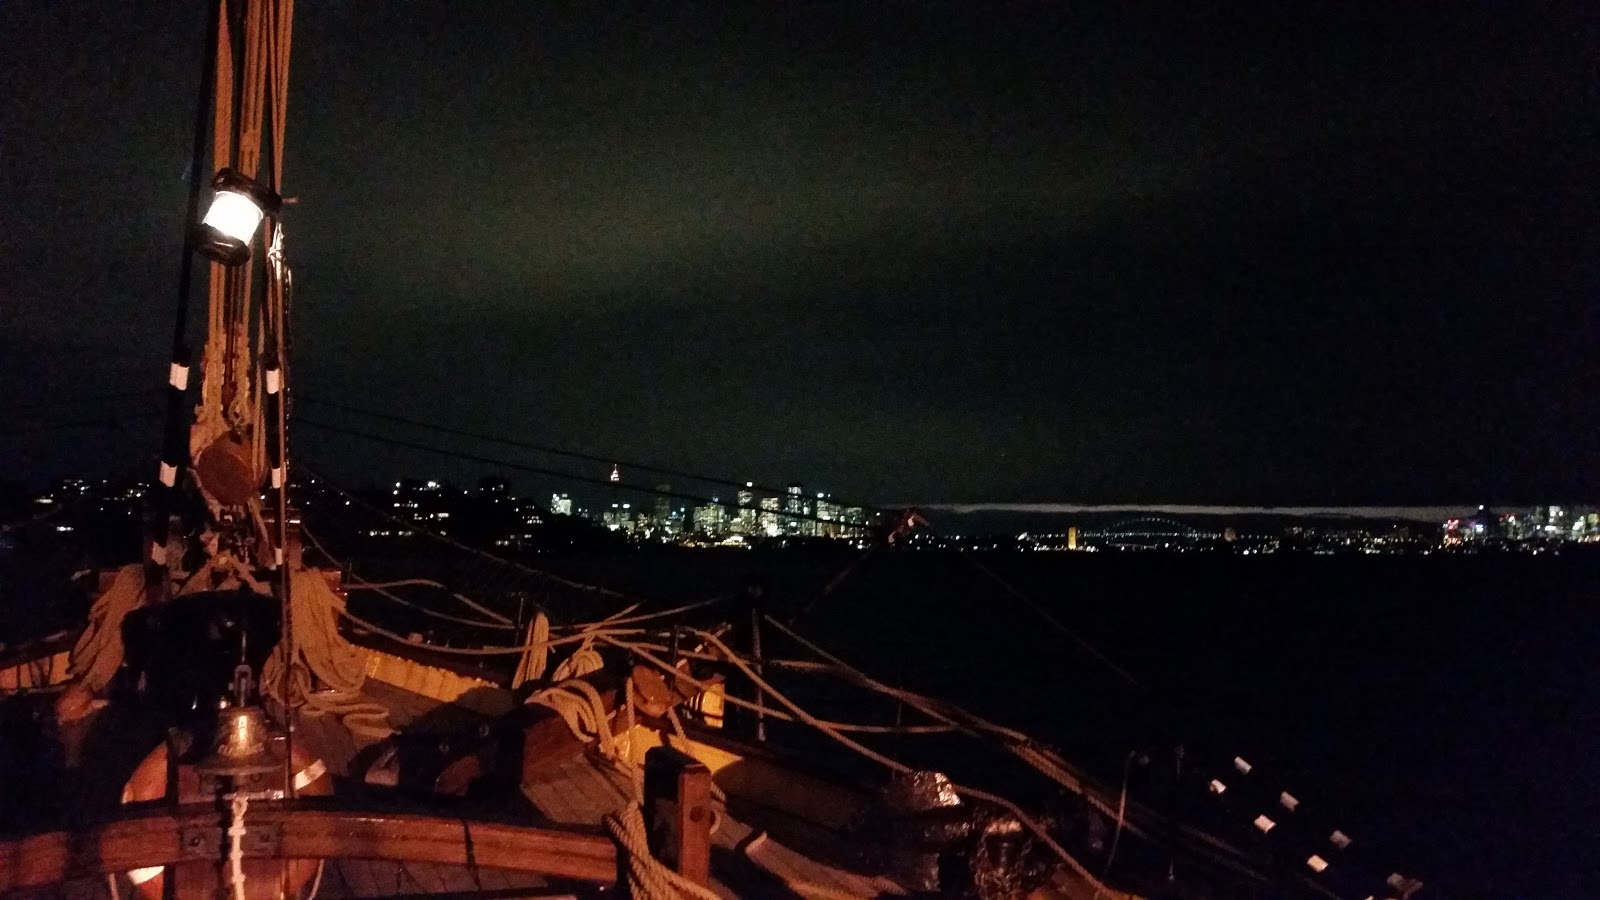
Back in Rose Bay with the Anchor Lights set.
Not too bad of a morning.
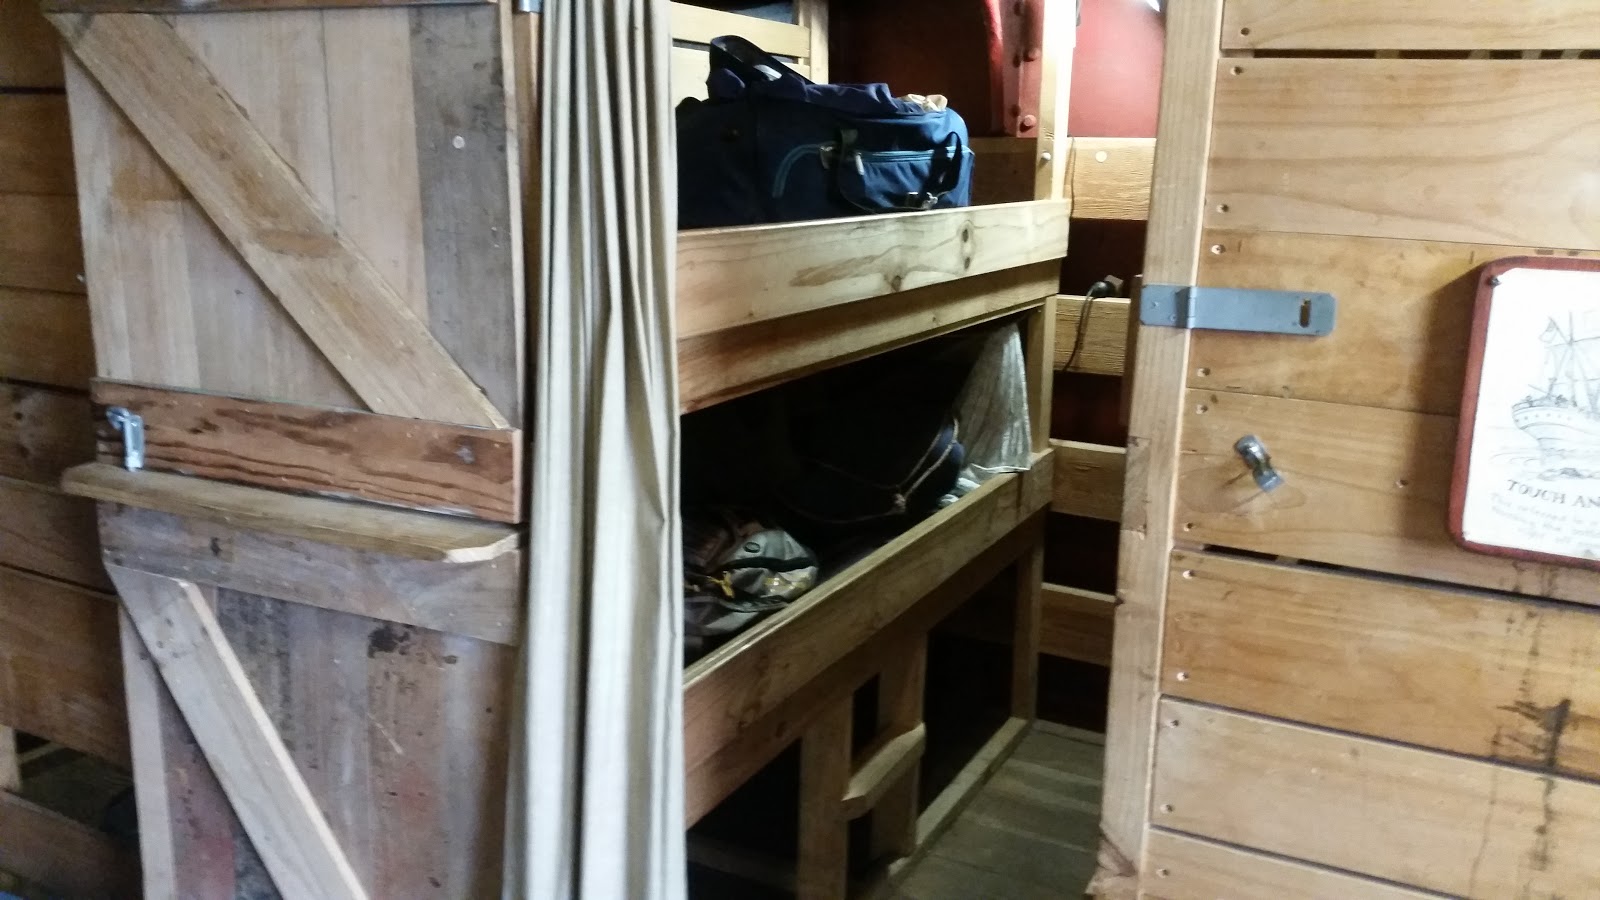
This is where I slept for the trip.
The wind was starting to get up a little before we left Rose Bay.
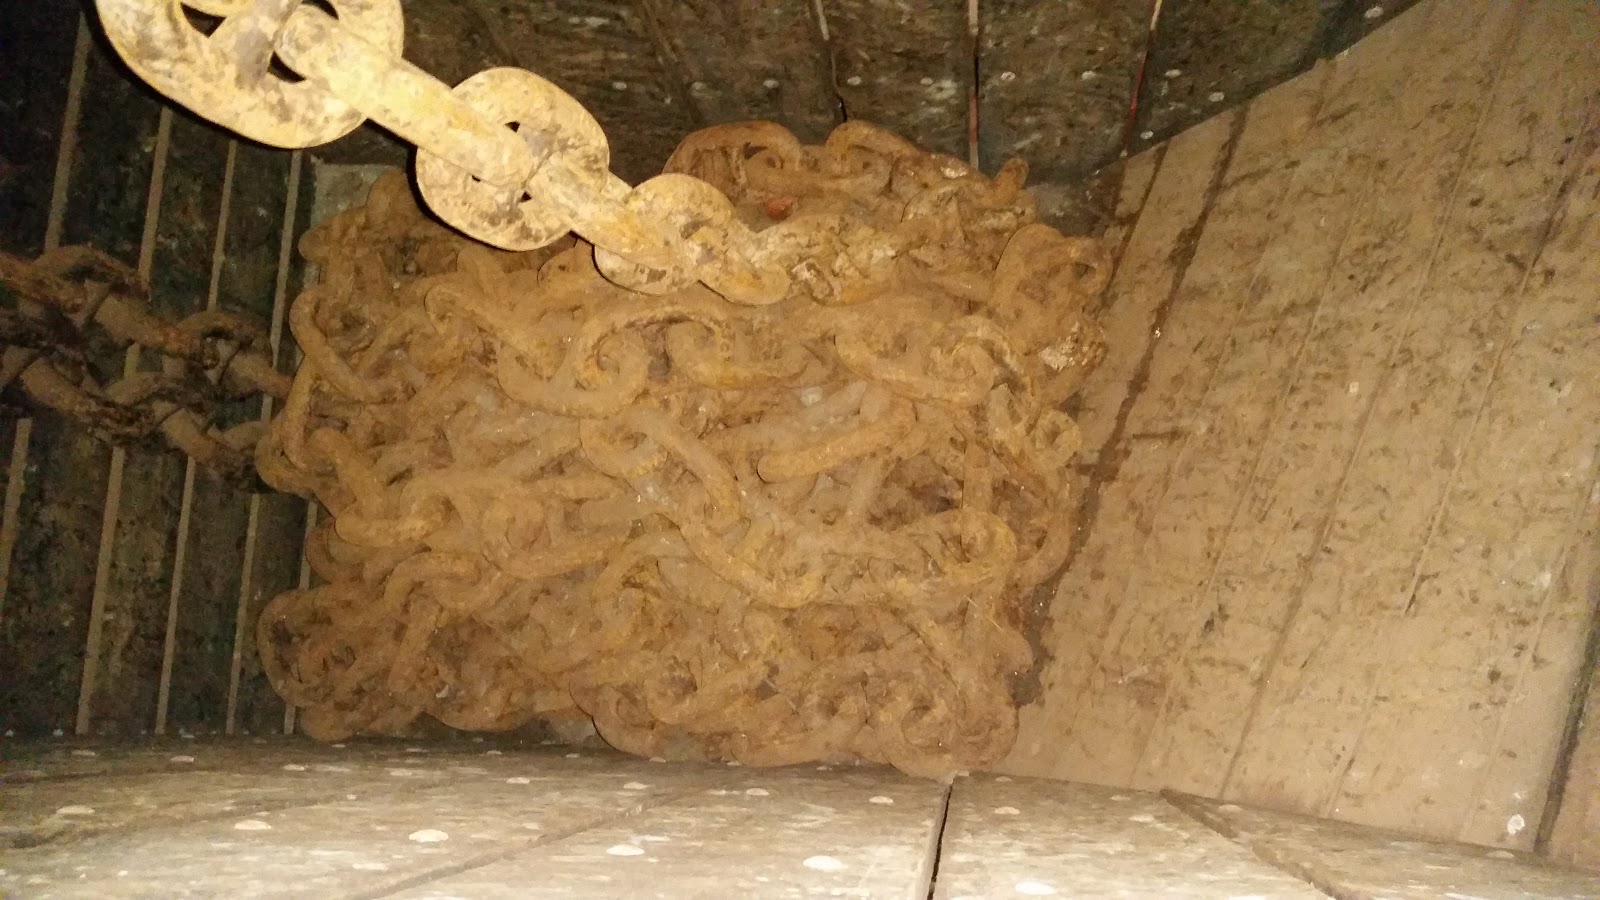
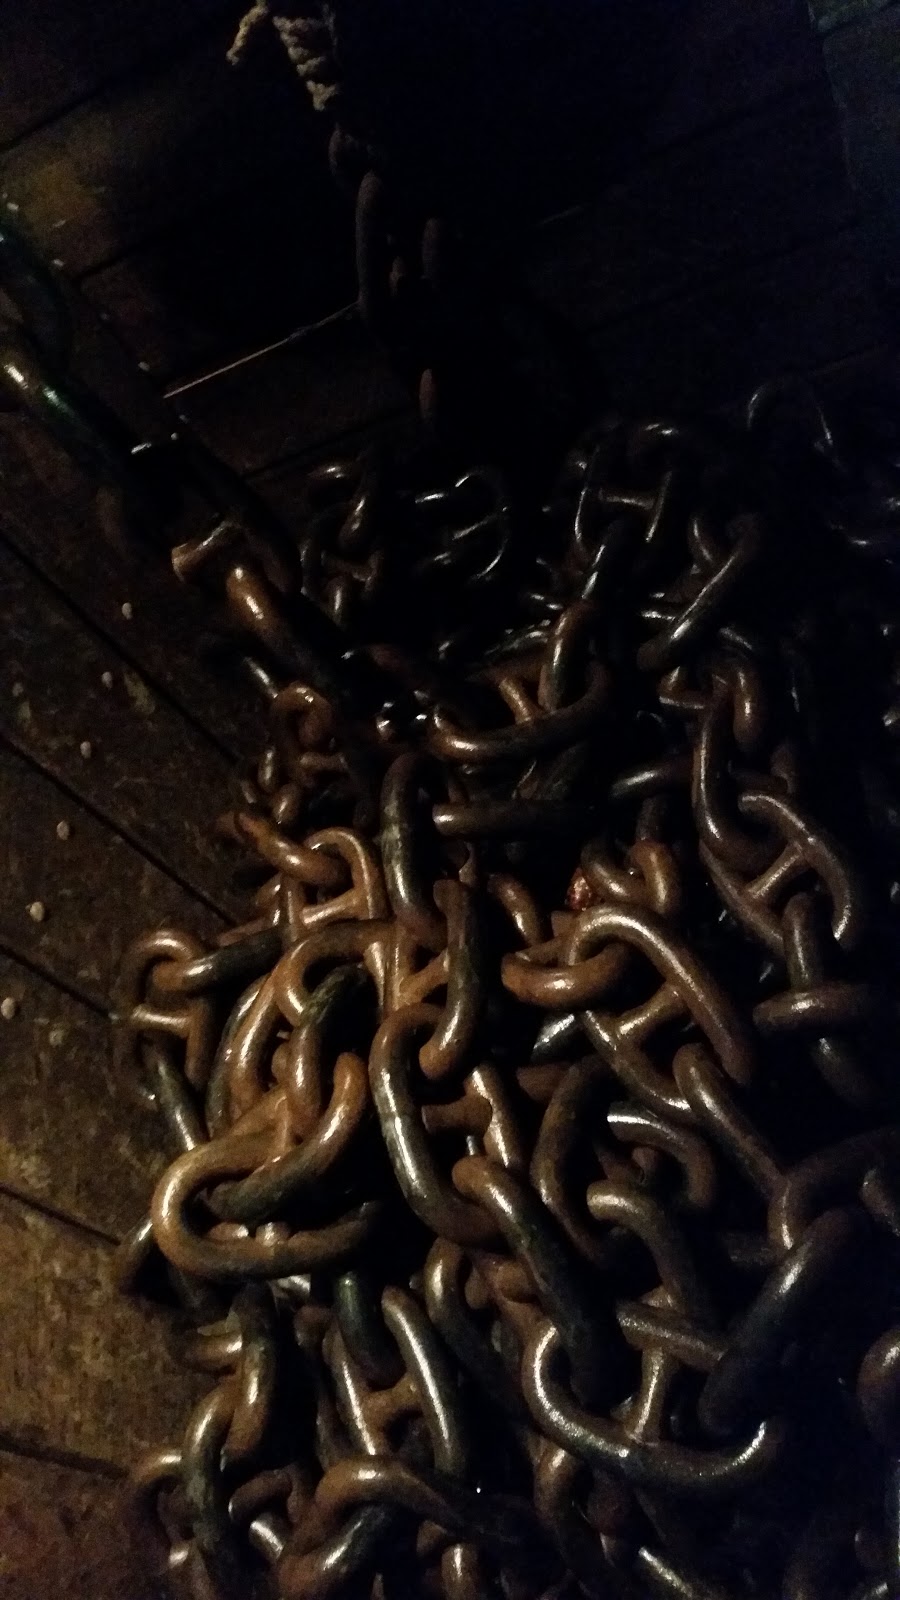
One of my duties was the anchor locker. This means that as we raise the anchor 4 of us would flake out the chain so it is nice and even so it can't topple over and get a knot in it as we try to drop the anchor next. This is what it looked like as we were anchored.
Here it is filled up with the anchor retrived.
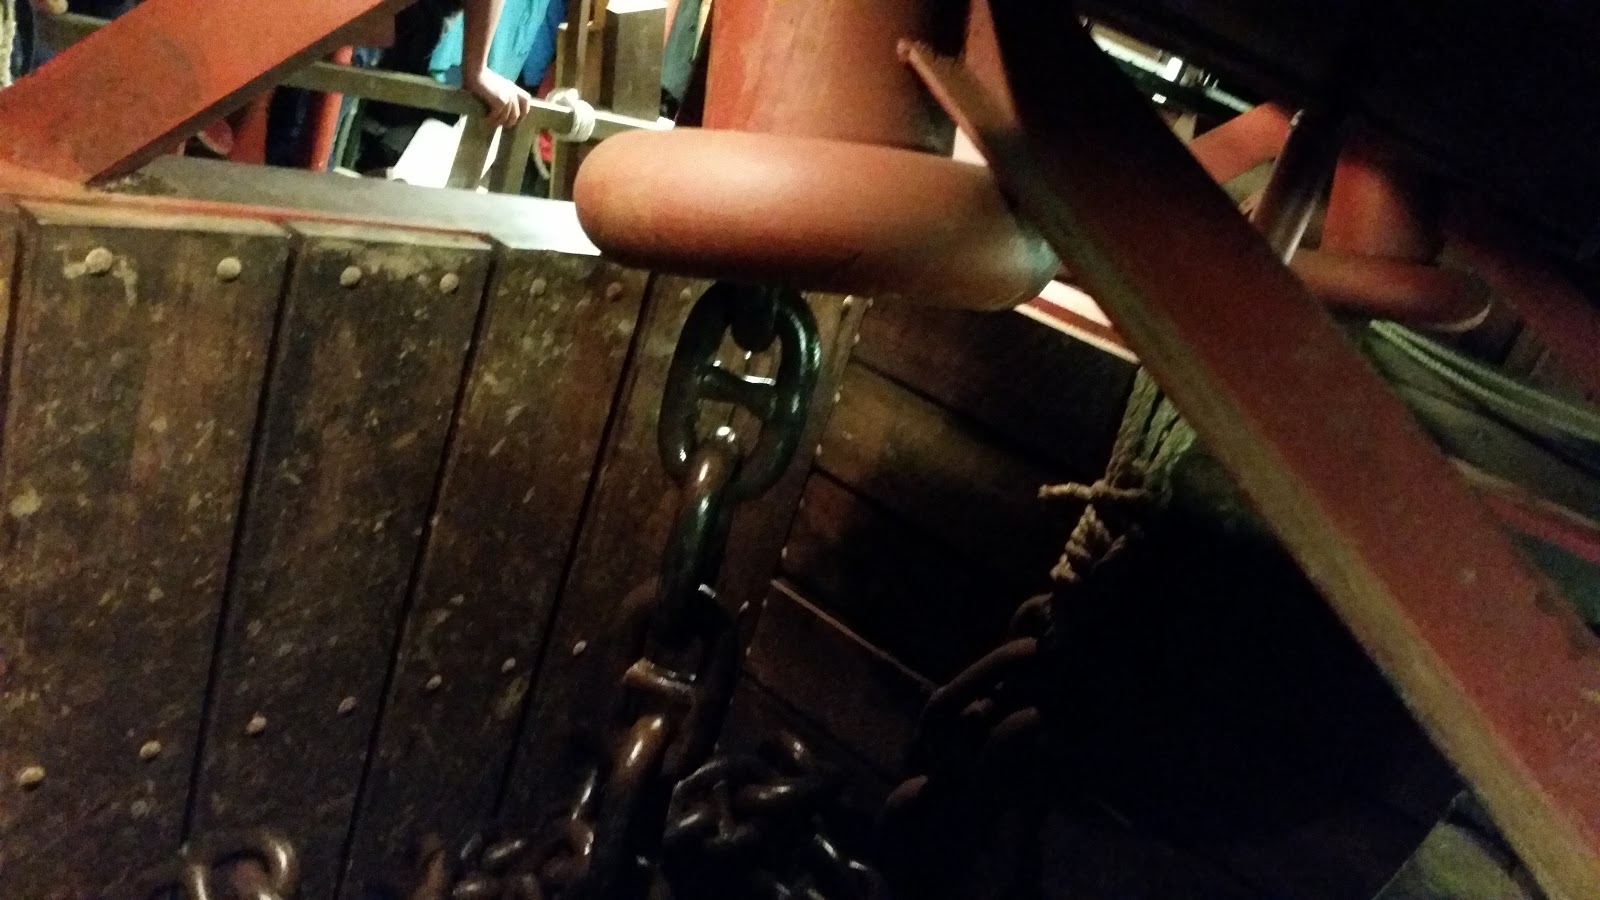
This is the bottom of the hawse pipe where the chain comes down into the locker. You can just see a hand in the background. They are probably about a meter behind the front wall of the locker.
We've managed to fill up all of the hard drive space I put in the NAS (Jerry) Thankfully it hasn't been too critical and we have been able to continue as normal basically without noticing that we can't store anything more on there.
However this is something that does need to be fixed. So I bought some more hard drives. I'm using Western Digital Greens from ebay with the head park adjusted with WDIDLE3 to extend their life. I know these are not ideal drives for use in a NAS, but they are cheap and the RAID 6 configuration means that I have time for a new drive to arrive if one dies.
Here I am setting the head park idle time to reduce the number of head parks which can wear out these green drives quite quickly as the default time is very short. It makes sense when you think they are designed for absolute minimum power consumption, but it can be a problem.
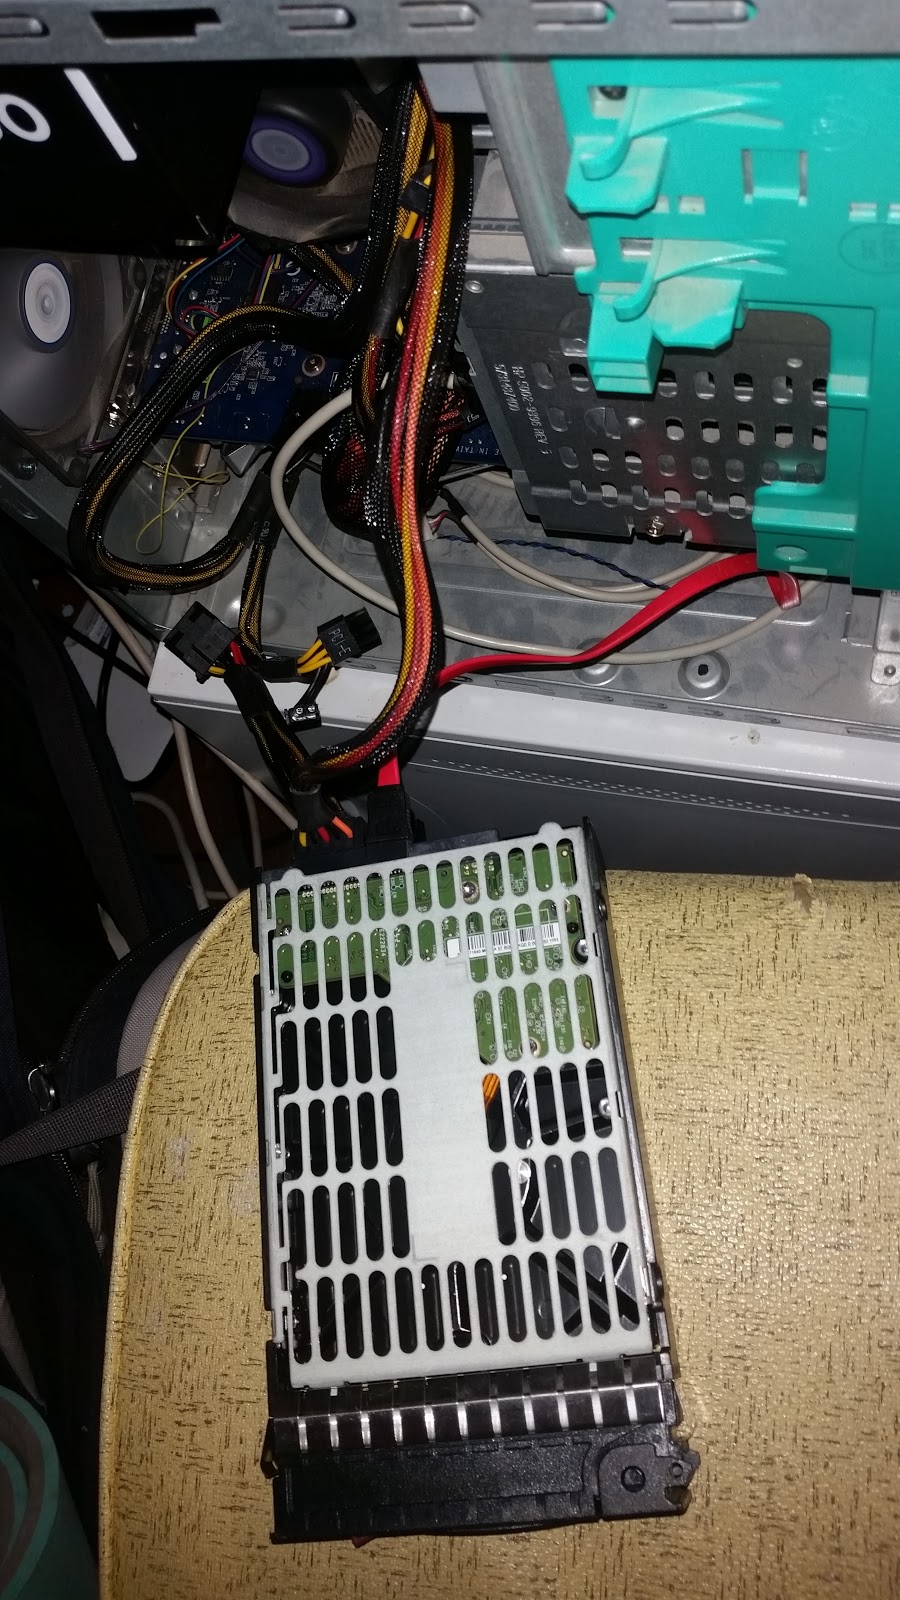
I don't have a computer set up as a test bench for doing stuff like this so I have to pull some cables out of my normal use desktop.It's not too bad to have to do. But all the same having the space for a dedicated machine with swappable drive bays for this sort of thing would be nice.
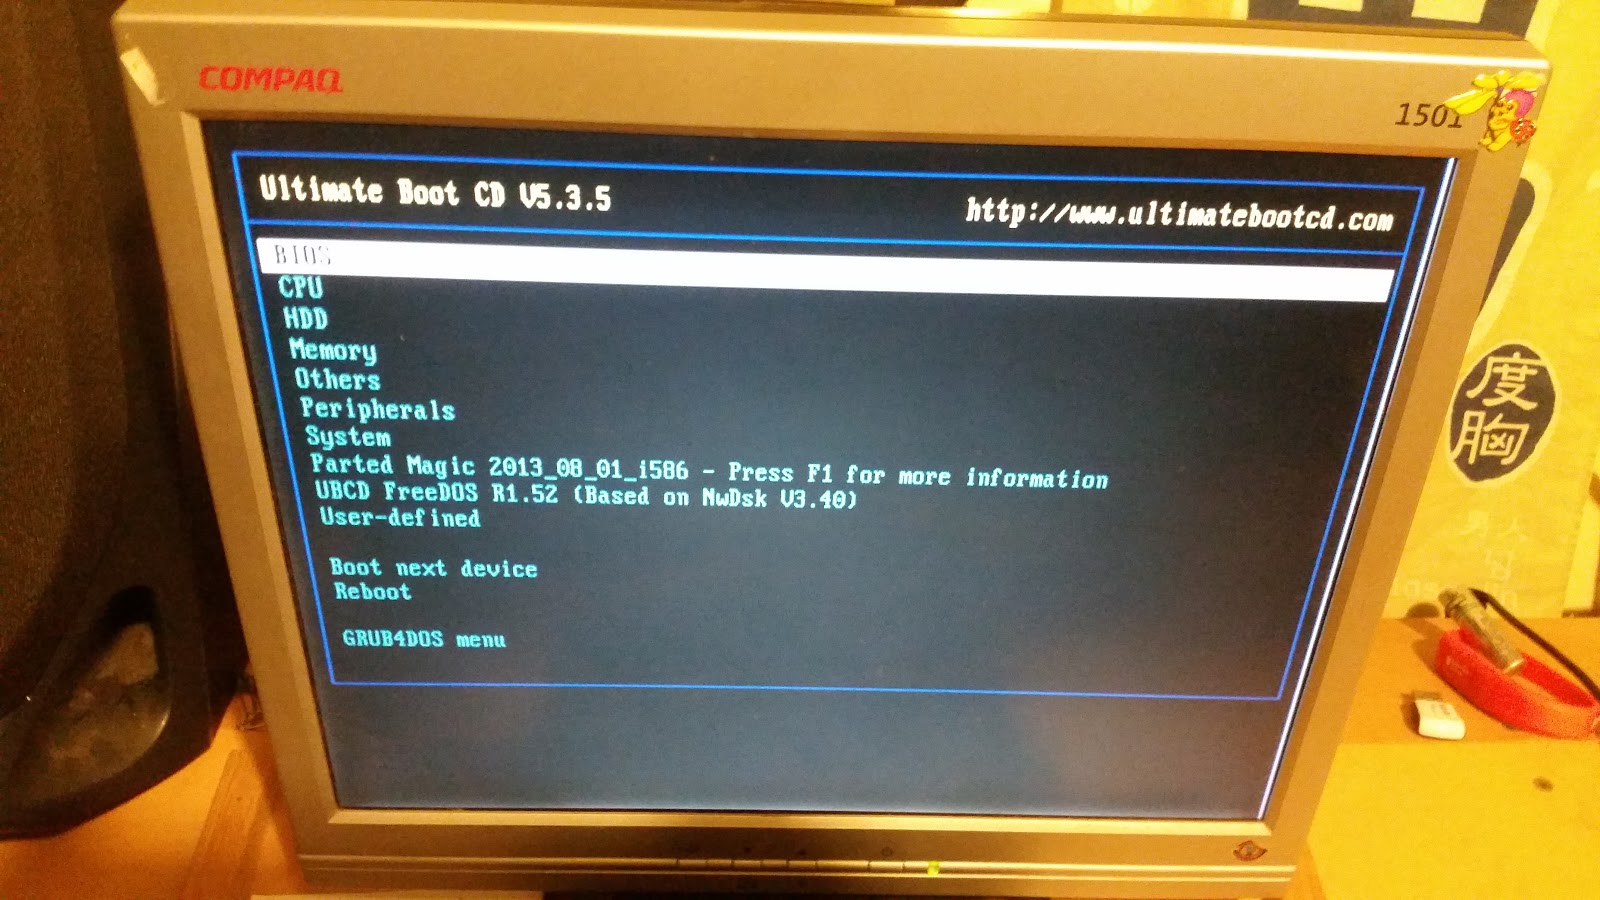
Make sure you label your CD's!!! I had a dozen or so un-labeled disks I had to go through to find my boot CD. They have now all been labeled and put in a sensible spot.
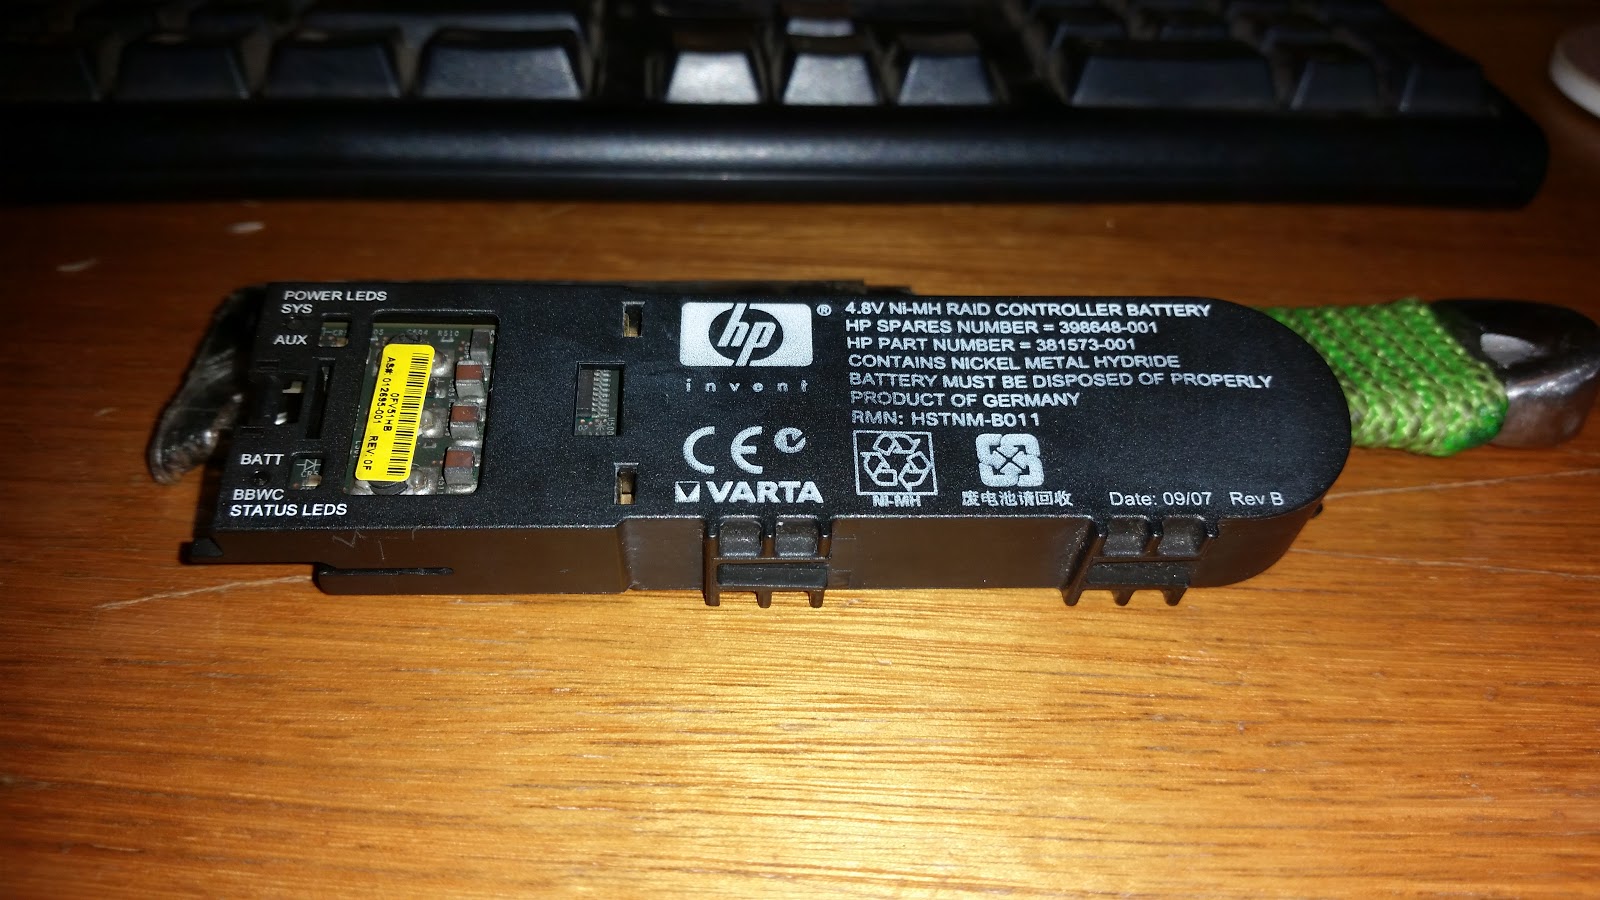
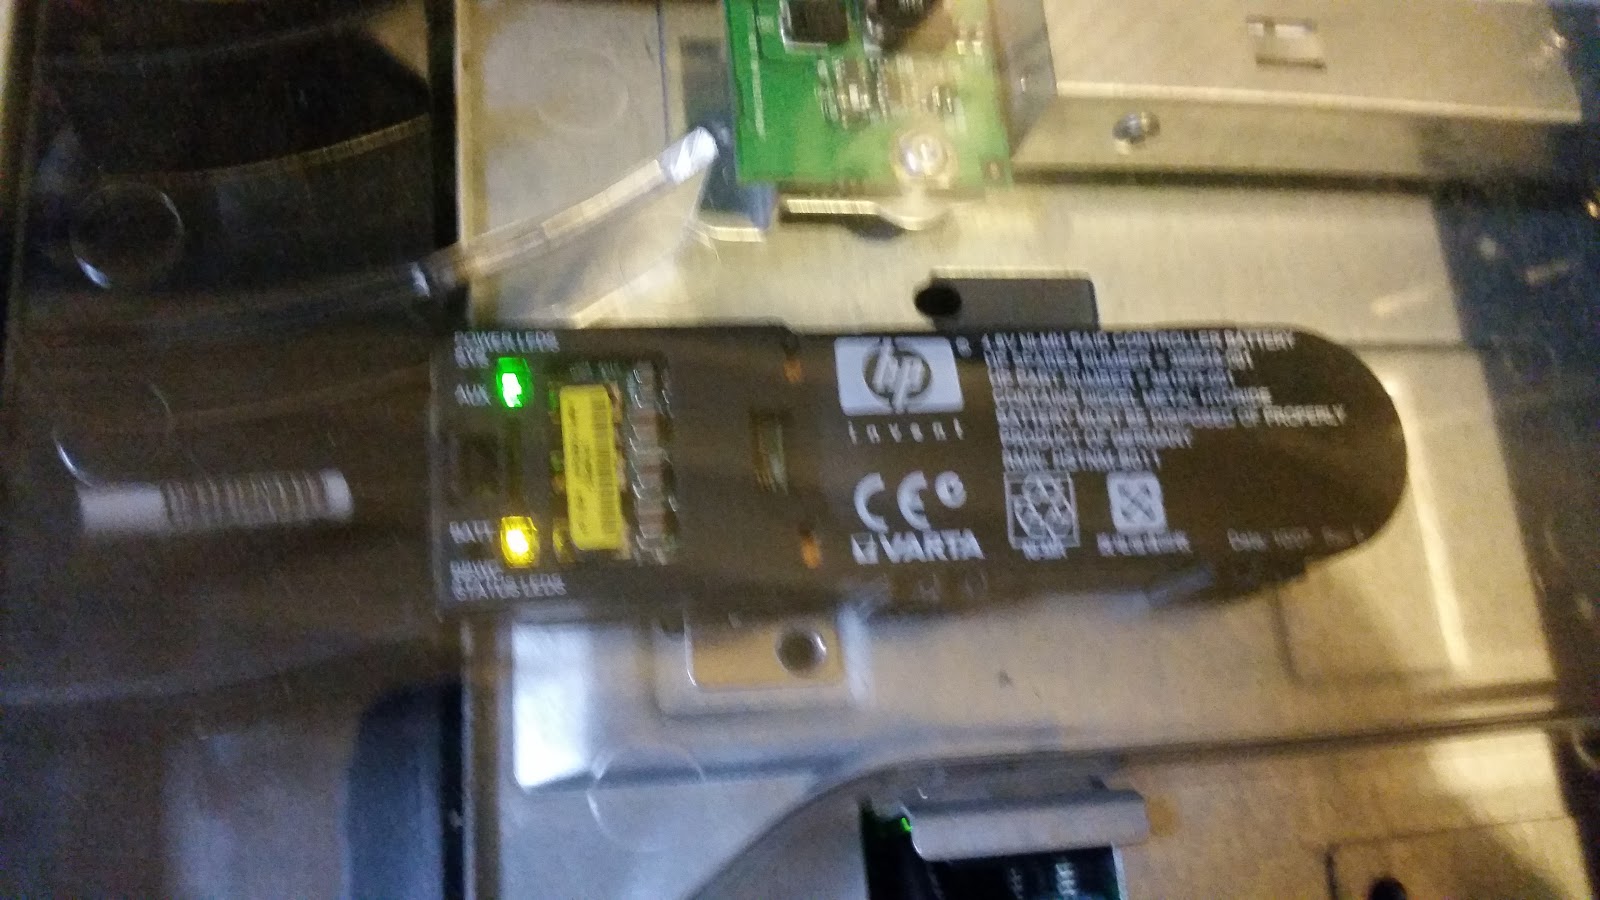
The new drives are in. This means that I just need to expand the array and it will all be done, right? Not quite. Turns out that you can't expand an array using a p400 RAID controller if the battery backup for the cache is busted. Thankfully these parts can be had for only a few dollars from ebay.
The replacement part.
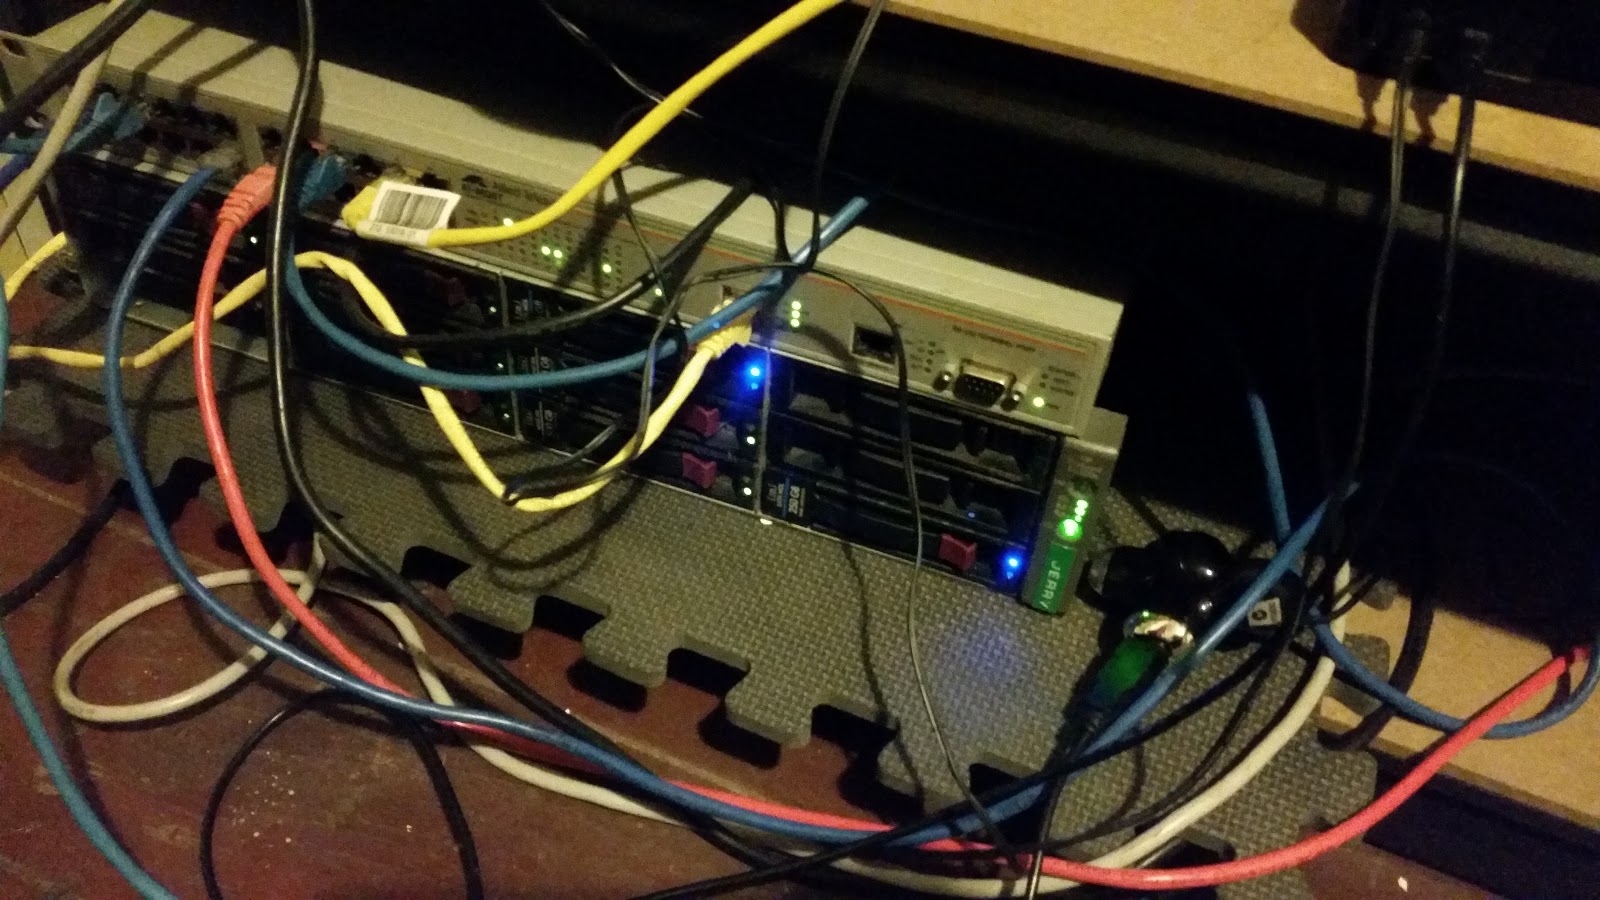
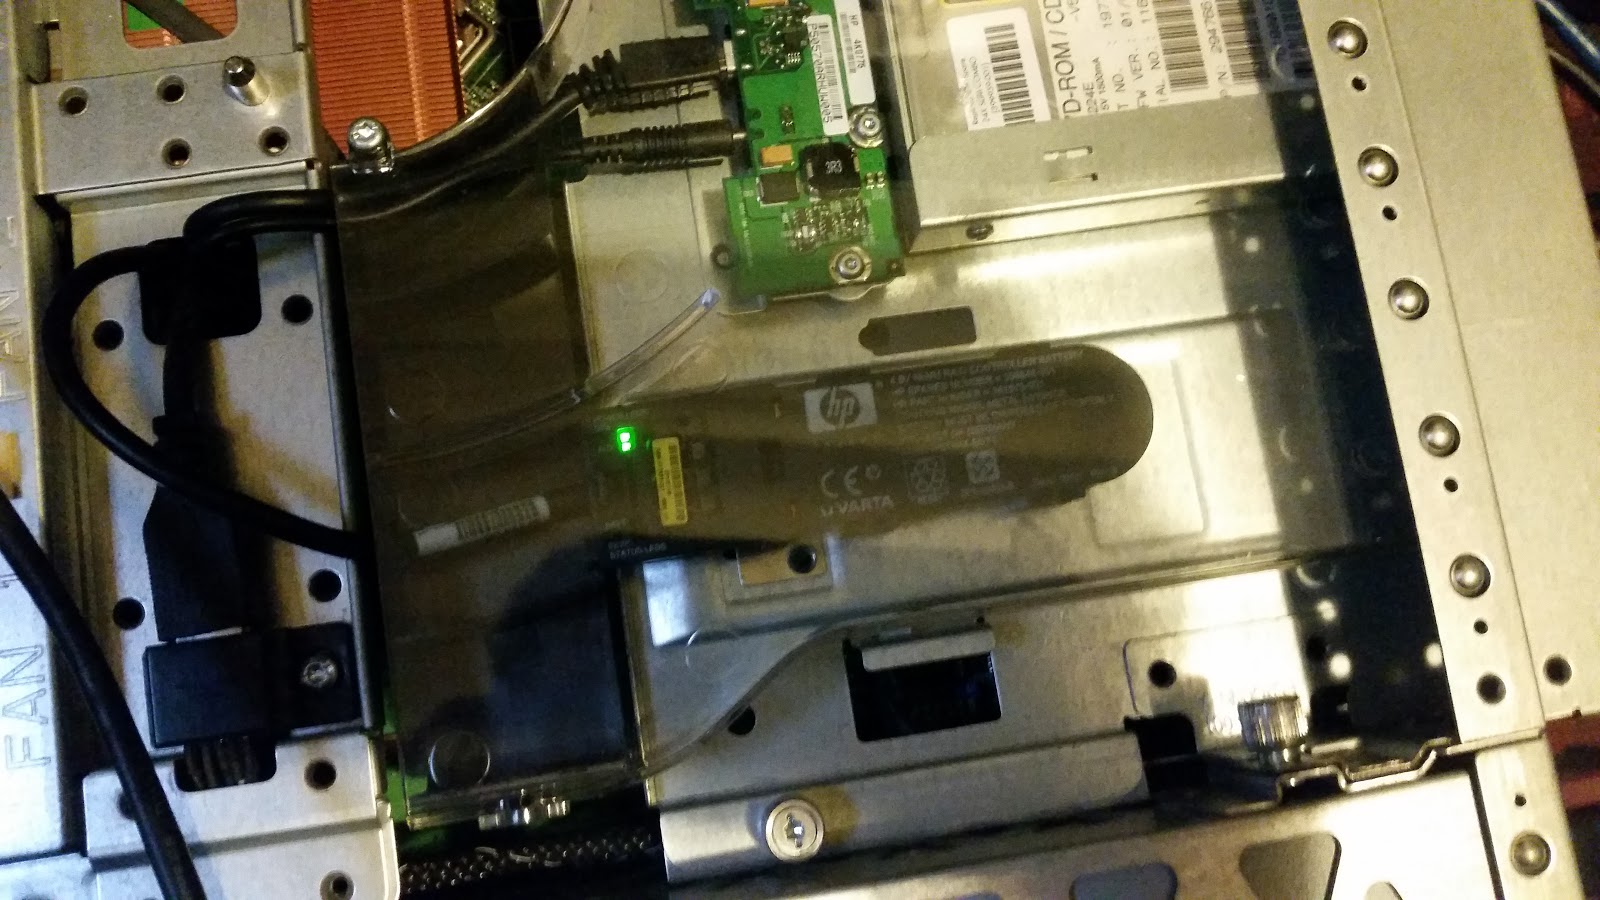
Drag the whole mess out.
Apparently orange = bad.
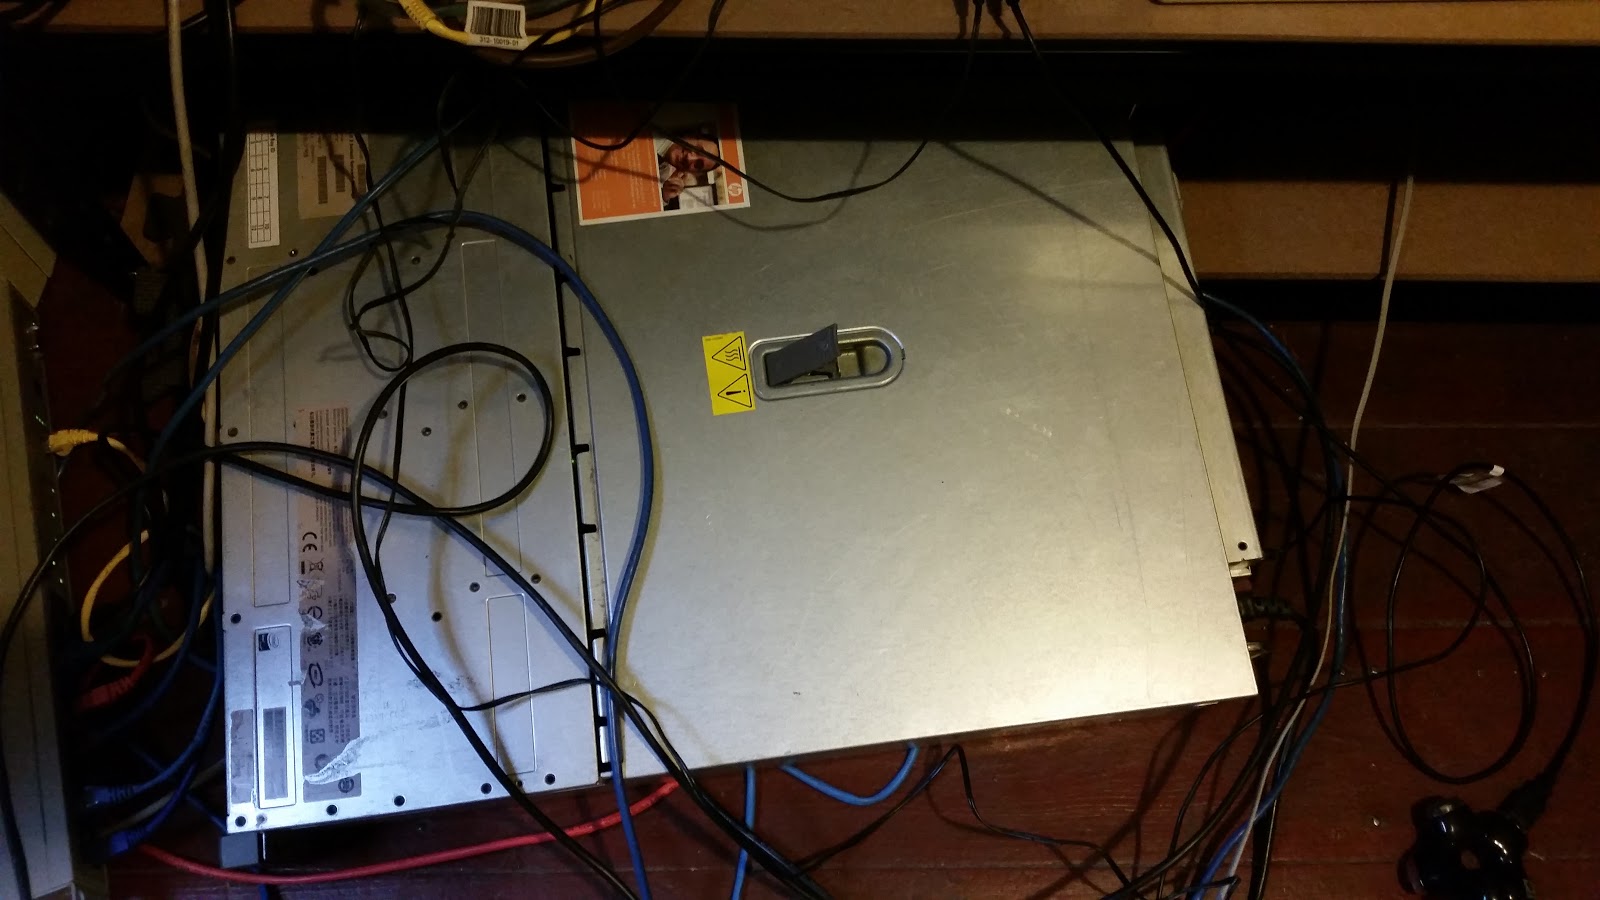
And here we have it. The new part in and all ready to go. It was a pretty simple replacement however there were one or two parts that had to be jiggled the right way to come free.
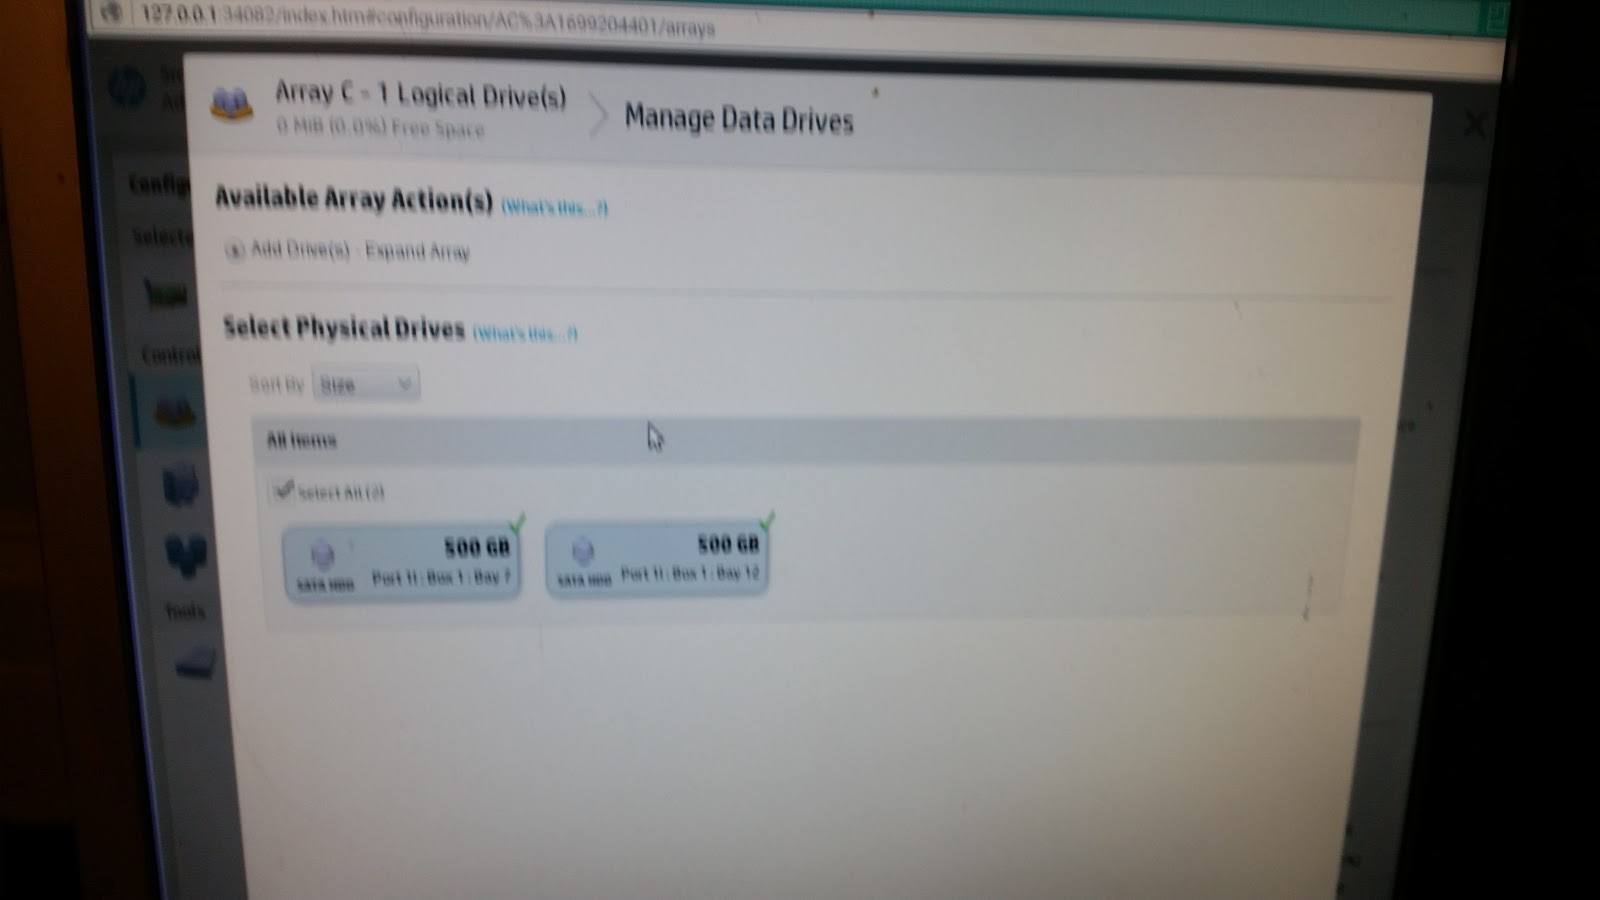
Here we are, expanding the array. Unfortunately I think the whole data set has to go through the cache on the card which is only 256 mb or thereabouts. The array is approximately doubling to about 4.5 tb which is a lot to have to shift through 256 mb. I'm expecting this should be finished copying by the end of the weekend but that is pretty much a guess.
Once the RAID card has expanded the drive I think I will need to expand the filesystem so I will do a writeup on that because I will need to remember as well.